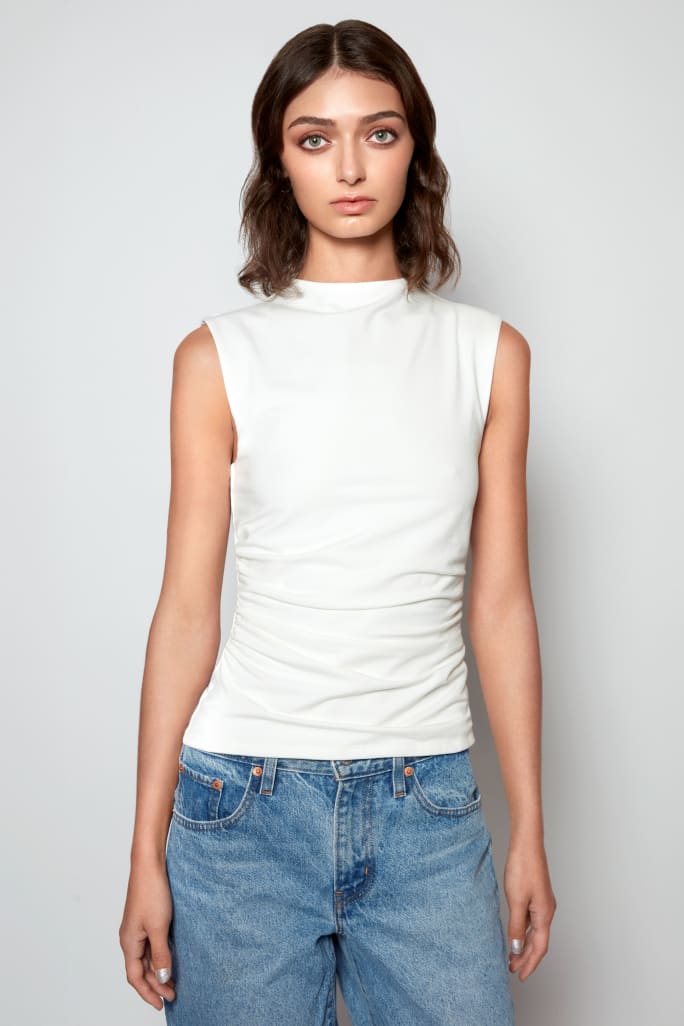
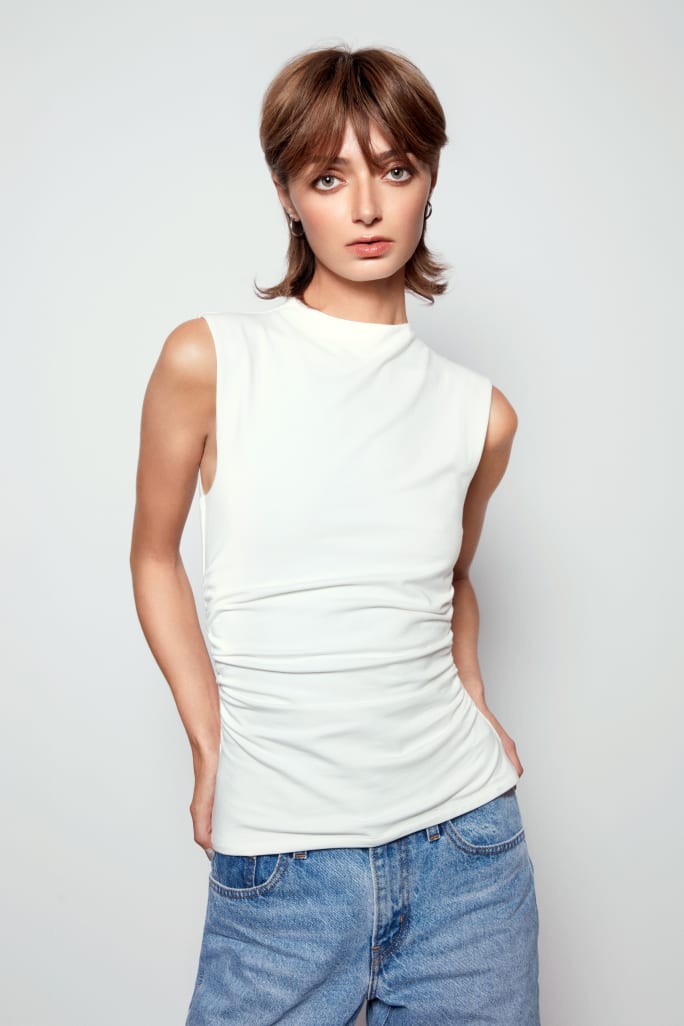
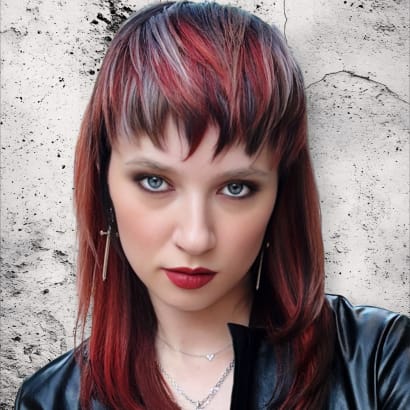
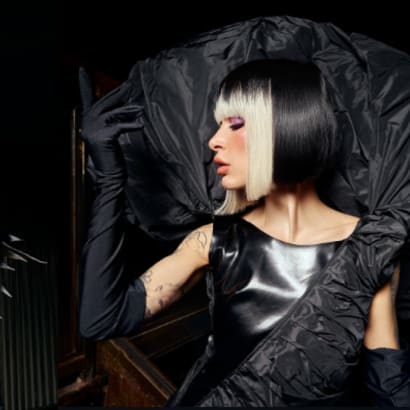
Get the steps to create this look, New Muse, which is a "couture cut," that perfectly accentuates the client’s face shape and haircolor. Straight lines build structure, while soft, jagged, diffused lines showcase a delicate beauty.
by Staff
April 2, 2026
Moroccanoil Professional
5 min to read
The Moroccanoil Professional Global Trend Collection ensures stylists are ready to meet the moment.
Get the steps to create this look, New Muse, which is a "couture cut," that perfectly accentuates the client’s face shape and haircolor. Straight lines build structure, while soft, jagged, diffused lines showcase a delicate beauty.
“This is a story of lines and architecture. Every line creates shadows and intensity, building volume, shape, and balance.” —Moroccanoil ArtistMichel Baltazar @baltazar_michel
Formula A: Blonde Voyage Cream Lightener + Oxidative Cream Developer 20 vol. (Mixing ratio 1:1.5)
Formula B: Color Calypso Demi-Permanent Cream Color 6N/6.0 + 6B/6.1 + Oxidative Cream Developer 5 vol. (Mixing ratio 1:2)
Ad Loading...
Formula C: Color Calypso Demi-Permanent Gloss 9ChB/9.91 + 6V/6.2 + Gloss Activator (Mixing ratio 1:2)
Formula D: Color Calypso Gloss 9ChB/9.91 + 10VC/10.24 + Gloss Activator (Mixing ratio 1:2)
Sections
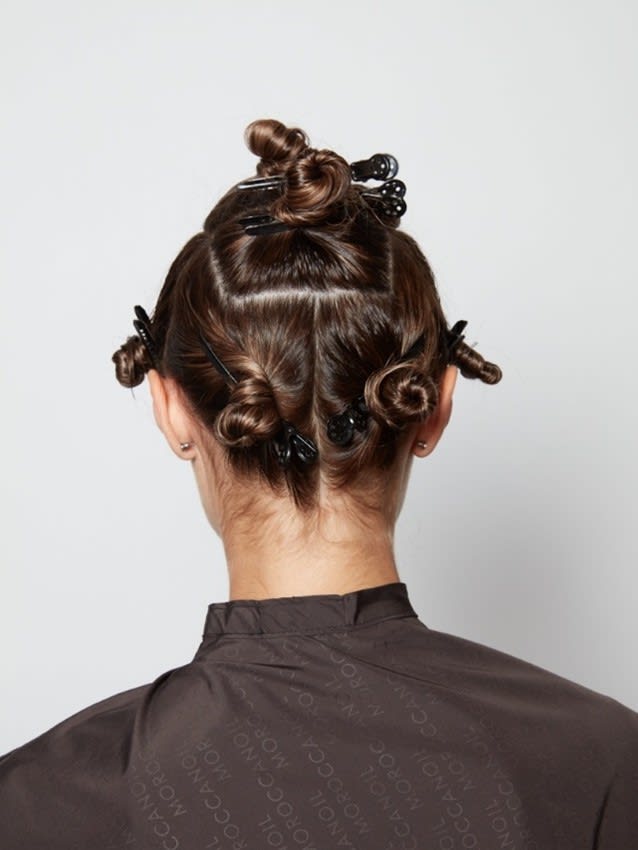
Divide the hair into 8 sections.
Create an ear-to-ear radial parting. Then make a parting from high recession to high recession and section this out. Section off the two sides in front of the ears. (3 sections in the front.)
Ad Loading...
Create a triangle section that points down from the crown to the middle of the occipital bone. Use the tip of the triangle to divide the remaining two sections in half, creating four more triangle sections. (5 sections in the back.)
Step-by-Step (Lightener)
Step 1 – Back
Apply Formula A. Take horizontal subsections and create thick weaves. Take the weave lower down the hair to create more depth. Work in horizontal subsections in the two bottom sections, using back-to-back foils.
Step 2 – Back Triangle
Ad Loading...
Work in horizontal subsections, using medium weaves and the same technique. Work up to the top of the section at the crown.
Step 3 – Sides
Work in diagonal forward subsections, continuing the same weave pattern, but keeping the weaves thicker towards the face for more lightness.
Continue working in diagonal forward subsections until the high recession. Move to the opposite side and repeat.
Step 4 – Front
Ad Loading...
Start at the front hairline. Working in horizontal subsections, make 3 back-to-back foils using the same weave pattern.
Step 4 – Top
Pivoting to the sides, continue the same pattern working parallel to the side sections.
Process until the desired lift is achieved. Do not exceed 50 minutes. Rinse. Follow with Moroccanoil Color Care Shampoo and Conditioner.
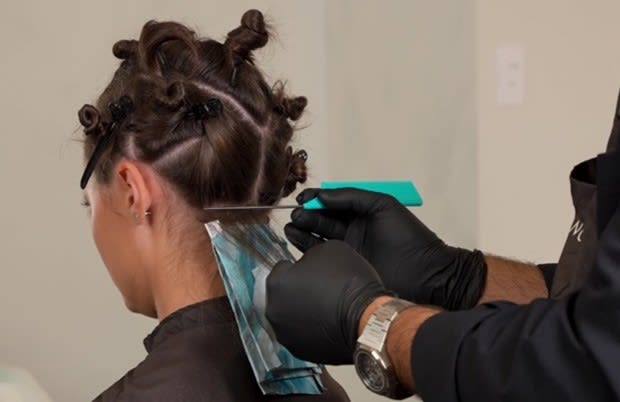
Root Tap & Gloss
Ad Loading...
Divide the hair into a classic 4-section pattern.
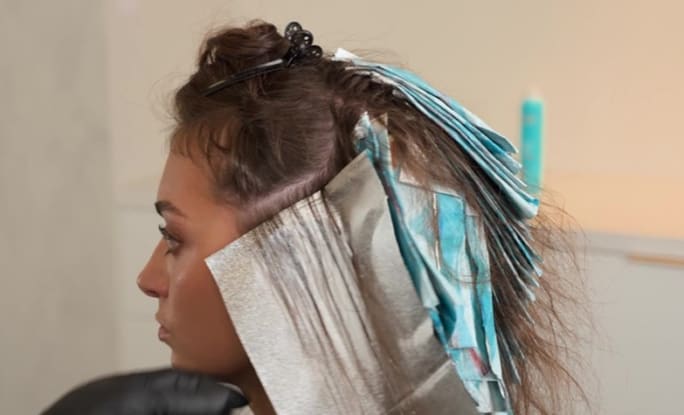
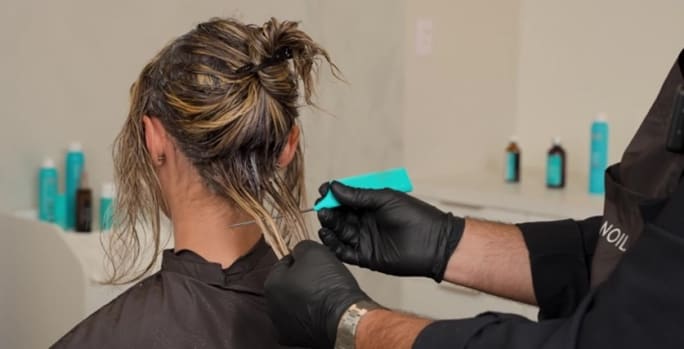
Apply root tap using Formula B, working in horizontal subsections from the bottom up to the front nape. In the nape area, create a zigzag subsection and take a large weave following the zigzag pattern.
Apply Formula C on the part of the weave with more hair. Apply Formula D on the part of the weave with less hair.
Continue alternating Formula C and Formula D, moving from the nape to the front of the hair.
Use foil with a balayage board for more control and to prevent colors from melting together.
Ad Loading...
Process for 20 minutes. Rinse. Follow with Moroccanoil Color Care Shampoo and Conditioner.
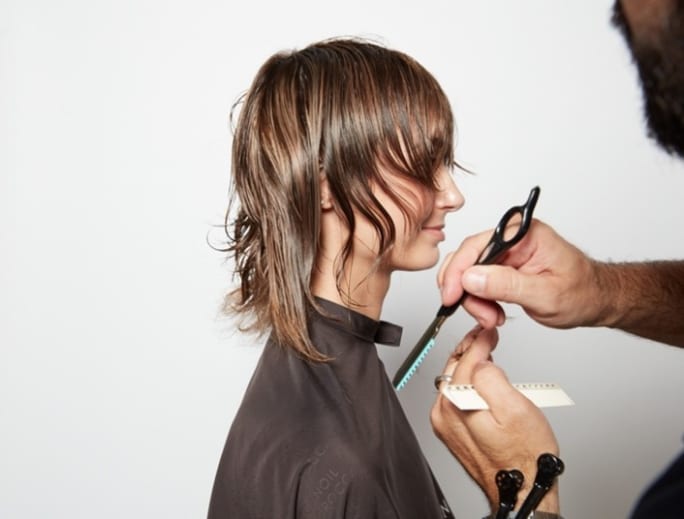
Haircut: Step-by-Step
This color creation is inspired by overlapping tones that provide a delicate contrast. Soft golden copper fused with a deeper red copper to create a stunning reflection.
The "After" by Michel Baltazar for Moroccanoil Professional
Moroccanoil Professional
Step 1 – Sectioning
Create 6 sections.
Ad Loading...
Begin by creating 2 side sections, from the parietal ridge to each ear in a slight forward diagonal, to the hairline. Then separate the entire top as another section.
In the back, create a square section that extends between the side sections, with the low crown as the top of the square.
Below the square, divide the hair vertically into two equal sections.
Step 2
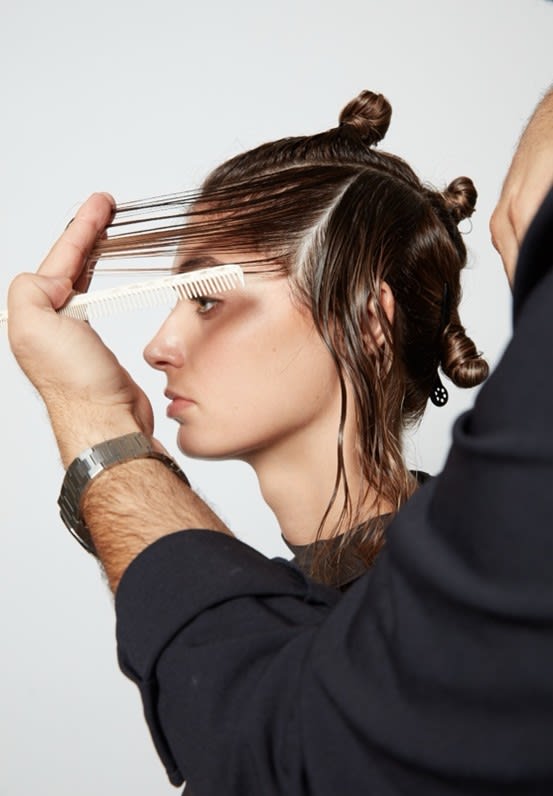
Begin cutting at one of the side sections. Take diagonal forward subsections, combing hair forward towards the face.
Ad Loading...
Cut the shortest piece at 45 degrees to lie at the browbone, keeping fingers parallel to the diagonal subsection.
Continue with diagonal forward subsections parallel to first, keeping fingers parallel to subsection.
Repeat on the other side.
Step 3
Move to the back sections. Create a vertical subsection behind the ear, comb hair, and cut at 90 degrees.
Ad Loading...
Continue cutting in vertical subsections. Repeat on the other side.
Finishing touches: Razor the long pieces on the neck to create wispy, textured effects.
Step 4
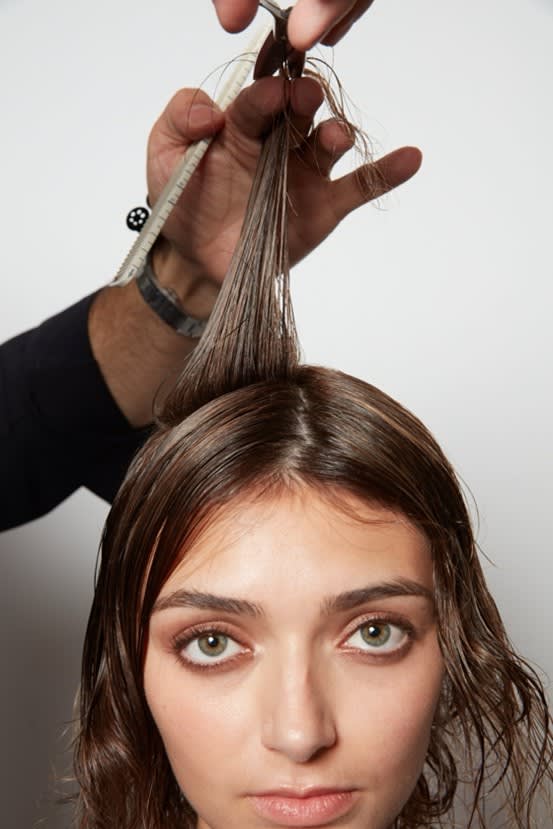
Starting at the bottom, create a vertical subsection, comb hair to the middle of the head below the occipital bone, and cut at 45 degrees.
Continue cutting in vertical subsections. Repeat on the other side.
Ad Loading...
Detailing: Razor the long pieces on the neck to create wispy, textured effects.
Step 5
At the low crown, make a small triangle that points up to create a guide that goes from short to long, using the bottom of the square section as the bottom of the triangle.
Work in horizontal subsections, cutting at 180 degrees and slightly overdirecting the hair forward.
Step 6
Ad Loading...
Section out the fringe, from the apex to the recessions at the front hairline.
Cut the top section in long vertical panels at 180 degrees, slightly overdirecting to the middle using the top of the triangle as a traveling guide.
Step 7
For the fringe, section out a small piece at the center of the hairline and create a guide at the brow line.
Take adjacent sections in diagonal subsections, slightly overdirecting across the opposite eye, and gradually shift consecutive sections back to natural fall.
Ad Loading...
Step 8
Detail with a razor, focus on the neckline.
Crosscheck haircut and detail with shears, remove weight as needed.
“We are some of the luckiest creatives on the planet. As hairdressers, we get to shape more than hair—we shape identity. We create for our clients, inspire fellow artists, and are continuously inspired by each other. That exchange of artistry is at the heart of this story and at the heart of this haircut."
This collection of color formulas is your recipe box for luscious finishes with the ingredients, tested techniques, and step-by-step guidance to satisfy your color cravings. And just like in any great kitchen, the real magic happens when the chef adds a personal twist.
Discover the Cascade Cut, a trending haircut technique from Lloyd Court, creative director and co-owner of seanhanna salons in Wimbledon. This disconnection-based layering method can be customized for any hair type, especially fine hair in need of volume.
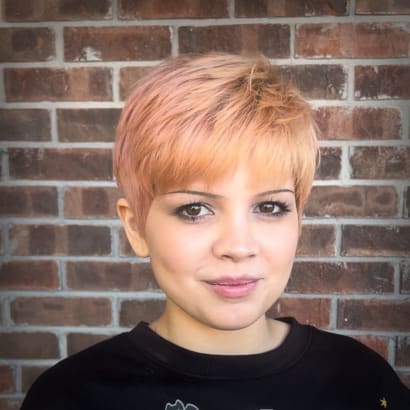
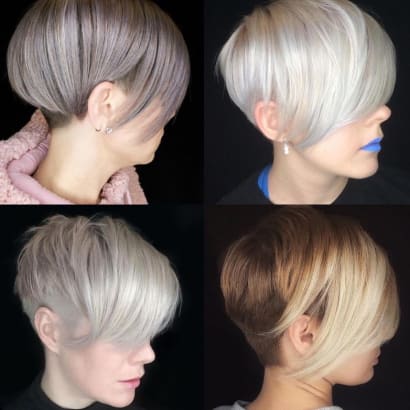
Learn how to cut the perfect pixie haircut with expert advice from Sam Villa Team Member Adrian Sandoval. Step-by-step techniques and pro tools included.
The disconnected cheekbone-grazing layers, and the heavy fringe, are the hallmarks of the hime or princess cut, also sometimes known as the jellyfish cut.
Great Clips keeps stylists’ skills sharp with advanced techniques and trends training. Meet The Alex, a hairstyle inspired by a stylist's child and a desire to create gender-neutral looks.
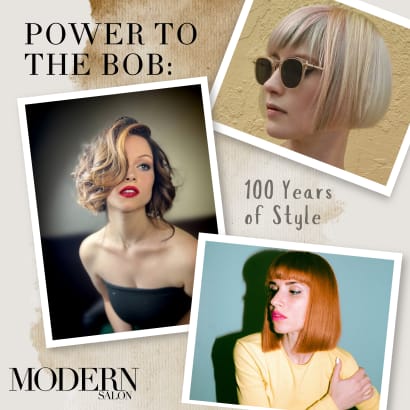
Leave it to the French to inspire a haircut so chic, it’s truly timeless. It’s a look that never goes away and when you see it, you know it. And lately, we’ve been seeing it everywhere.
We reached out to pixie and short hair expert Courtney Bolt @courtneyparamour to help us answer an often-Googled question: How to grow out a pixie without moving into a mullet?