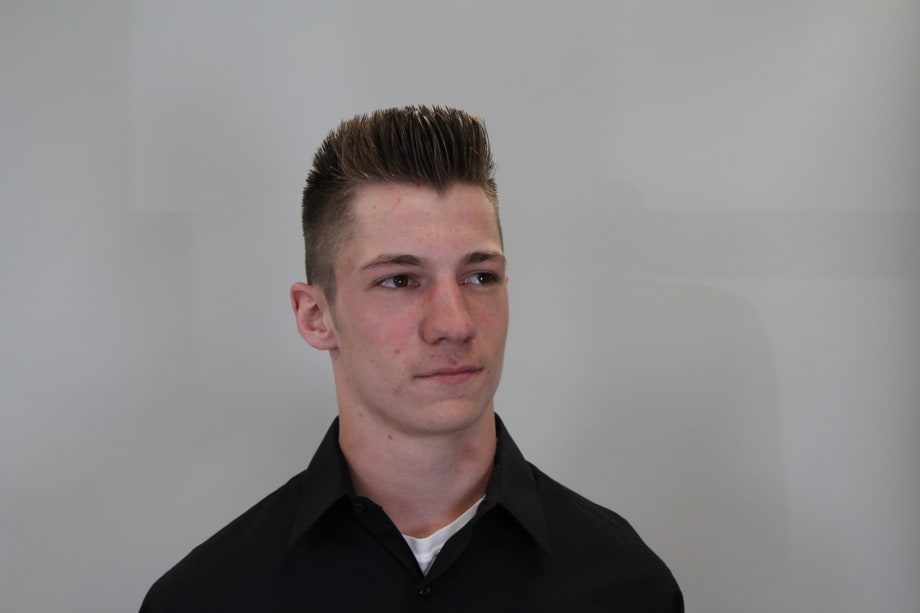
The Modern Flattop has a 1950’s pompadour flair to it. The top stands up higher than a traditional flattop and slope is more exaggerated from the longer front to the crown area. Another unique characteristic is the square shape from the ...
Anne Moratto・Director of Brand Content Strategy, MODERN SALON and NAILS
The Modern Flattop has a 1950’s pompadour flair to it. The top stands up higher than a traditional flattop and slope is more exaggerated from the longer front to the crown area. Another unique characteristic is the square shape from the front view to a more rounded back which also keeps this short clipper cut looking better for a longer period of time.
Step By Step Instructions:
Ad Loading...
Start on the sides and back with the clipper over comb technique to remove the excess hair. (If the hair is already short you can start with the desired clipper blade or attachment.)
Cut the round of the head section into a square shape in order to make the top easier to judge and cut.
Taper the outline of the haircut by cutting a 45 degree angle around the outline of the haircut. This is done best with your adjustable clipper.
Fade the hairline out to skin length. Start with an adjustable clipper in the open position and continue on down through the shorter lengths. Finish up with the trimmer in an upward shaving motion.
Apply a light gel to the top of the hair. Using a powerful hairdryer and brush dry the hair so it is all standing upright.
Start with the center section and cut from front to back angling the comb downward from the back of the ear to the crown.
Repeat this step on the left and right side of the center guide.
Complete the haircut by blending the corners to the sides and back without rounding them.
From the back of the ear to the crown complete the blend by slightly rounding the corners.
Style the top one final time to complete the look.
Final Notes:
Make sure to over direct the front slightly on the first cut to ensure the front will remain longer. Always keep the comb parallel to the floor for an even cut across the top. Lastly, make sure to determine for the final style if the client would like a wet or dry finish. For a wet looking finish you can use pomade or a gel. For a dry looking finish you can use a paste, cream, or hairspray. If you choose a hairspray do not comb or brush through after application as this will make the hair look wet. As with any product application it is always best to apply to the hair after it is dry.
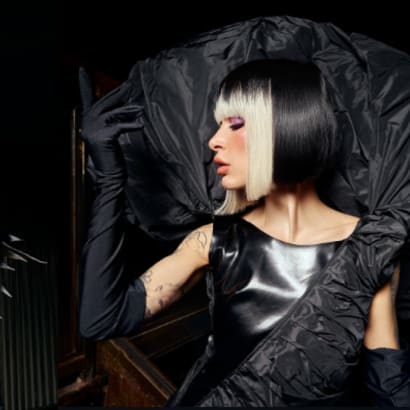
Get the steps to create this look, New Muse, which is a "couture cut," that perfectly accentuates the client’s face shape and haircolor. Straight lines build structure, while soft, jagged, diffused lines showcase a delicate beauty.
“We are some of the luckiest creatives on the planet. As hairdressers, we get to shape more than hair—we shape identity. We create for our clients, inspire fellow artists, and are continuously inspired by each other. That exchange of artistry is at the heart of this story and at the heart of this haircut."
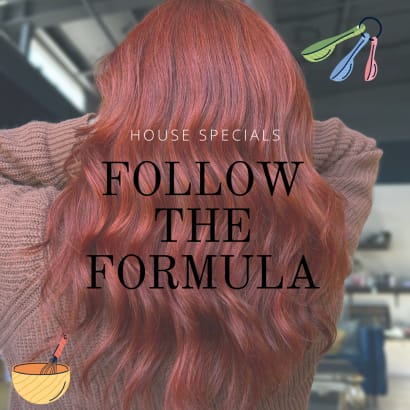
This collection of color formulas is your recipe box for luscious finishes with the ingredients, tested techniques, and step-by-step guidance to satisfy your color cravings. And just like in any great kitchen, the real magic happens when the chef adds a personal twist.
Discover the Cascade Cut, a trending haircut technique from Lloyd Court, creative director and co-owner of seanhanna salons in Wimbledon. This disconnection-based layering method can be customized for any hair type, especially fine hair in need of volume.
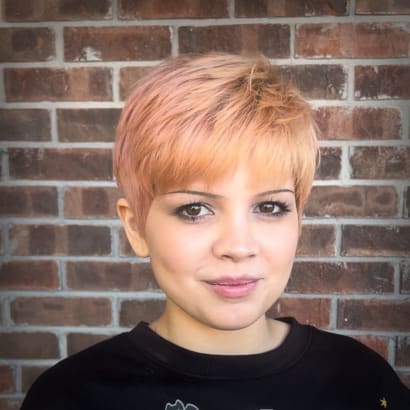
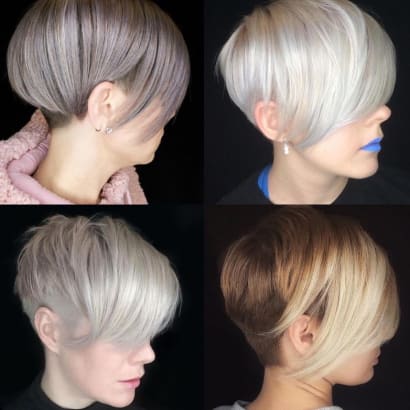
Learn how to cut the perfect pixie haircut with expert advice from Sam Villa Team Member Adrian Sandoval. Step-by-step techniques and pro tools included.
The disconnected cheekbone-grazing layers, and the heavy fringe, are the hallmarks of the hime or princess cut, also sometimes known as the jellyfish cut.
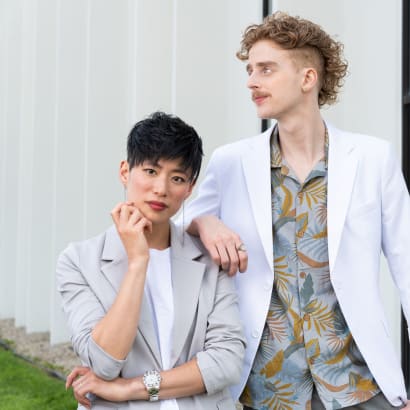
Great Clips keeps stylists’ skills sharp with advanced techniques and trends training. Meet The Alex, a hairstyle inspired by a stylist's child and a desire to create gender-neutral looks.
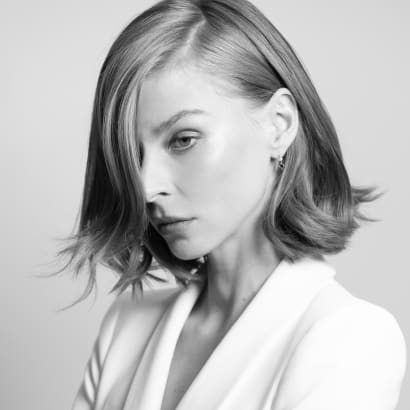
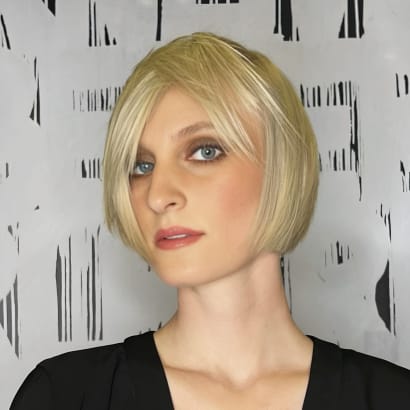
Leave it to the French to inspire a haircut so chic, it’s truly timeless. It’s a look that never goes away and when you see it, you know it. And lately, we’ve been seeing it everywhere.
We reached out to pixie and short hair expert Courtney Bolt @courtneyparamour to help us answer an often-Googled question: How to grow out a pixie without moving into a mullet?