


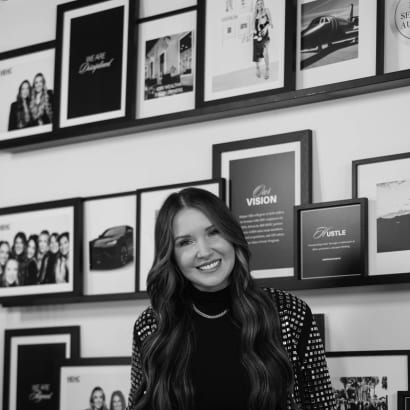
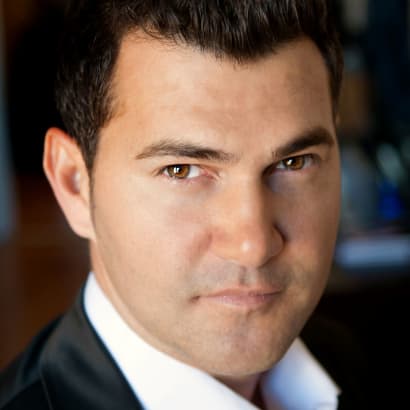
Meet the Founder of Harper Ellis Hair Co., Terra Harvell
A stylist who felt she needed to build what she couldn't find in other hair extensions, in five years Terra Harvell has grown Harper Ellis into a $10 million business.
by Anne Moratto
Mastering your chosen extension method is the key to delivering seamless, comfortable, and long-lasting results. See the step-by-step techniques that Donna Bella Ambassadors Olivia Thompson and Lo Wheeler Davis use to get the perfect install every single time.
Olivia Thompson @omgartistry loves using tape-in extensions to give her clients flawless hair.
Hair extension installation is one of the most lucrative services you can offer in your styling career, allowing you to build long-term relationships with clients while providing instant, transformative results.
But with so many installation methods available, choosing the technique that works best for you is about finding the one that best matches your artistry, workflow, and your clients' needs. If you’re looking for high-quality, ethically sourced hair, Donna Bella offers a wide range of extension options to suit your chosen method and help you transform your business.
Mastering your chosen method is the key to delivering seamless, comfortable, and long-lasting results. Read on for the step-by-step techniques that Donna Bella Ambassadors Olivia Thompson and Lo Wheeler Davis use to get the perfect install every single time.
After nearly 20 years as a Hair Artist, Healthy Hair Specialist, and Global Educator, Donna Bella tape-ins remain one of my favorite methods for creating beautiful, natural-looking hair. They’re comfortable, versatile, and deliver transformative results while helping maintain the integrity of the natural hair.
Today, extensions make up about 90% of my clientele and have completely changed my business, allowing me to work just two days behind the chair while generating more revenue than ever before.
Olivia Thompson
1. Start with the Consultation
Every successful extension install starts with understanding what the client is really asking for. Most clients come in wanting length, but after a deeper conversation, they’re usually looking for fullness, thicker ends, more dimension, or simply hair that feels like their younger self again. This shift in thinking changed my business. When I stopped selling hair and started solving problems, my extension consultations became significantly more successful.
2. Prep the Hair Properly
Clean hair is everything when it comes to tape-ins. I always start with freshly clarified hair that’s completely dry and free of oils, conditioners, or heavy styling products. The cleaner the foundation, the better the bond.
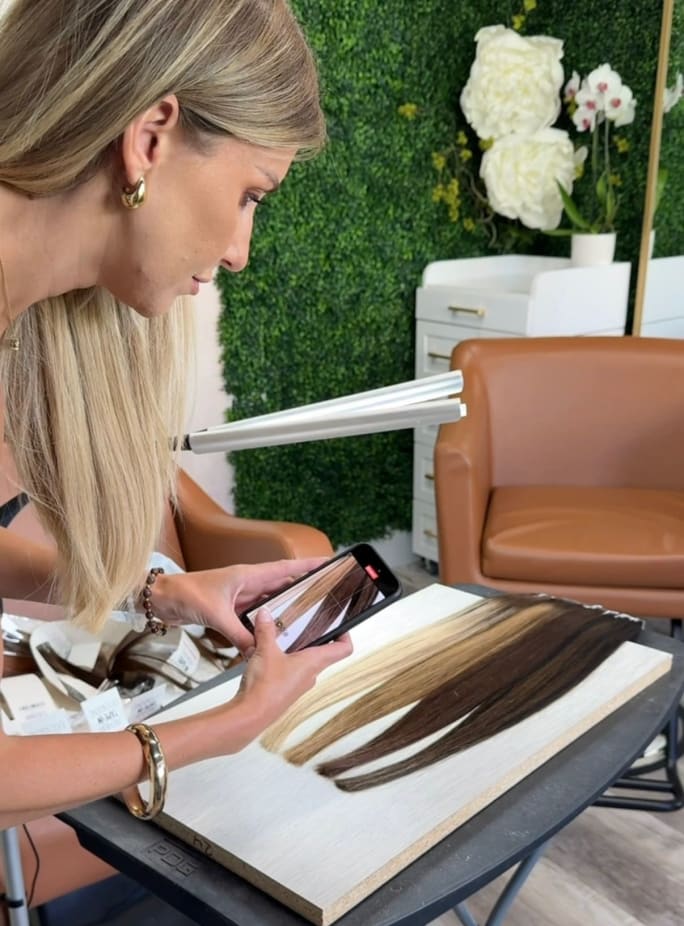
3. Map Out My Placement
Before opening a single pack of Donna Bella tape-ins, I visualize where I want the transformation to happen. One of my favorite tips is focusing on density before length. Most clients don’t actually need more inches, they need fullness. Strategic placement often creates a bigger impact than simply adding length.
Olivia Thompson
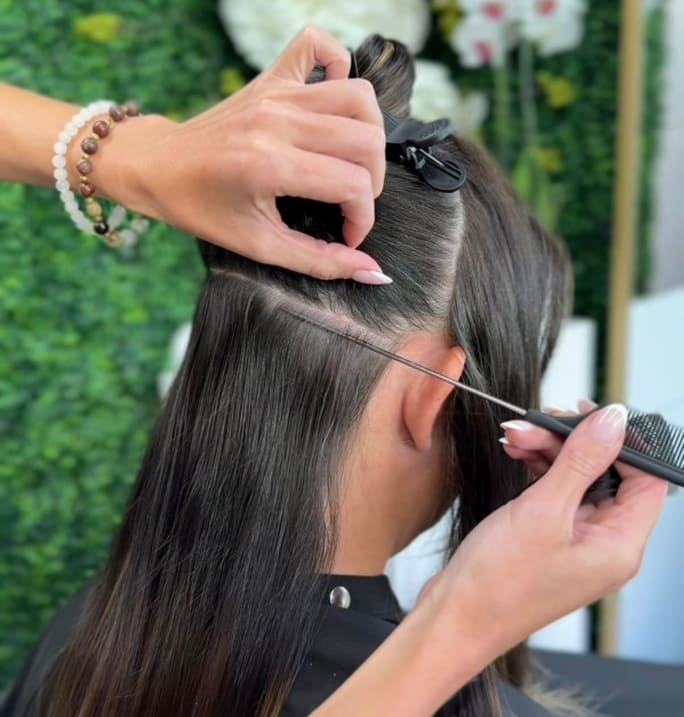
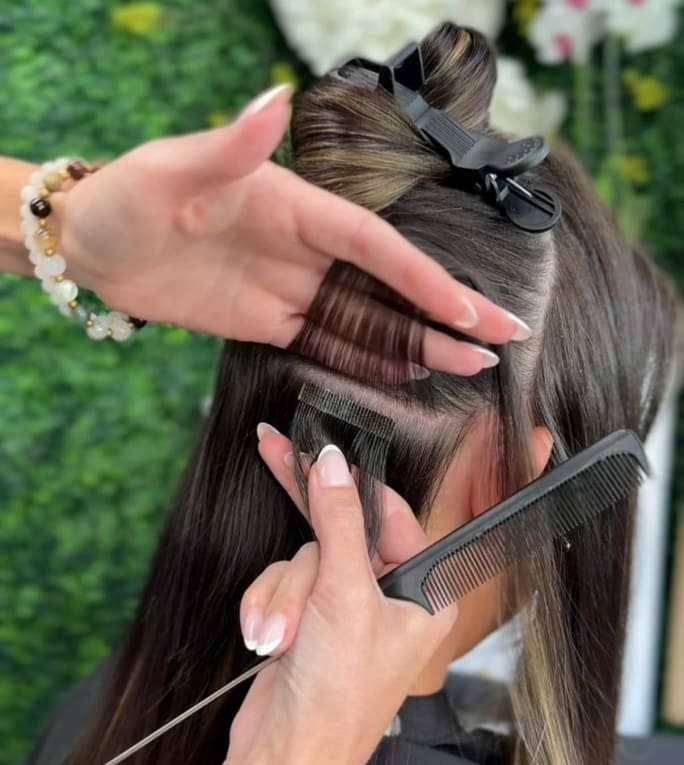
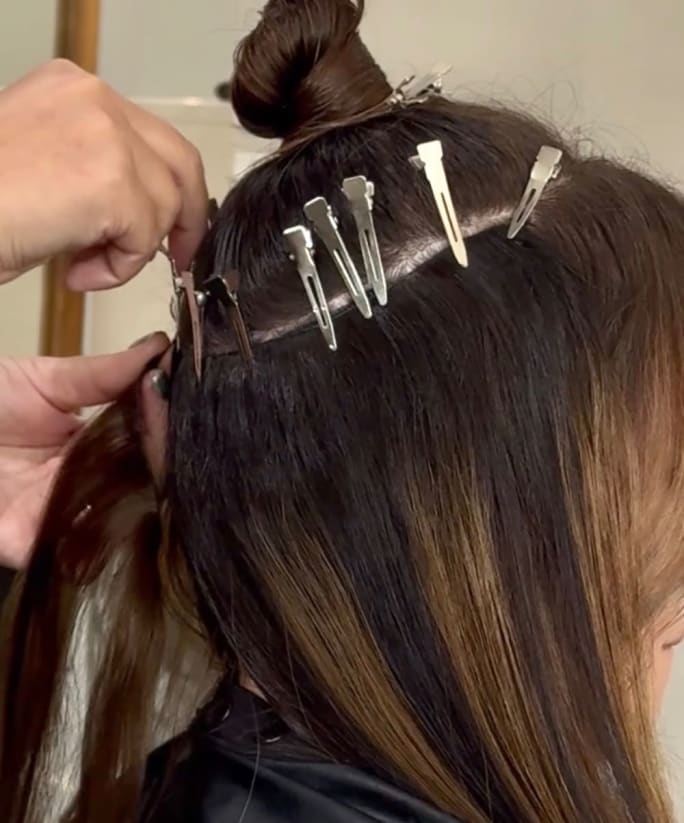
4. Create Clean Sections
I work with clean horizontal partings and leave enough natural hair around the perimeter and hairline to keep the tapes hidden. This gives clients more flexibility when styling and helps create a more seamless result.
5. Install the Tape-Ins
I take a thin section of natural hair and sandwich it between two tape-in wefts. The goal is a secure bond that lays flat, feels comfortable, and moves naturally with the client’s hair. Over the years, I’ve worked with many extension methods, but tape-ins remain one of my favorites because they allow me to create a high-impact transformation in a relatively short amount of time. I only reach for Donna Bella Tape-In Extensions because of their consistent quality, shade selection, and ability to blend beautifully with a wide variety of hair types.
Olivia Thompson
6. Check Balance and Comfort
As I work through the head, I’m constantly checking for balance, weight distribution, and movement. Extensions should feel like they belong there, not like they’re fighting against the client’s natural growth pattern.
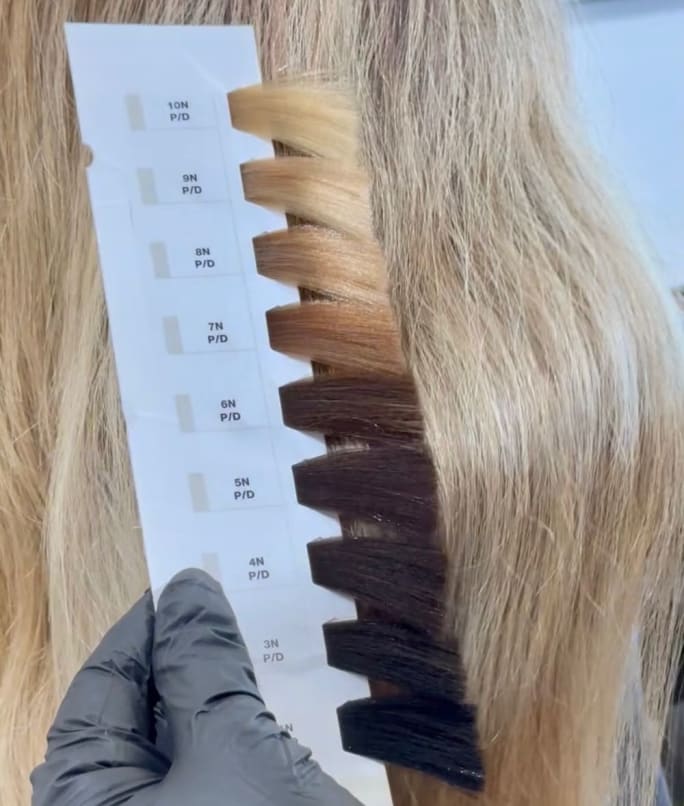
7. Use Extensions as a Color Tool
This is one of my favorite hacks. Sometimes I’ll use lighter or darker extension shades to create dimension, depth, or brightness without adding another color service. Clients love getting the visual impact of a color transformation while preserving the integrity of their natural hair. Having access to a wide range of Donna Bella shades makes this approach especially effective when creating customized color results.
Olivia Thompson
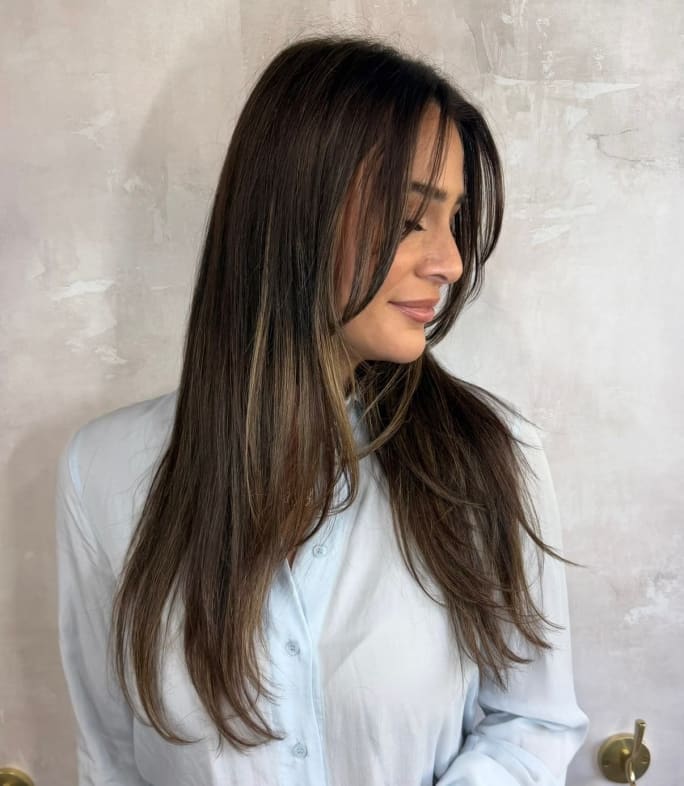
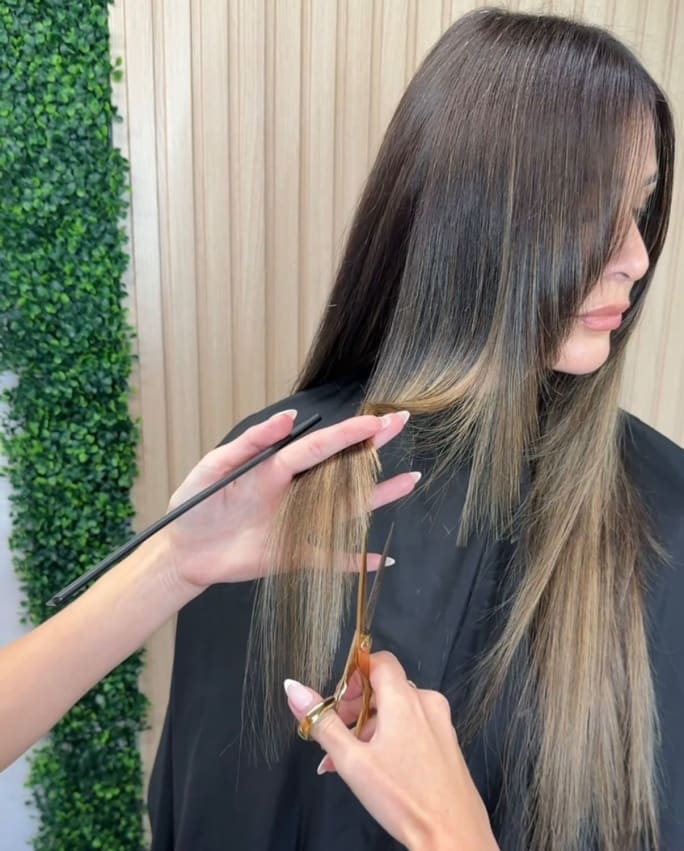
8. Blend Using My Signature Liv’ed In Cutting and Blending Method
The install creates the foundation, but the haircut is what creates the illusion. One thing I’ve learned after nearly 20 years behind the chair is that installing extensions is a technical skill, but making them disappear is an art form.
Once the extensions are installed, I begin customizing the shape to the client’s natural haircut, face shape, density, and styling habits. My goal isn’t simply to remove weight. It’s to create movement, softness, and a seamless transition between the client’s natural hair and the extension hair.
One of my favorite tricks is to focus on the areas most stylists miss: the corners, the front perimeter, and the interior weight lines that become visible when the hair moves. Hair doesn’t stand still in real life, so I blend for movement, not just for the mirror. I also believe in cutting less than you think and refining more than you think. You can always remove more hair, but you can’t put it back.
Olivia Thompson
When the blend is done correctly, there shouldn’t be a clear starting point or ending point between the natural hair and the extensions. Everything should move as one. That’s the philosophy behind my signature Liv’ed In Cutting and Blending Method.
For the many stylists who have followed my cutting work over the years, I’m excited to share that the Liv’ed In Cutting and Blending Method will soon be available through Donna Bella Education. I’ll be teaching the techniques, philosophies, and blending strategies that have helped me create seamless extension transformations and signature lived-in hair for nearly 20 years behind the chair.
9. Style the Finished Look
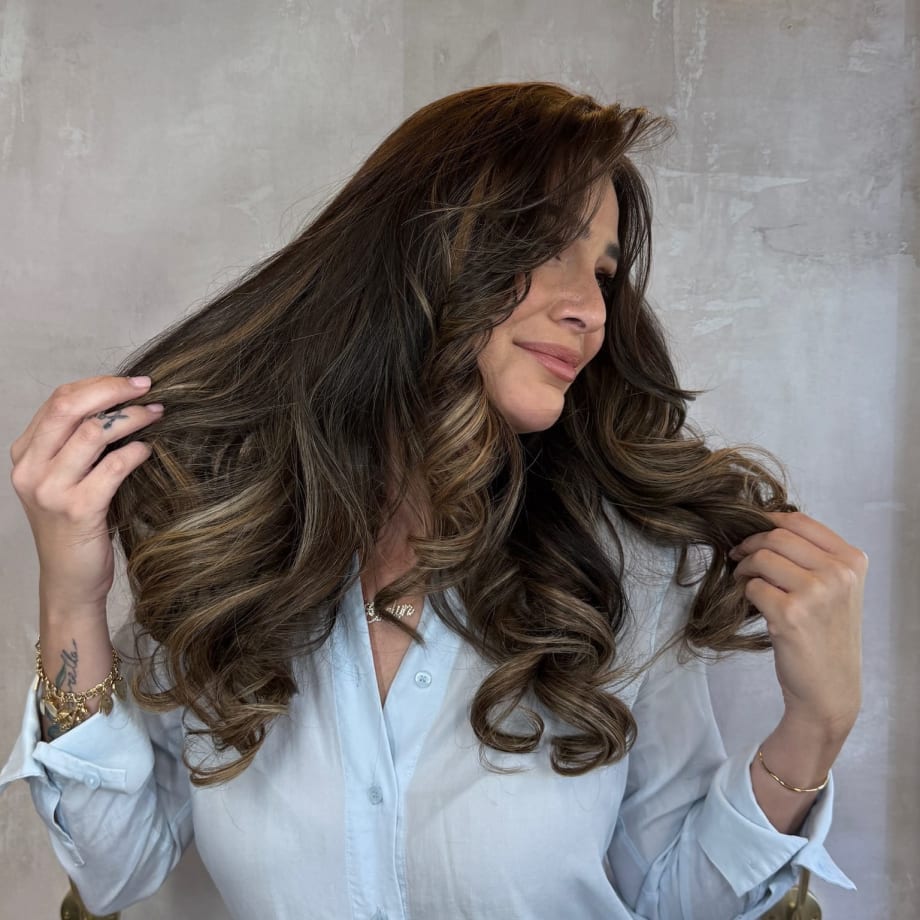
This is where the transformation comes to life. Styling allows both me and the client to see the full impact of the service and showcase the movement, color, and blend.
10. Build Demand Beyond the Chair
The final step isn’t about extensions at all. It’s about making sure people know you offer them. One of the biggest business lessons I’ve learned is that the best marketing doesn’t happen in the salon, it happens before the appointment. Through social media, I’ve built a brand around healthy hair transformations, extensions, blonding, and educational hair hacks. When clients repeatedly see your work solving the exact problems they’re struggling with, they stop shopping for a stylist and start requesting you specifically.
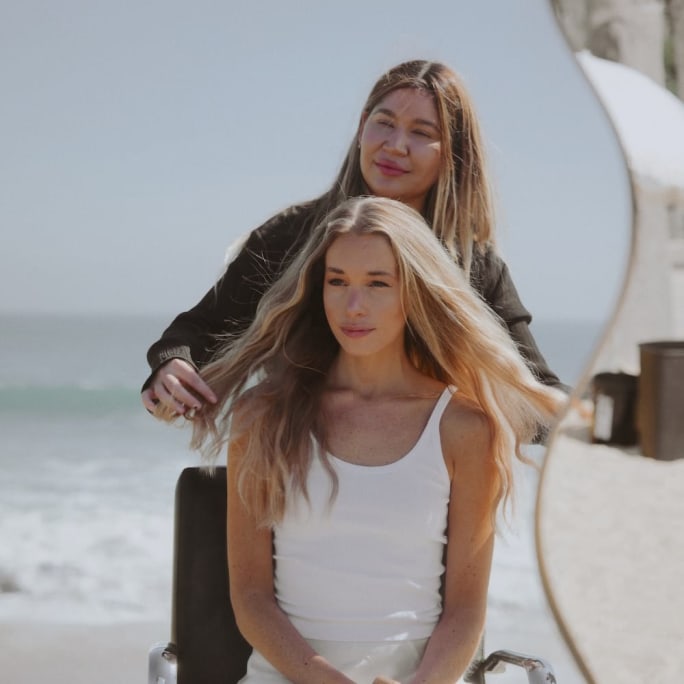
Lo Wheeler Davis works on a client's hair.
Lo Wheeler Davis
As a surf-inspired hairstylist, educator, and extension specialist, I’m known for creating effortless, lived-in blondes and seamless extension transformations. That’s why I love working with Donna Bella Hybrid Wefts. Weft installs allow me to blend technical expertise with a relaxed coastal aesthetic, creating hair that feels naturally beautiful, healthy, and wearable.
For me, a successful weft installation goes beyond adding length and volume. It’s about designing a customized experience that supports the health of the natural hair while delivering results that feel luxurious, comfortable, and uniquely tailored to each guest.
1. Consultation
Every successful extension service begins with a thorough consultation where I assess the guest’s hair density, texture, lifestyle, maintenance commitment, and desired outcome. Together, we determine the appropriate length, color match, and amount of hair needed to achieve a seamless result while protecting the integrity of the natural hair.
Lo Wheeler Davis
2. Prep
Before installation, I address the guest’s hair color based on the desired end result. Whether creating dimension, brightness, depth, or overall color balance, this step allows me to bring the guest’s natural hair into harmony with the extension color. Taking the time to customize the color application beforehand ensures a seamless blend and a more natural-looking final result once the wefts are installed.
3. Placement
Strategic placement is everything. I map out where each row will sit based on the guest’s head shape, density, and styling habits. My goal is to create balanced fullness while ensuring the extensions remain comfortable, concealed, and easy to wear.
Lo p
Lo Wheeler Davis
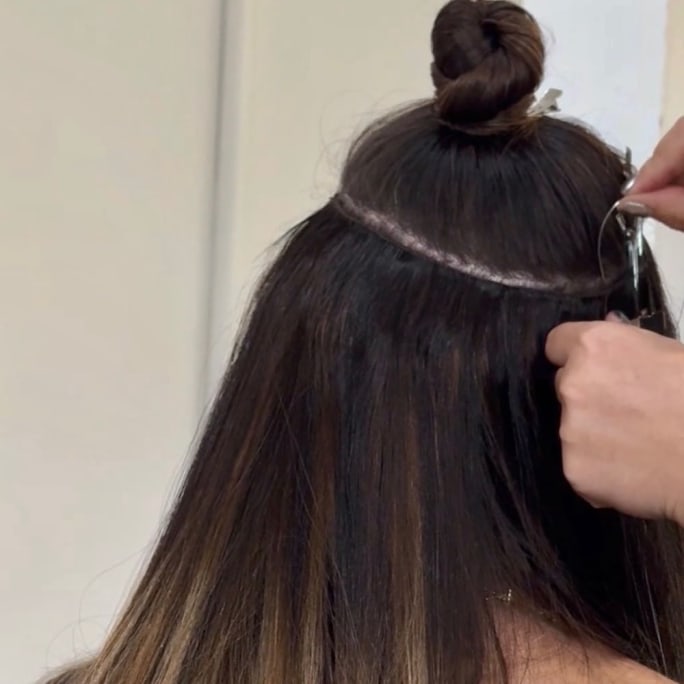
4. Sectioning
Clean, precise sectioning creates the foundation for a flawless install. I establish my guide sections and ensure consistent spacing throughout the head, leaving enough natural hair around the perimeter and crown for complete coverage and seamless blending.
5. Install
Using Donna Bella Hair Hybrid Wefts, I create secure, evenly distributed rows that maintain comfort while minimizing tension on the natural hair. While I sew the weft onto the beaded platform, I continually check balance, weight distribution, and mobility to ensure the extensions move naturally with the guest’s own hair.
Lo Wheeler Davis
6. Cut
Once the installation is complete, I customize the haircut specifically to the extension placement and desired shape. Internal layering, perimeter detailing, and face-framing techniques help blend the natural hair into the extensions, creating a result that appears completely effortless.
7. Styling
Styling is where the transformation comes to life. I finish with soft movement, texture, and dimension that showcase the extension work while maintaining a naturally lived-in feel. To enhance shine, softness, and overall hair health, I finish with my BEACHWASHED Deep Current Treatment Oil, which leaves the hair looking polished, touchable, and beautifully beach-washed.
A stylist who felt she needed to build what she couldn't find in other hair extensions, in five years Terra Harvell has grown Harper Ellis into a $10 million business.
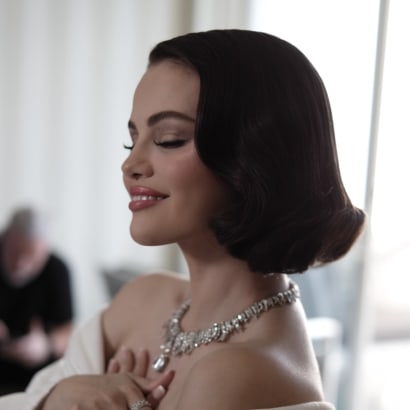
Celebrity hairstylist Renato Campora graced Selena Gomez with a timeless and elegant Hollywood bob for the 2025 Golden Globes, using Great Lengths Tape-In Extensions.
Celebrity hairstylist Marc Mena shares exclusively with MODERN how he used the new Essenza and Aria Great Lengths Tape-Ins to style Karla Sofía Gascón for the 2025 Golden Globes.

Christina Aguilera made a surprise performance at the Sabrina Carpenter concert, showing up with new length. Here's how to recreate the look.
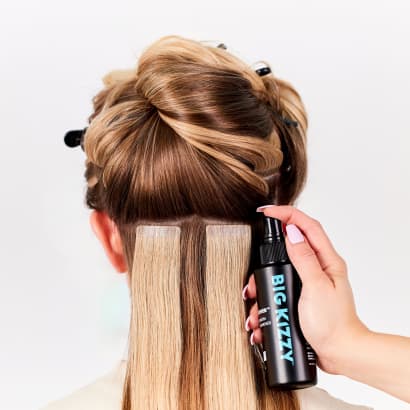
Meet Big Kizzy, known for their 3-step tape in hair extension remover system. Founded by an extension hair pro, they now offer everything for extensions!
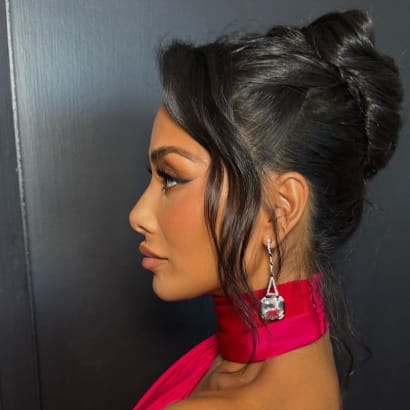
Celebrity Nicole Scherzinger's soft updo was created by celebrity hairstylist Dimitris Giannetos, using new The Coveted Tape hair extensions by Covet & Mane.
More than a Dream is a new collection of 5 styles from Hairdreams, a collaboration with Lorenzo Marchelle.
Celebrity stylist Gregory Russell shares how he created Riley Keough's 2024 Emmys hair look with some added length.
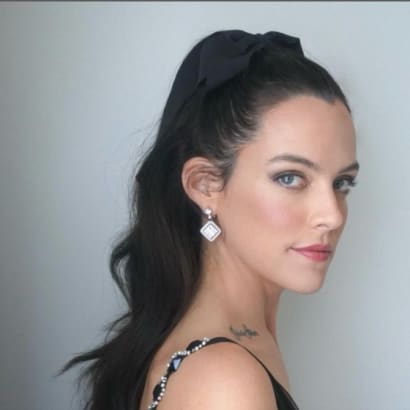
This client grew up being told how unattractive her hair was and felt like there was nothing that would change that. This stylist did--and with love.
If you are prepared with the right techniques, the right questions, and the right products, you will be ready to create a beautiful result for your hair extension client. And when you've done that, you have a client for life. Here are my proven methods for building a solid hair extension career and business.
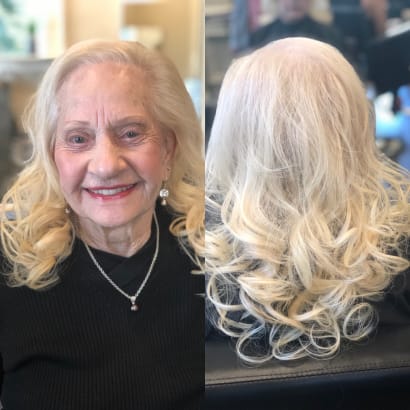
Expand your service offerings with solutions for clients experiencing hair loss.
In this exclusive video interview, Great Lengths educator Kristina Noto explains how to use the brand's extension offerings for clients with hair loss.
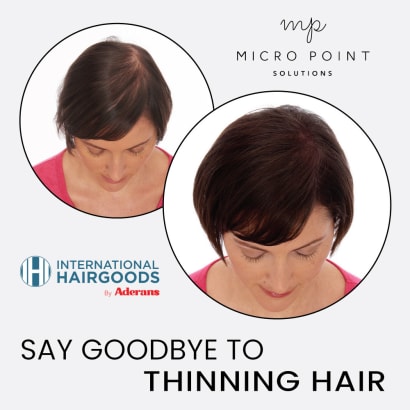
For clients who want to address volume on the top of their heads, but don't want the commitment of wearing and caring for a topper, this unique service provides a solution. Micro Point Links fill in thinning areas by knotting individual hairs onto existing hairs. It's a service that is a win-win, offering clients an answer to sparse, bare areas and providing stylists with a valuable addition to their service menu.
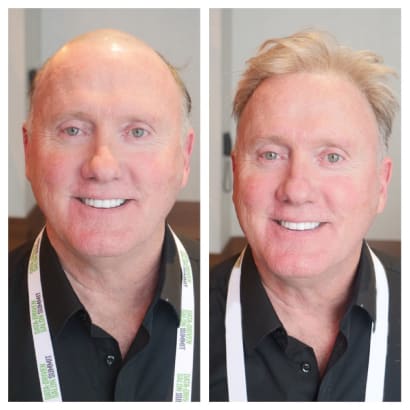
Celebrity stylist Andrew Fitzsimons leads the creative direction for BELLAMI's new Visual Identity campaign.
INH has just launched the professional side of their extension business, created by the pros, for the pros.
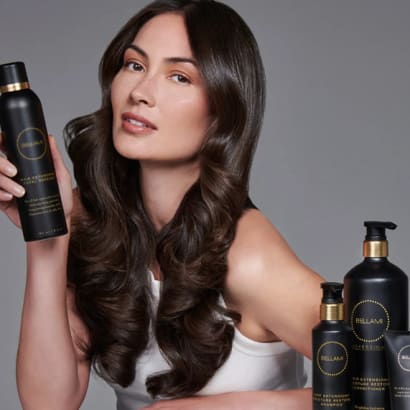
Bellami's new professional-grade hair extension care collection for in-salon and at-home use is designed to double the lifetime of hair extensions.
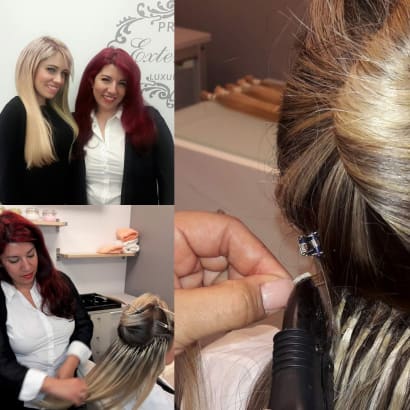
When Sacha Quarles wasn't able to offer extension services to his celebrity clients, he decided to stop paying someone else to do them and to learn how to do them, himself. And the result has been career-changing.