One of the best parts of the beauty industry is the ability to transform a client’s appearance and boost their confidence. Often, clients debate whether the decision to get bangs is a good one. With Hotheads’ Bangover, clients are able to switch up their look without long-term commitment (or regret!).
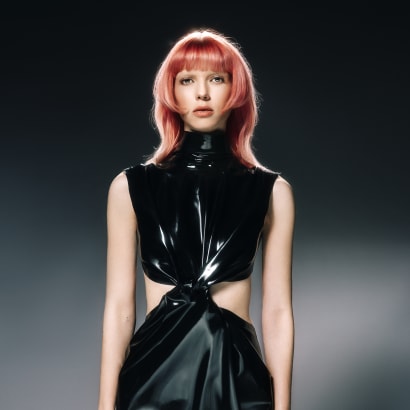
The clip-on accessory features a lightweight and breathable design that’s made with three pressure-sensitive clips and 100% Remy Human Hair for optimum comfort and fit. It is completely customizable so you can offer your clients commitment-free feathered, arching, blunt, sideswept or eye-grazing bangs in an instant.
What’s even better? Clients don’t have to deal with awkward bang trims or the growing-out process.
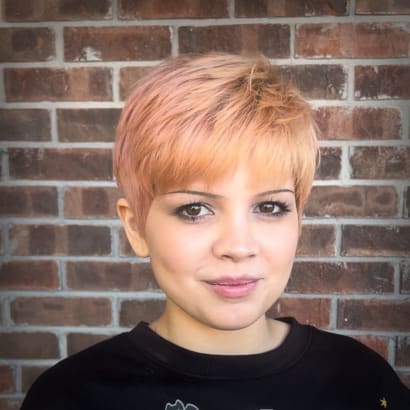
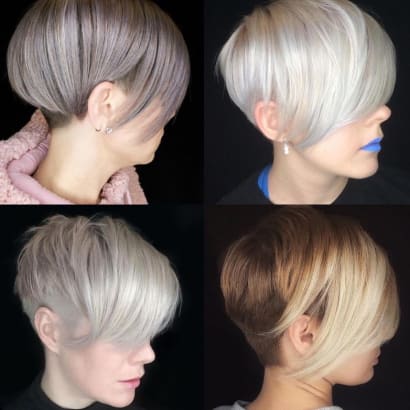
North Carolina-based stylist Amanda Kimball, @amandajeank, says her clients are a huge fan of this easy solution.
“I love the Bangover because of the quality of hair,” she says. ”But I also love the amount of hair it has because it allows me to create a beautiful bang plus have hair along the sides to create face-framing layers and a seamless blend.”
Here, Kimball shares her tips for blending in the Bangover with your client’s hair:
The following can be done simply by placing your Bangover on a mannequin head and following the instructions below. It might be more comfortable cutting it on a mannequin first verses a client. Both work well.
Step 1. Secure your customers hair with an elastic. Kimball suggests parting it down the middle and securing with an elastic in a low ponytail.
Step 2. Spray the top of the head and crown with a light hairspray to lay flyways down in the direction of the ponytail. This will help in keeping all loose flyaways from accidently being cut.
Step 3. Secure your Bangover. You want to start by securing to the front hairline first then working your way back to the crown. Make sure it’s nice and snug! Pro tip: This next set of instructions can be done on wet or dry hair. You can use a razor or your sheers. It’s up to you. The most important part is to have fun with it and be creative.
Step 4. Kimball’s tool of choice is a razor. She says in order to cut the Bangover, she sprays her extension with water. This will help to keep the razor cutting through the hair smoothly.
Step 5. Comb the entire bang down in front of the face and spread it out. Think about the shape you want your bang to be. Kimball likes to spread it out while combing so she can add some framing around the face.
Step 6. Leave it longer than you’d like! Grab a vertical section no bigger than what you can hold—no bigger than a ½ inch section—and hold it at zero degrees elevation. Cut it just above the tip of your client’s nose. Go in with your razor slightly angled and tap across to get your first cut.
Step 7. Repeat the same movements as step number 6. You should be above the right eye if moving to the right. Next, go in and do the same section above the left eye.
Step 8. You repeat step 6 again but keep in mind the shape you are going for. Kimball cuts her section into a curve. Repeat on the opposite side.
Step 9. With the remaining hair hanging down on the sides of your bang. Use the end piece of your bang as a guide. Comb the entire section at zero degree elevation. Starting with the guide, come in with your razor at a slight angle and slightly tap to keep your razor and hand moving down the entire section. This will create beautiful face-framing layers. Repeat on opposite side. (Keep in mind Kimball intentionally left them long. This is to ensure she can go back in and repeat the steps above till she gets to the right length. If you want them shorter you can clip the bang in half and work with less hair if it’s too much to do all at once. )
Step 10. Remove bulk. Kimball likes to go in and split the fringe in half. Working with less hair at this point is easiest, she says. Taking vertical sections and starting in the middle of her section, she takes her razor and goes in with a tapping motion from the middle of her section to the end of her section. This can also be done with texturizers. Drop down the section above. If it’s bulky, repeat movements.