






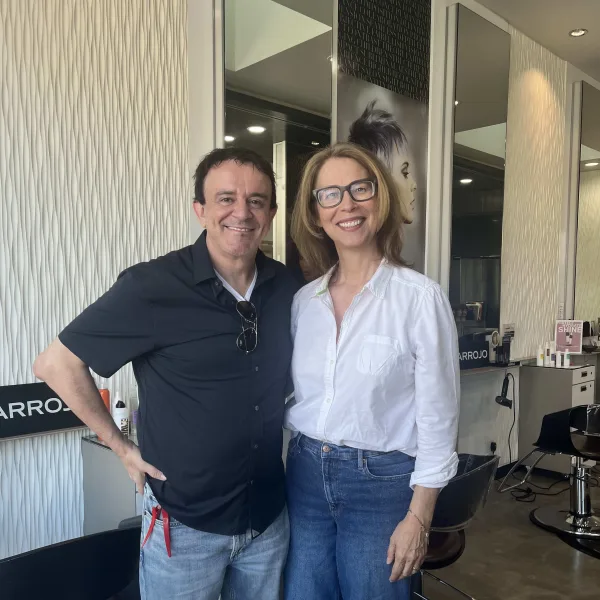
My First Time: A Razor Cut with Nick Arrojo
In an anniversary year for the Arrojo NYC brand, on an early Monday morning, Nick Arrojo used a razor on my hair. And I liked it.
by Anne Moratto
 MENU
MENU SEARCH
Get the breakdown for this cut from Gianni Scamuci, director of GS Education in London. He outlines ten steps, using both razors and shears, for achieving this shape.

HAIR by @gianniscumaci
This beautiful shape was created by Gianni Scumaci (@gianniscumaci), the director of GS Education and the vision director for John Frieda Salons in London. His feed is filled with inspiring cuts and designs, including this "Broken Shag."
"Broken layers were used to creat this look," Scumaci explains. "I disconnected the ends to leave them weightless for the movement along with lifting the color and applying a soft pastel hue to compliment the shape." (Haircolor by @emmadexnolan)
Scumaci broke down the haircut into ten steps. Also on his feed is a shout-out to stylists, everywhere, to stay strong in these difficult times.
"For all hairdressers around the world missing what they love doing every day, remember that you are missed and loved by your clients and teams and as an industry and by our very nature we will adapt like we do on a daily basis. I miss and love being in the salon with my amazing clients and @johnfriedasalons @nicolaclarkecolour family but we will meet again and when we do it will be better than ever before and post COVID-19, I will still be running behind. 🙏🏻❤️"
THE BROKEN SHAG HOW-TO
ONE: Section off from vertically centre front to center back and horizontally, ear to ear.
TWO: Section two triangle sections from where the head rounds creating a diamond panel on the top.
THREE: Section a discontented panel across the front hairline.
FOUR: Start by graduating the back leaving length around the hairline, over directing to retain length towards the ear.
FIVE: Layer the front panel working backwards towards the back, retaining length around the jaw and ear.
SIX: Connect the back and front together rounding off any corners of weight.
SEVEN: Dry the underneath shape and refine the outlines by softly pointing removing the weight required.
EIGHT: Razor the fringe area to the desired length keeping softness on the ends.
NINE: Release the top and razor cut the lengths in a rounded shape leaving length toward the edges.
TEN: Dry and top and use fingers to allow movement and texture to develop with the feeling of the haircut.
For further information, visit http://www.gianniscumaci.com/education/
OR subscribe at https://vimeo.com/ondemand/gseducation/225091146
In an anniversary year for the Arrojo NYC brand, on an early Monday morning, Nick Arrojo used a razor on my hair. And I liked it.

With more than four decades in the industry, hairdresser and MODE Education founder Stan Newton has built a career around the art and discipline of cutting hair, learning the rules so he can break them.
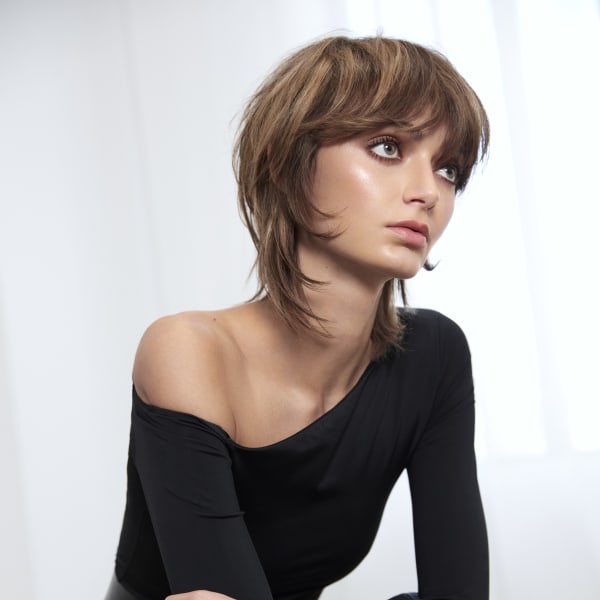
Get the steps to create this look, New Muse, which is a "couture cut," that perfectly accentuates the client’s face shape and haircolor. Straight lines build structure, while soft, jagged, diffused lines showcase a delicate beauty.
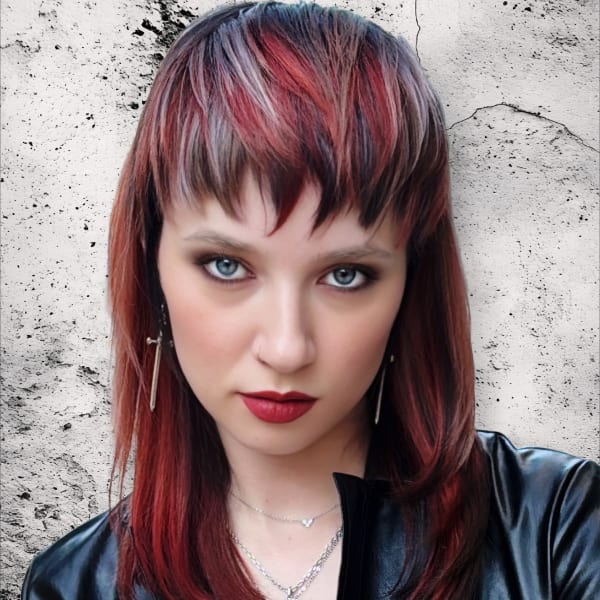
“We are some of the luckiest creatives on the planet. As hairdressers, we get to shape more than hair—we shape identity. We create for our clients, inspire fellow artists, and are continuously inspired by each other. That exchange of artistry is at the heart of this story and at the heart of this haircut."
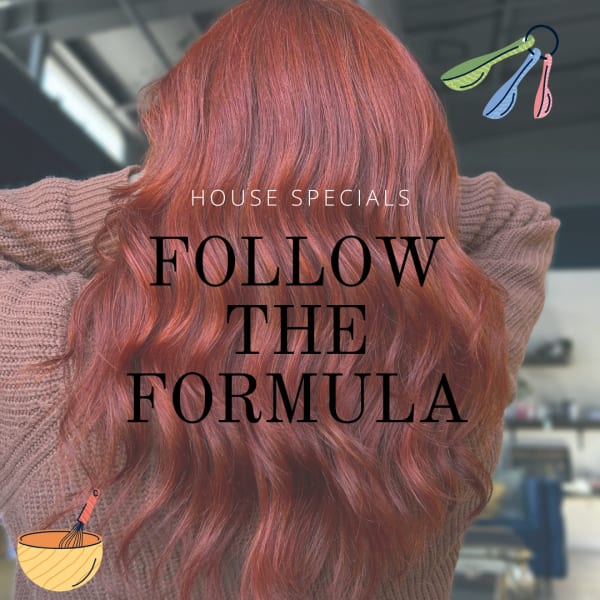
This collection of color formulas is your recipe box for luscious finishes with the ingredients, tested techniques, and step-by-step guidance to satisfy your color cravings. And just like in any great kitchen, the real magic happens when the chef adds a personal twist.
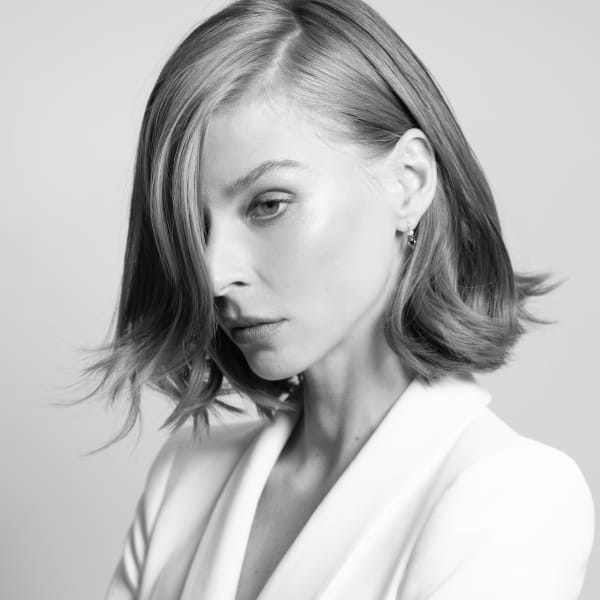
Discover the Cascade Cut, a trending haircut technique from Lloyd Court, creative director and co-owner of seanhanna salons in Wimbledon. This disconnection-based layering method can be customized for any hair type, especially fine hair in need of volume.
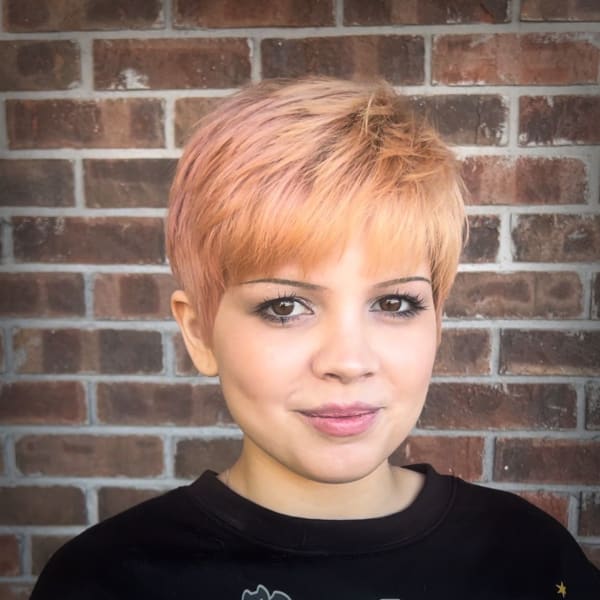
Learn how to cut the perfect pixie haircut with expert advice from Sam Villa Team Member Adrian Sandoval. Step-by-step techniques and pro tools included.

The disconnected cheekbone-grazing layers, and the heavy fringe, are the hallmarks of the hime or princess cut, also sometimes known as the jellyfish cut.
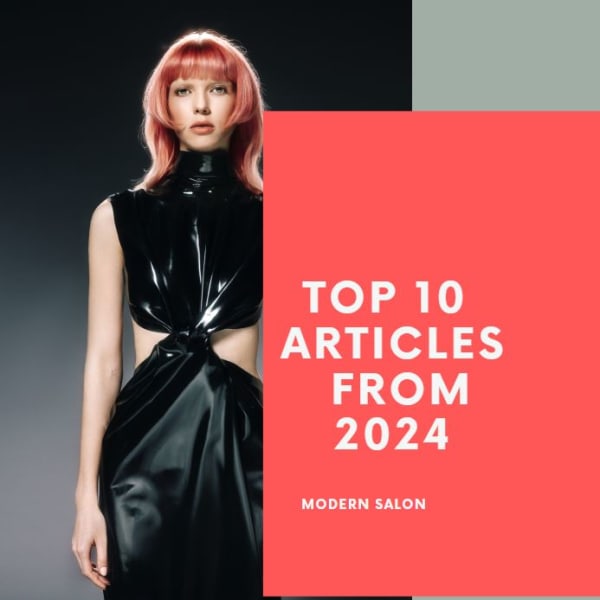
They cover your favorite reads related to your salon career, your favorite trending hair cuts, some of your favorite color formulas, and more!
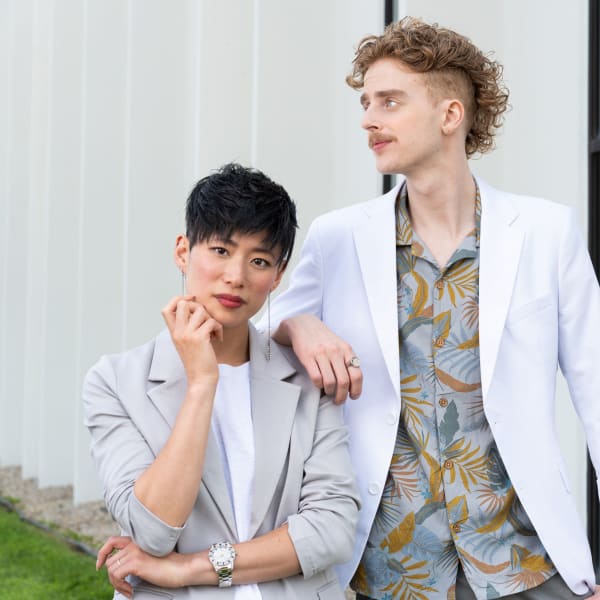
Great Clips keeps stylists’ skills sharp with advanced techniques and trends training. Meet The Alex, a hairstyle inspired by a stylist's child and a desire to create gender-neutral looks.
Sponsored by Great Clips
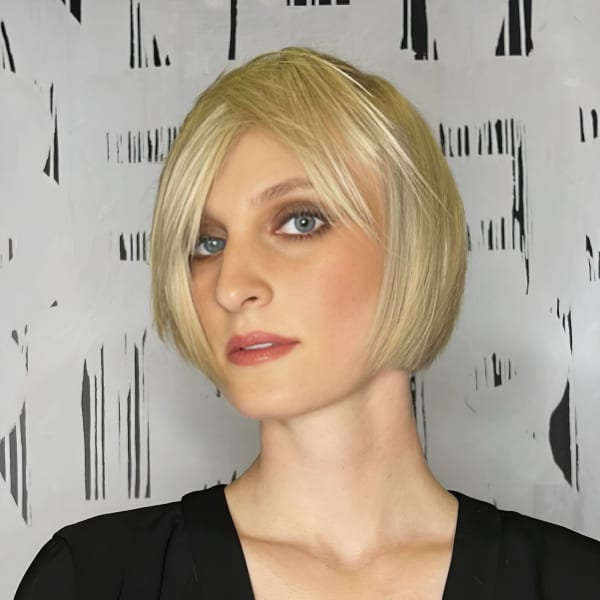
Let the Sam Villa Artistic Team take you step-by-step through how they achieved what will be this fall's hottest bob styles.

Stephen Moody shared that his goal was to celebrate proud women through transformative hair color, cut, finish, and photography.
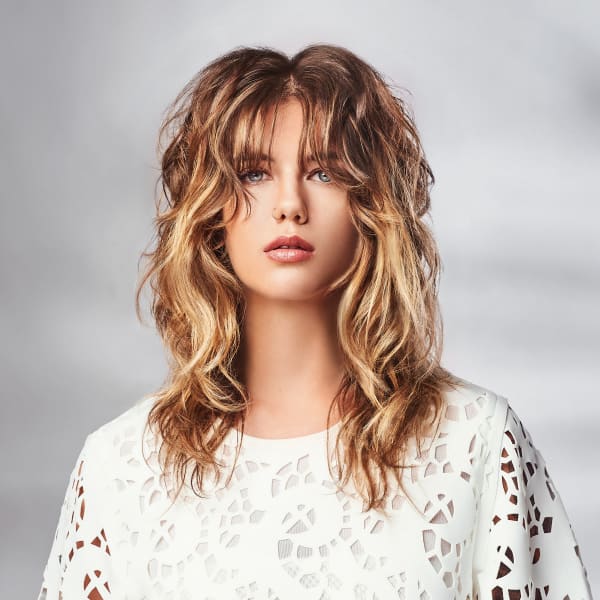
See Sam Villa ArTeam member Ellen Devine demo how to transition your clients between different styles of fringe, without changing their whole cut.
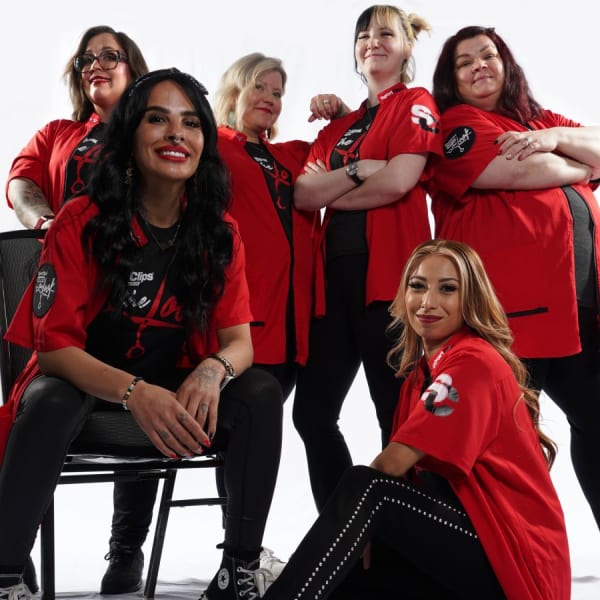
El Paso Stylist Valerie Rivera is the winner of Sport Clips Haircuts' "The Look" creative competition, with this year's theme focusing on curls.
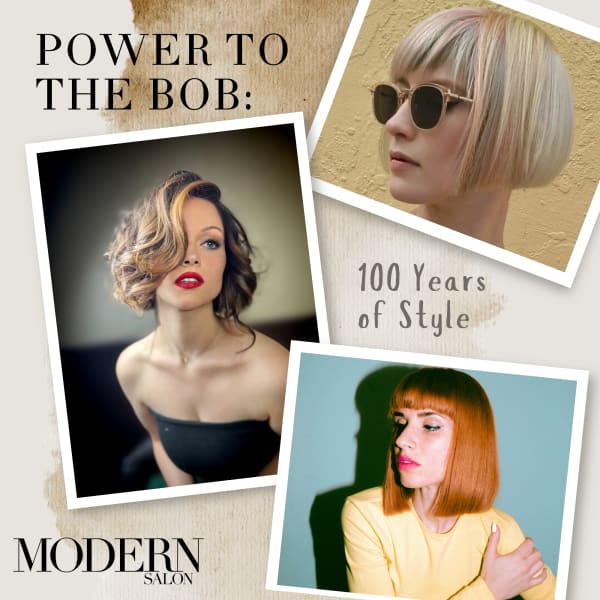
A trending haircut in different forms for the past century, the bob is one style that has stood the test of time.
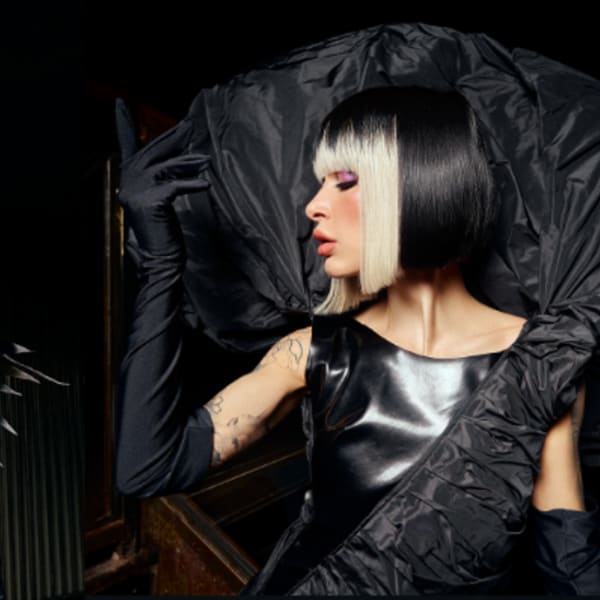
More than a Dream is a new collection of 5 styles from Hairdreams, a collaboration with Lorenzo Marchelle.
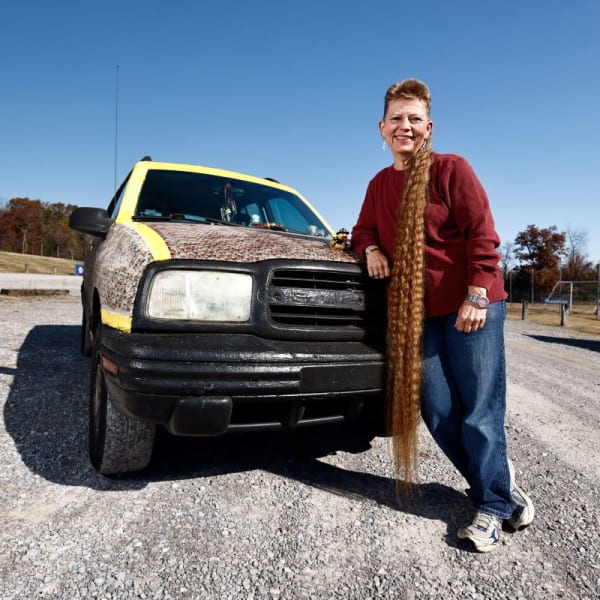
Tami Manis of Knoxville, Tennessee is the Guinness World Records 2024 title holder for the world’s longest competitive mullet (female).