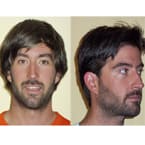
You do not have to experience an unforgettable weekend to appreciate the casual style of Hangover II star Bradley Cooper. Bradley’s look is a little longer and looser than a classic taper cut, and the look is ideal for many different textures. This technical provided by Andis, has hair just a bit straighter than Coopers' but the look works well to create an easy style and a nice change.
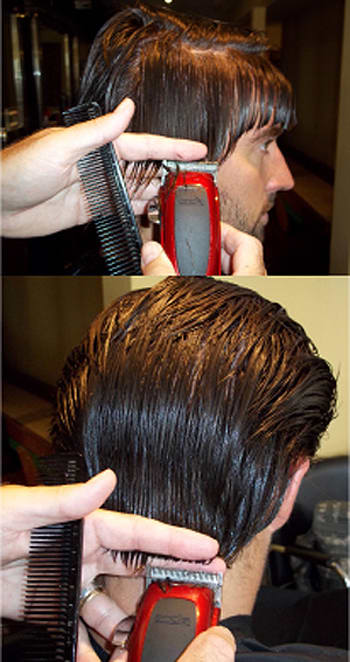
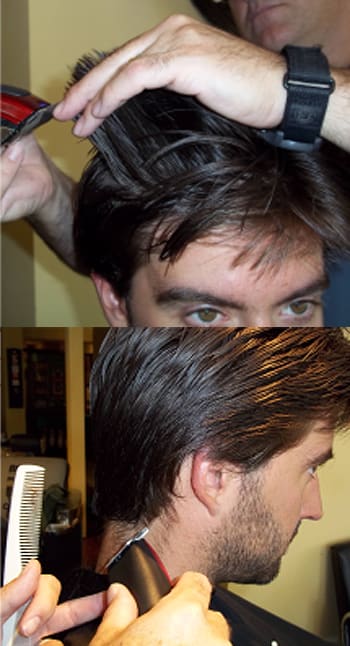
Step 1: Establish the perimeter, fringe, sides and back. Use Clipper-over-finger cutting to set the perimeter length. Bring the front up out of the eyes. Bring the sides to just below the top of the ear. Cut the nale to the natural hairline.
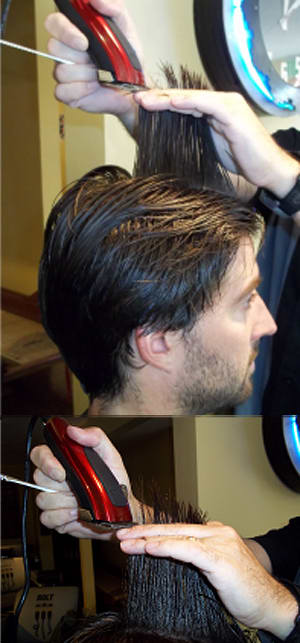
Step 2:Layer the top. With backhand cutting layer the interior. Leave the top a bit longer so it will lay down and flop casually. Leave even more length if the hair is curlier. Layer square off of the op of the head. Do NOT follow the curve. This leaves bulk in the corners for a fuller look. Layer the sides.
Step 3: Layer the sides. Work around the head in vertical sections layering the sides. Clipper-over-finger is used instead of clipper-over-comb so as to leave the hair cut longer and fuller than a classic taper.
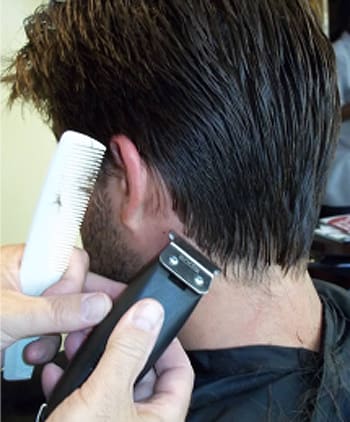
Step 4: Connect the back to the sides. There is a corner where the sides and back come together. Connect the sides to the back by softening this corner. Do NOT remove it completely. Leave more hair here for a fuller, looser look. Do NOT round the corner completely.
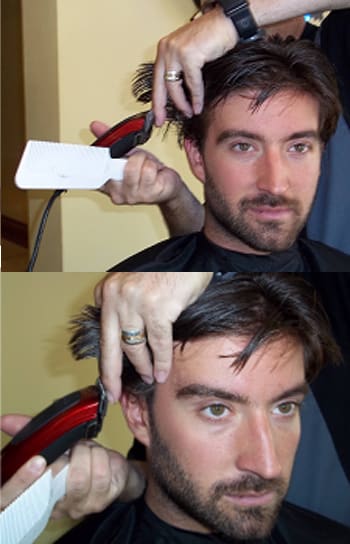
Step 5: Detail the perimeter.
Step 6: Use a trimmer and finishing comb to clean up the sides and back. Leave the side burns to blend to the beard if present. Leave sideburns longer if there is no beard.