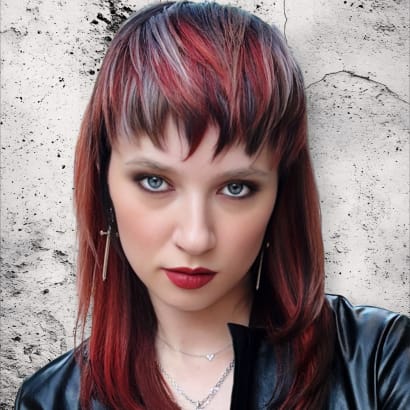
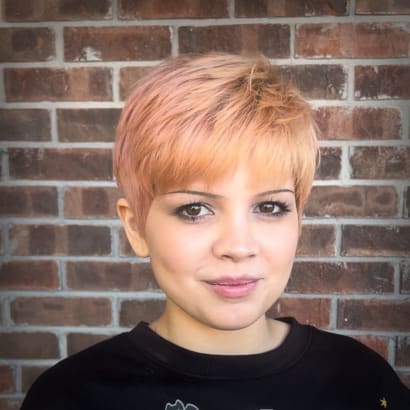
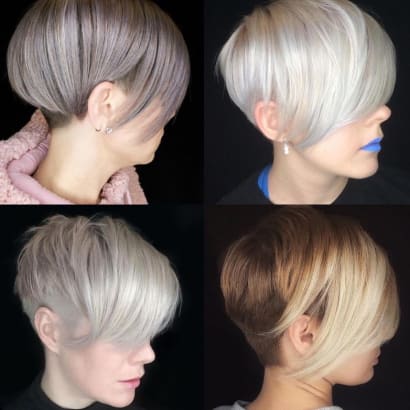
Hit the refresh button on the Lob and go a little shorter, with a chic and feminine-yet-edgy vibe. Add blunt layers and tons of texture by incorporating the perfect ColorProof product fusions with a few quick styling tips.
STEP 1: Begin by prepping damp hair with SignatureBlonde Restorative Filler and CC PrimeGenius Anti-Aging Style Extending Primer as your cutting lotion.
STEP 2: Section front from back at the top of the head and left from right down the center back.
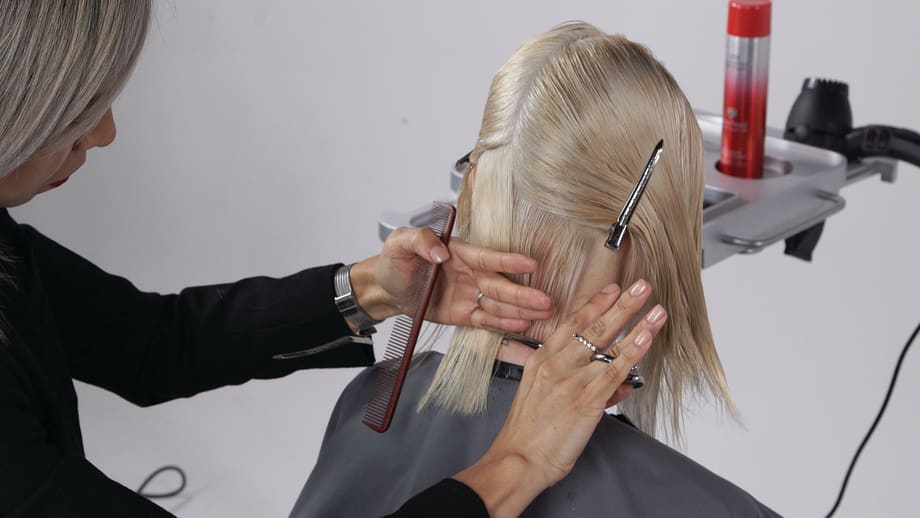
STEP 3: Beginning in the nape, create your perimeter at zero elevation using shears for a strong baseline. Take down another horizontal section and repeat for a strong guide.
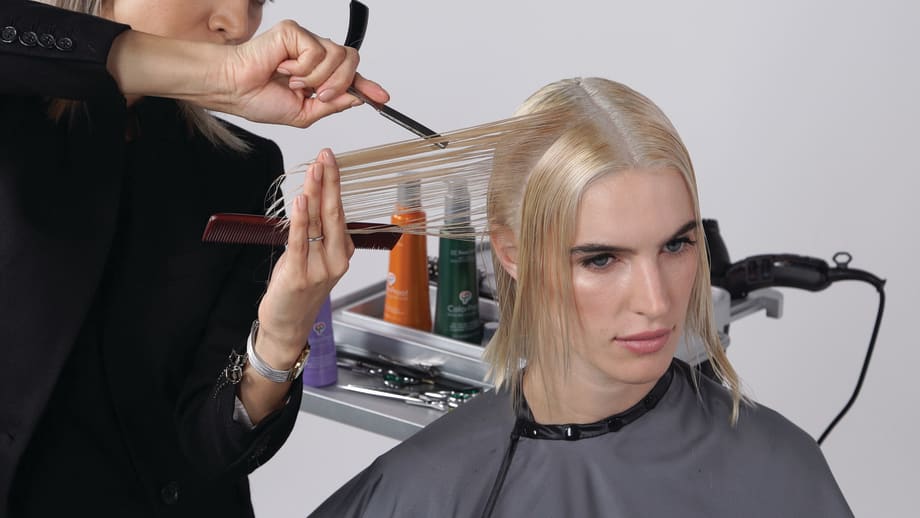
STEP 4: To start your layering, take a slightly diagonal forward parting and holding the hair at approximately 45°, create soft layering using a razor. Depending on the hair type, you can take deep vertical cuts, or softer texture holding your razor horizontally. As you move up, the elevation of each section is based off of the round of the head (approximately between 45° and 90°).
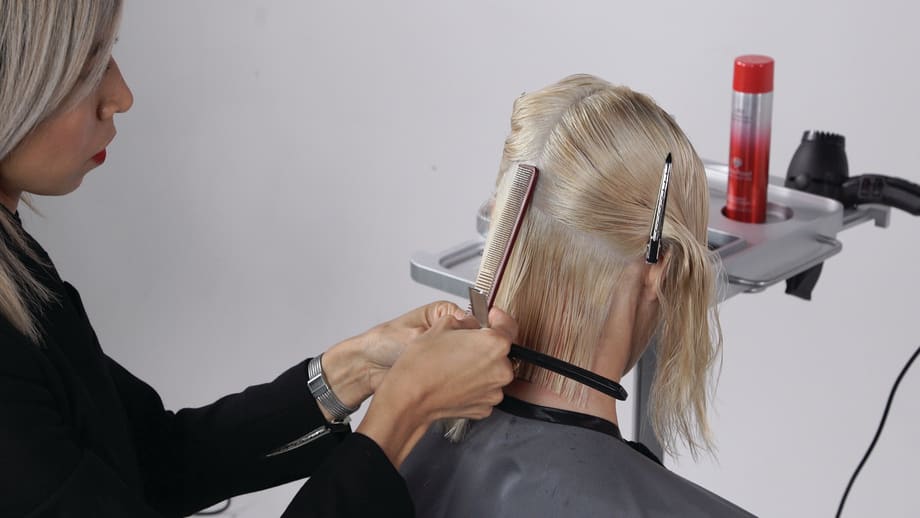
STEP 5: Continue this all the way up the back, placing your comb on the round of the head to determine where your elevation should be.
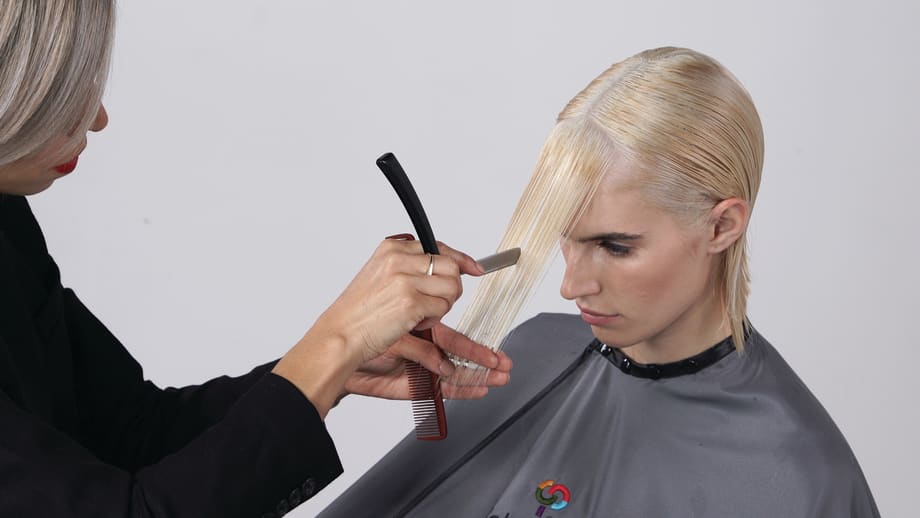
STEP 6: Moving to the sides, connect the perimeter using your razor, with slight over direction back to maintain a strong corner.
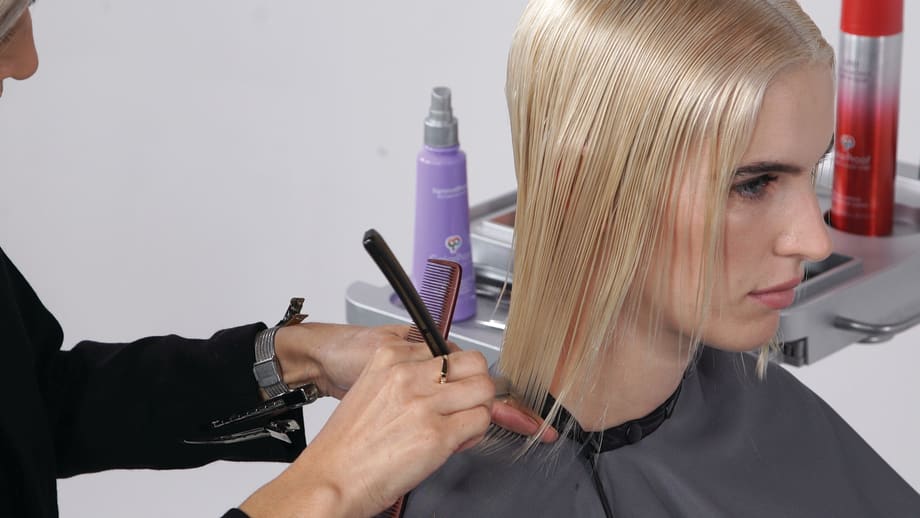
STEP 7: Beginning at the section above the ear and moving toward the face, take vertical sections held straight out and create vertical deep texture with your razor. The amount of texture will depend on the density of the hair. Repeat on the opposite side.
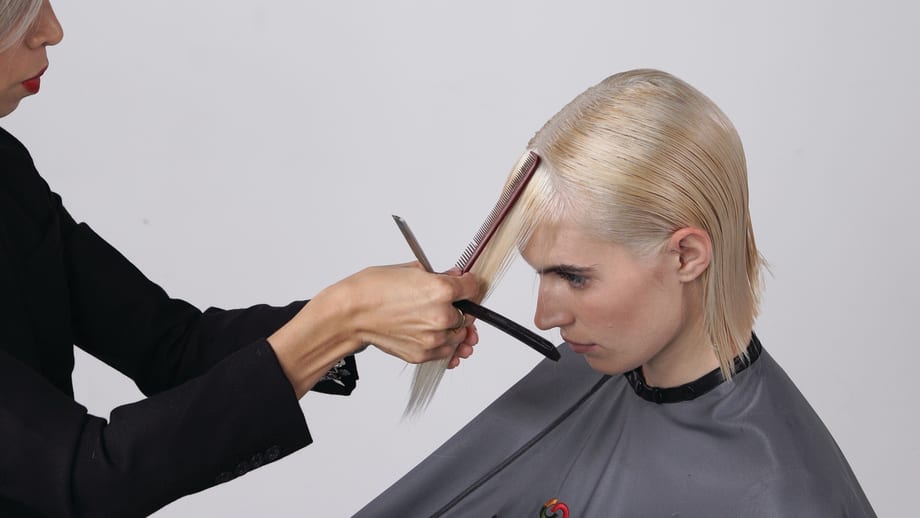
STEP 8: Section out the front fringe and create the same deep texture. Detail the front as desired.
For more information about ColorProof, visit http://www.colorproof.com.