


Meet the Founder of Harper Ellis Hair Co., Terra Harvell
A stylist who felt she needed to build what she couldn't find in other hair extensions, in five years Terra Harvell has grown Harper Ellis into a $10 million business.
by Anne Moratto
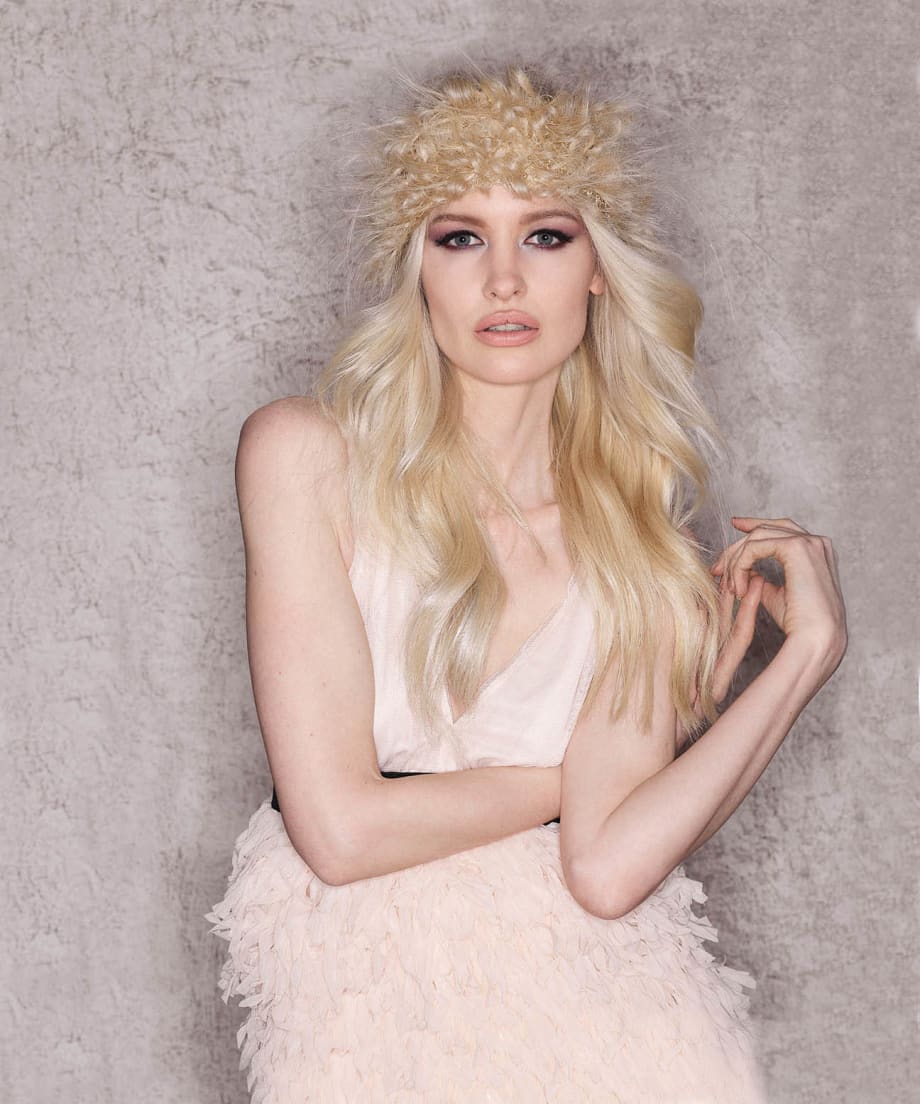
Great Lengths extensions can transform a look from strong and powerful, to soft and elegant. Stylists use bonded, clip-in or tape-in extensions, or combine them, to create fresh looks.
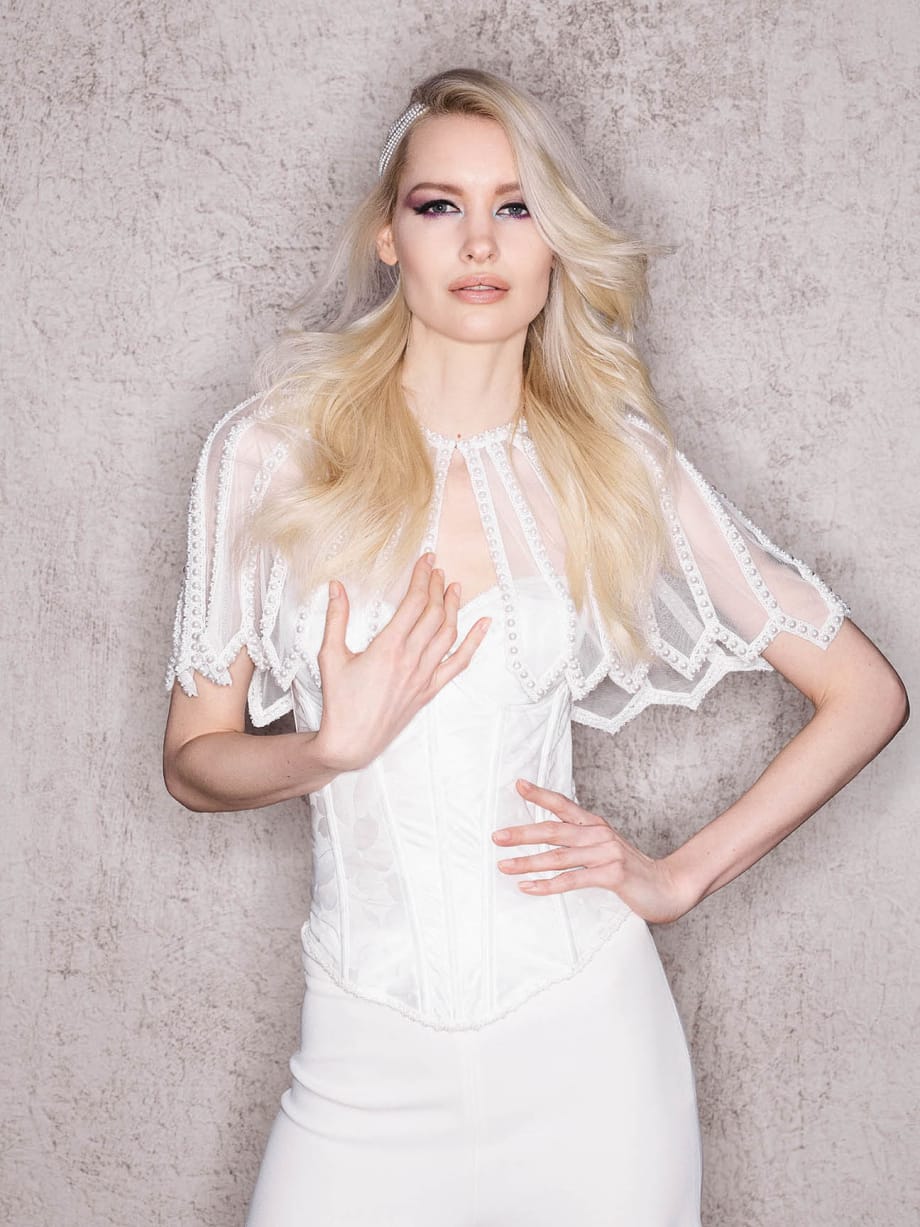

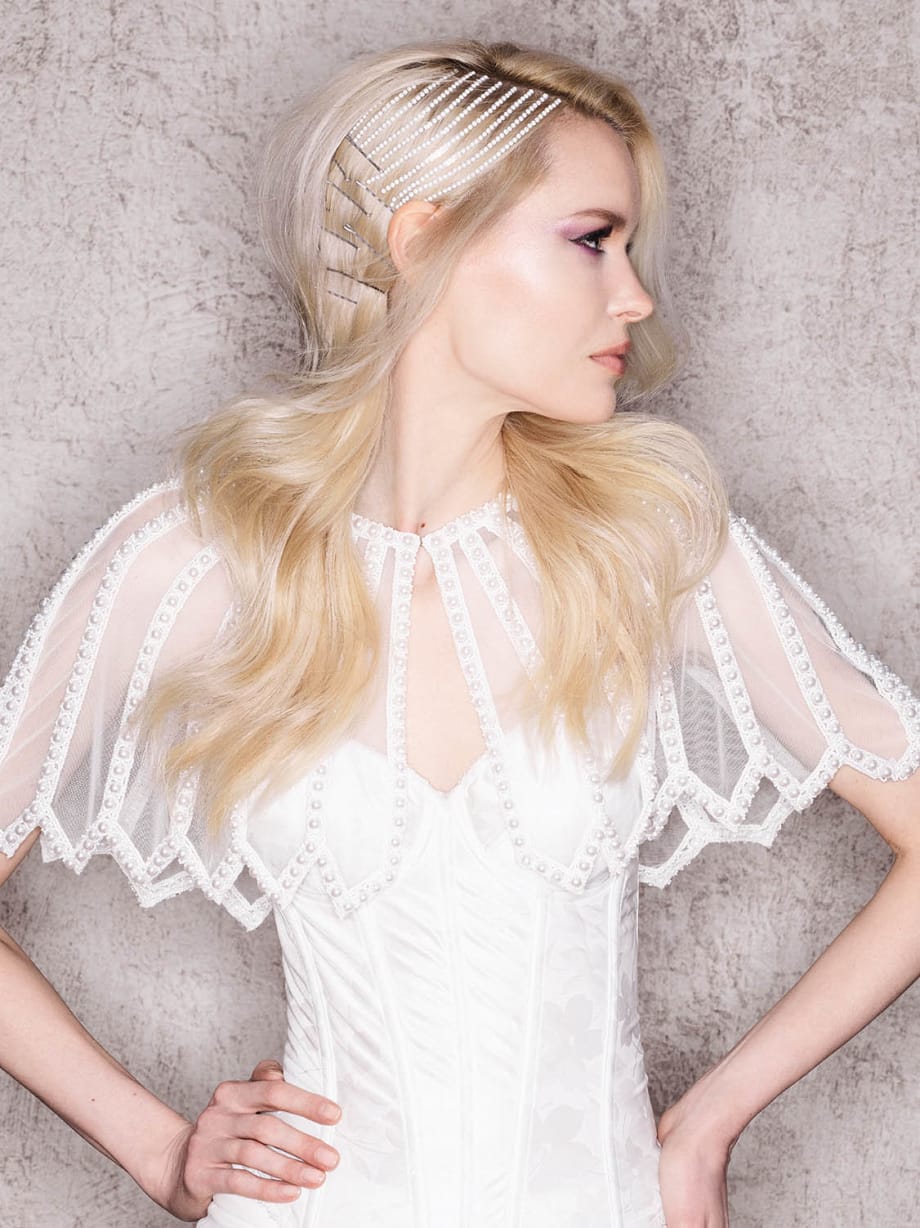
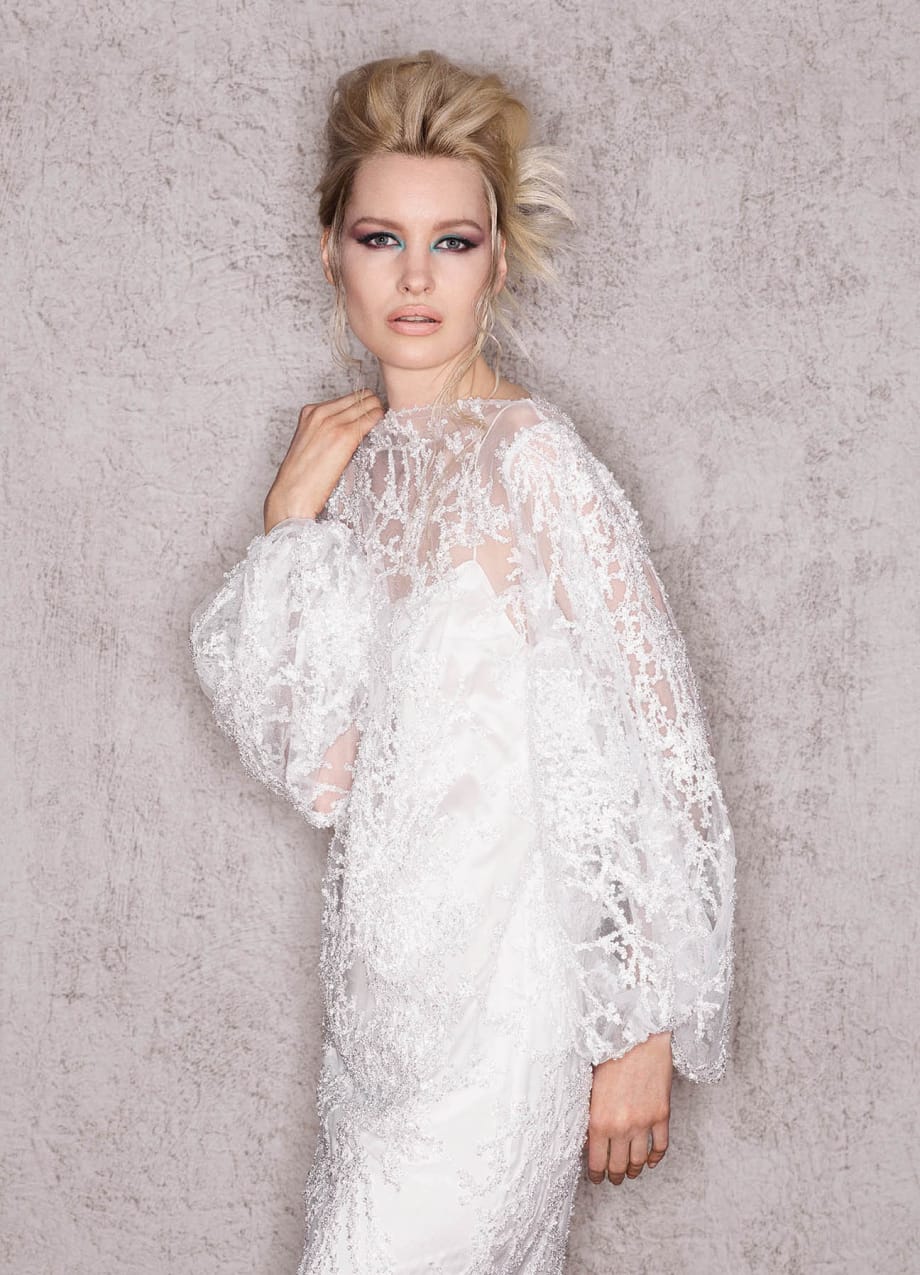
Hair: Great Lengths; fashions: Joanna Mastroianni mini cape; bustier by Fleur Du Mal; Saint Laurent pants
More than ever, hair extensions are being used to go beyond adding length and volume. Stylists are softening hard lines or defining shapes using bonded, clip-in or tape-in extensions. Most interestingly and depending on the occasion, these methods are now being combined for ease and speed to create fresh looks.
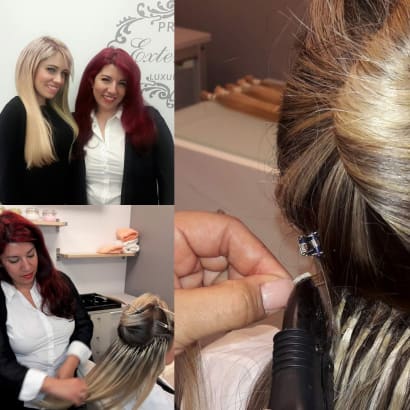
MODERN invited Great Lengths USA Executive Director Danielle Keasling and Great Lengths USA Senior Design Team Director Nanci Lee to the Water Street Studios in NYC to show how they use extensions to define or almost confuse identities—making sharp finishes subtle and softer edges strong.
Brunette model, Bruna, has big bouncy curls, but both Keasling and Lee wanted to enhance her powerful look. Once the hair was blown out almost straight, extensions were added to give Bruna more style options including a long, full and shiny ponytail, accented with a line of sparkle along the part. For model Snow, extensions were used in a more traditional way—to add length, density and enhance her soft and sexy style.
Keasling and Lee are no strangers to “playing” with extensions and maximizing any photoshoot opportunity. Knowing they wanted to get multiple looks on their models, the artists prepared the extensions beforehand, applying tape-ins to clip-ins. “Clips-ins are fast, but sometimes they are not long enough,” Lee says. By placing tape-ins just below the weft of clip-ins, hairdressers can control that length, and also speed up the application process.
“Adding tape-ins to clip-ins is a great way to add highlights and to extend the life of used extensions,” Lee adds. “This technique works especially well for bridal looks and other special events.”
When it comes to blending, Keasling acknowledges that cutting extensions properly can be the difference between a good and bad result. “The key is to match the client’s natural texture and layering,” she says. “I do things a little backwards by cutting the perimeter at the very end. I begin with interior cutting, blending as I go. Once I’m comfortable with the interior, I point cut the ends to determine the length.”
Keasling adds that the best finishes have an undefined perimeter. “To soften, I cut from the natural fall. Women want to wear extensions, but don’t want it to look like they are wearing extensions. The natural progression of application and cutting is going to give you the most natural look.”
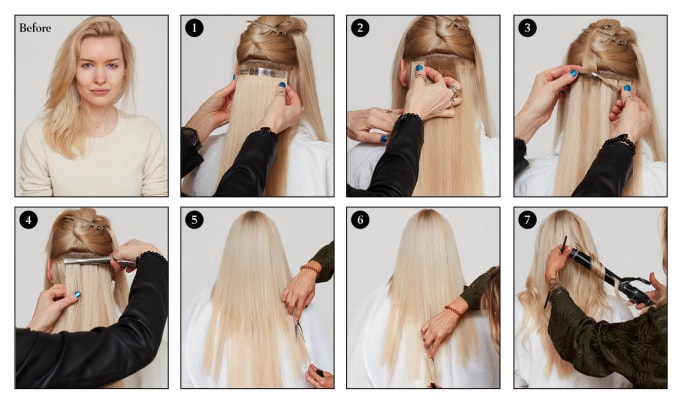
Step 1: For classic tape-in application, measure the width to determine how many tapes are needed. Make sure to keep at least a 1-inch perimeter from the hairline. If tapes are needed above the parietal ridge, they must be carefully placed so they don’t show through the natural hair.
Step 2: When doing a single tape application, place extension at least 1/4-inch from the scalp. Press once with the attachment tool.
Step 3: Lift extension and place the safety band on the underside of the attached tape-in.
Step 4: Press and secure with the attachment tool.
Step 5: Slide cut to blend internally.
Step 6: Now define the perimeter. Slide cut along the ends or point cut deeply to create the desired length.
Step 7: Blend the natural hair and the extensions by curling together with a 1 1/4-inch iron.
Hair: Great Lengths USA artists Danielle Keasling and Nanci Lee
Photographer: Roberto Ligresti
Makeup: David Maderich for MAC
Fashion styling: Rod Novoa
Nail artist: Armani Je’ton
PRODUCTS & TOOLS
Hair extensions: Great Lengths USA; HairUWear Pro clip ins
Tools: Dyson hair dryer, Mint curling iron; T3 flat iron; ghd curling irons, Hot Tools iron; BabylissPRO flat iron; Sam Villa crimping iron
Shears: Hikari
Combs/brushes: YS Park combs, Great Lengths brushes
Stylers: Biolage Styling Spray, Matrix Volume Builder Mousse, Redken 23 spray, Olaplex #7 Bonding Oil
Eyelashes: House of Lashes
Makeup: Becca Ultimate Coverage Longwear Concealer; GrandeLips Lip Plumper
A stylist who felt she needed to build what she couldn't find in other hair extensions, in five years Terra Harvell has grown Harper Ellis into a $10 million business.
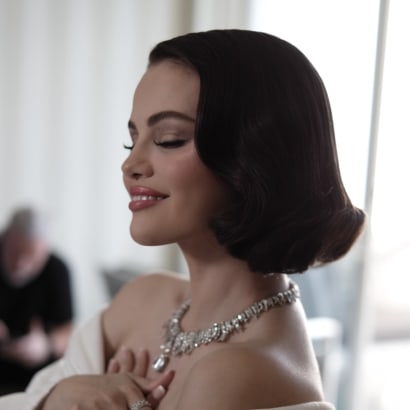
Celebrity hairstylist Renato Campora graced Selena Gomez with a timeless and elegant Hollywood bob for the 2025 Golden Globes, using Great Lengths Tape-In Extensions.
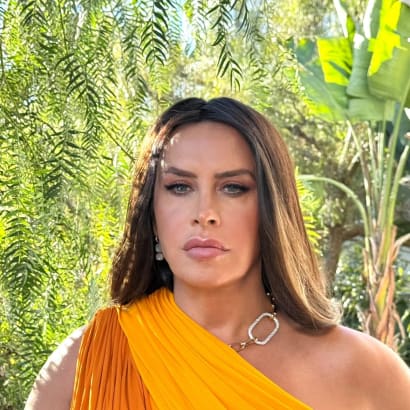
Celebrity hairstylist Marc Mena shares exclusively with MODERN how he used the new Essenza and Aria Great Lengths Tape-Ins to style Karla Sofía Gascón for the 2025 Golden Globes.

Christina Aguilera made a surprise performance at the Sabrina Carpenter concert, showing up with new length. Here's how to recreate the look.
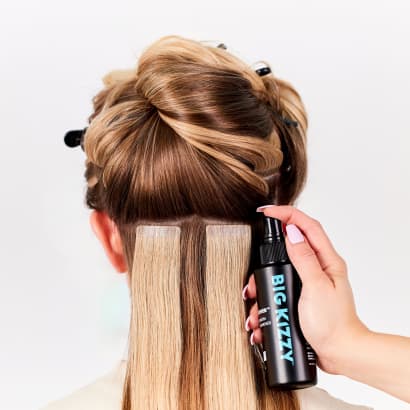
Meet Big Kizzy, known for their 3-step tape in hair extension remover system. Founded by an extension hair pro, they now offer everything for extensions!
Celebrity Nicole Scherzinger's soft updo was created by celebrity hairstylist Dimitris Giannetos, using new The Coveted Tape hair extensions by Covet & Mane.
More than a Dream is a new collection of 5 styles from Hairdreams, a collaboration with Lorenzo Marchelle.
Celebrity stylist Gregory Russell shares how he created Riley Keough's 2024 Emmys hair look with some added length.
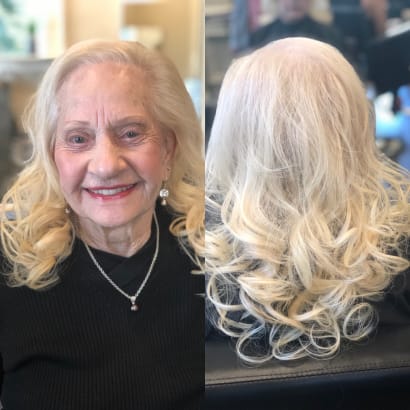
This client grew up being told how unattractive her hair was and felt like there was nothing that would change that. This stylist did--and with love.
If you are prepared with the right techniques, the right questions, and the right products, you will be ready to create a beautiful result for your hair extension client. And when you've done that, you have a client for life. Here are my proven methods for building a solid hair extension career and business.
Expand your service offerings with solutions for clients experiencing hair loss.
In this exclusive video interview, Great Lengths educator Kristina Noto explains how to use the brand's extension offerings for clients with hair loss.
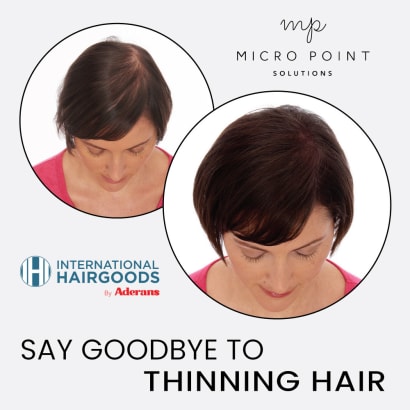
For clients who want to address volume on the top of their heads, but don't want the commitment of wearing and caring for a topper, this unique service provides a solution. Micro Point Links fill in thinning areas by knotting individual hairs onto existing hairs. It's a service that is a win-win, offering clients an answer to sparse, bare areas and providing stylists with a valuable addition to their service menu.
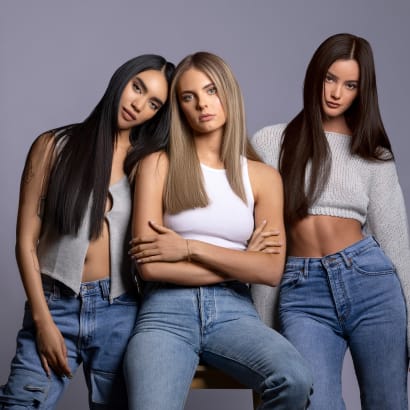
Celebrity stylist Andrew Fitzsimons leads the creative direction for BELLAMI's new Visual Identity campaign.
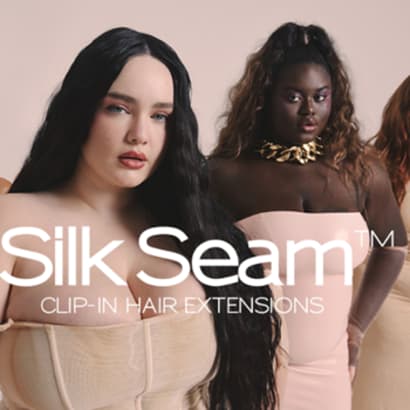
INH has just launched the professional side of their extension business, created by the pros, for the pros.
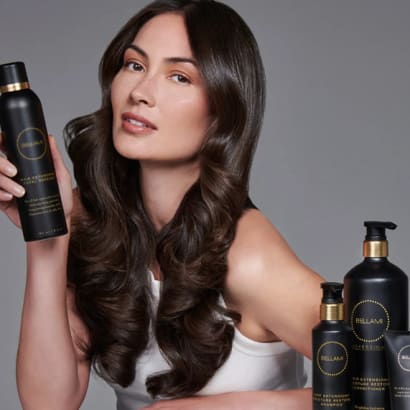
Bellami's new professional-grade hair extension care collection for in-salon and at-home use is designed to double the lifetime of hair extensions.
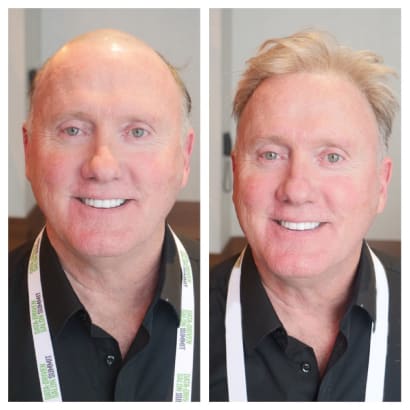
When Sacha Quarles wasn't able to offer extension services to his celebrity clients, he decided to stop paying someone else to do them and to learn how to do them, himself. And the result has been career-changing.