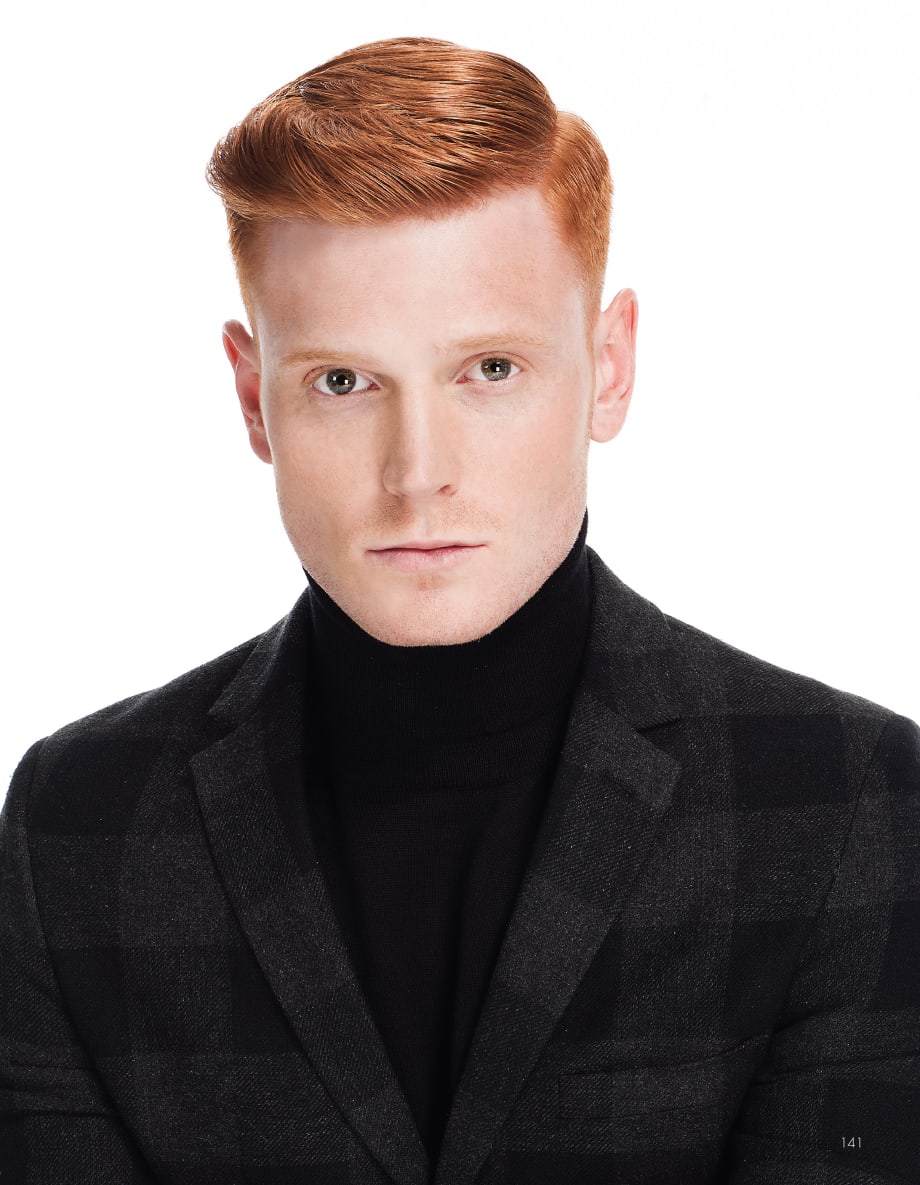
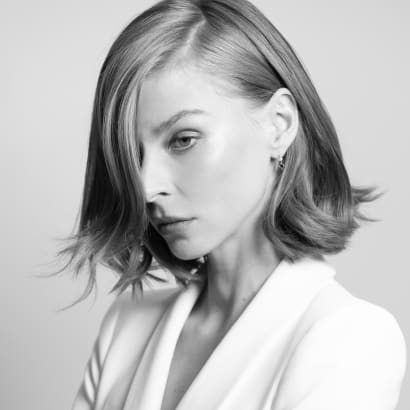
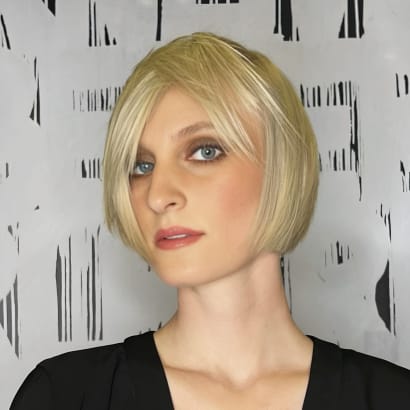
Part of the TONI&GUY CLASSICS Collection, which features basic foundational cuts that have been given a modern, contemporary edge, follow the steps in the slideshow to give your client a personalized clipper cut just for them. According to ...
Part of the TONI&GUY CLASSICS Collection, which features basic foundational cuts that have been given a modern, contemporary edge, follow the steps in the slideshow to give your client a personalized clipper cut just for them. According to TONI&GUY Hairdressing, foundational techniques are the backbone of their strength as an educational company.
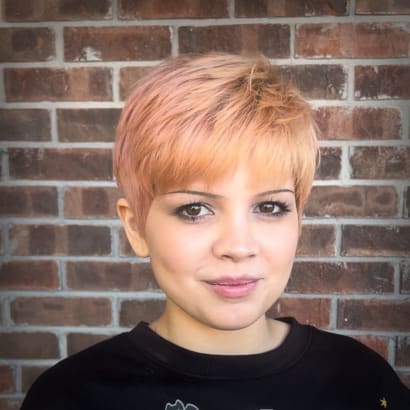
Learn this classic fading technique which uses clippers combined with an asymmetric layering pattern.
FULL STEPS:
Cutting:
STEP 1: Take a horseshoe parting from the recession, angling down, underneath the crown. Position of horseshoe varies depending on head shape.
STEP 2: Blow-dry the hair underneath the horseshoe.
STEP 3: Start in the center back of the nape using a No. 3 guard and with one fluid motion work up towards the parietal ridge to remove the length.
STEP 4: The comb is used to hold the hair at the top. This helps push the lengths into the clipper and maintain the weight at the parietal ridge.
STEP 5: Continue through to the sides with the same technique.
STEP 6: Switch to a No. 1 guard. Return to the center back and repeat the technique to take it tighter; stopping short of the established weight line.
STEP 7: Continue this approach through to both sides. Around the ear, use the edge of the blade in a pivoting action to follow the curvature of the hairline.
STEP 8: Switch to a No. 1 1/2 guard to help create a blend between the occipital and the parietal, where the weight is being established.
STEP 9: Switch to a No. 2 guard. Re-work the entire underneath to create a fluid blend with all the lengths.
STEP 10: Use a No. 2 1/2 guard at the parietal from ear forward to help soften the top edge of the weight line.
STEP 11: With no guard, adjust the clippers to the highest setting, detail the sideburns and fade the hairline for a natural finish.
STEP 12: Release the horseshoe parting and take diagonal forward sections from above the crown to the recession. Start in the center back and comb to natural fall. Elevate to 45-degrees and point-cut onto the weight line.
STEP 13: Follow this technique all the way around the head shape.
STEP 14: Use the scissor-over-comb technique to ensure the graduation is blended cleanly.
STEP 15: Take a vertical section from the crown to the high recession. Comb perpendicular, elevate to 90-degrees and use the existing length at the crown as a guide. Point-cut the line square.
STEP 16: Take vertical sections throughout the top and over-direct each section back to the previous guideline, and point-cut square.
STEP 17: From the side parting, take a diagonal forward section 2" from the hairline to the recession area. Over-direct the hair forward, elevate to 45-degrees and point-cut the line short to long.
STEP 18: Finish by combing all the hair on the heavier side to natural fall. Elevate to one finger's depth and point-cut the line square, increasing in length.
Styling and Finishing:
STEP 19: With the paddle brush, use a flat-wrapping technique and brush from side to side.
STEP 20: Through the top, use the brush horizontally underneath to add a small amount of lift.
STEP 21: Smooth out the hair by working the underneath and applying tension from the roots to the ends.
STEP 22: In the front hairline, use the hands to control the direction of the style.
STEP 23: To personalize the shape, hold the hair in the comb and parallel point-cut around the weight line to soften.
STEP 24: Continue softening the corner of the weight line by deep parallel point-cutting sections over the parietal ridge.
STEP 25: Work back through the top vertically, and continue to deep parallel point-cut.
STEP 26: Subsection horizontally and deep parallel point-cut to remove weight.
STEP 27: Finish by continuing to remove weight vertically, through to the front hairline.