


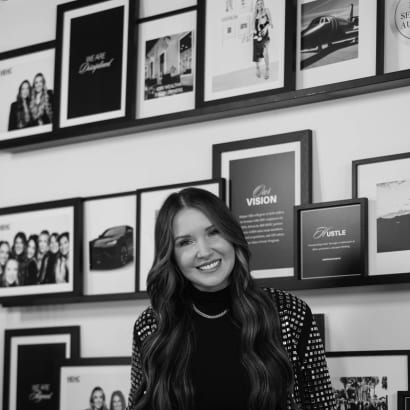
Meet the Founder of Harper Ellis Hair Co., Terra Harvell
A stylist who felt she needed to build what she couldn't find in other hair extensions, in five years Terra Harvell has grown Harper Ellis into a $10 million business.
by Anne Moratto
Orlando stylist Ricardo Santiago shares his secret to drying extensions quicker and more efficiently: Hot Tools' One Step Blowout.
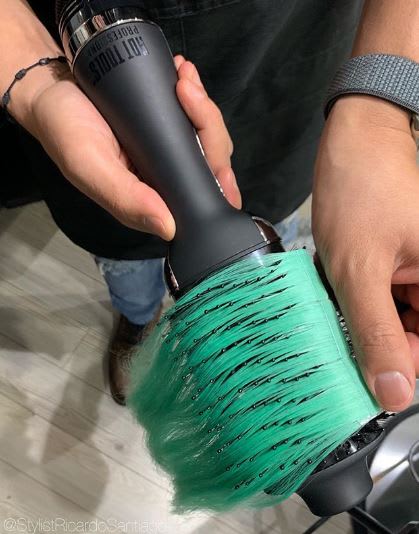
@stylistricardosantiago
Orlando, Florida-based stylist Ricardo Santiago calls himself a jack of all trades, but we think he's more like a king of all trades. Each post he shares is a major stunner. His skills range from sun-kissed balayage to vibrants reds, and in August of 2018 Santiago's work was featured on the cover of MODERN's Gamechangers issue (our most-read issue of the year!)
Since then Santiago has become a part of the MODERN Artist Connective, and we frequently turn to him for his wealth of knowledge. In the past, Santiago has gave us insight into color and cutting, but we recently reached out to him to learn more about his tips and tricks for working with extensions.
That's when we discovered his secret to prepping extenions: Hot Tools' One Step Blowout.
"Anyone who has ever had to dry extensions... you know it can be tricky, especially at the root or base of the extension piece, even with some of the cool new tools out there for extensions," Santiago says. "With Hot Tools' One Step Blowout, I can rest the extensions, whether tape, fusion or wefts right onto it and get the extensions fully dry and smooth, from root to ends quickly!"
The tool features a black gold styling surface that combines Nano Titanium ceramic with Refresh3 Max Activated Charcoal, which allows hair to glide smoothly and distribute heat evenly. The brand’s signature Micro-Shine finish is corrosion-resistant to minimize friction and help reduce damage to hair.
“If you are an extensions specialist, you need this,” Santiago says. “It’s great for prepping extensions for a new install; it’ll save you so much time after pretreating or custom-coloring/toning, and it keeps the hair nice and smooth."
Watch Santiago use the tool on extensions in this tutorial:
Follow these steps:
Begin with shampooing and conditioning your extensions.
"When working with extensions, I like to make sure I properly prep them for an installation, by shampooing them first with my favorite clarifying or detoxing shampoo and also conditioning them well. This helps to remove any coating that might be on the extensions and gives them a more 'natural' look and feel."
Towel dry to remove the excess moisture from the hair.
Apply your favorite detangling styler/thermal protectant to the extensions.
Holding your Hot Tools One Step Blowout steady in one hand, use your opposite hand to pass the extensions back and forth across the top of the One Step Blowout, until dry. *ProTip* Take your time with this. The slower you move across the bristles and dryer, the smoother the result will be.
After a few passes over the One Step Blowout, you can start building some shape through the mids and ends, or even do a ribbon curl.
Begin by wrapping the extension piece around the barrel all the way up to the base of your extensions. Holding on to the base (tape end), continue to slowly pull and spin ensuring that you keep the tension and always have the hair wrapped all the way through the ends. Repeat this process until the hair dries and glides right through the bristles and you should have a beautiful shape!
Set your shape! In order to best set your shape, before releasing your section, you’ll want to switch your One Step Blowout to the cool setting and continue to pull and spin the hair around and over the tool. You’ll notice that the hair may be slightly resistant, initially. That’s perfectly normal, just continue to gently work down the length of hair with the cool air until it slides through the bristles easily. After you’ve finished with this step, set it with your favorite styling finisher and you are good to go!
*ProTip* Dry the extensions completely! Avoid sticky or compromised extension adhesive with this tip!
After Steps 1-7, place the adhesive end of the extensions directly onto the tool in a small bundle. Once positioned on the tool, take your other hand and gently gather the mid-section (hanging portion) of the bundle to secure. Using the low power heat setting, target the adhesive area, by allowing the hair to 'sit' on top of the tool (15-20 seconds) while it works to fully dry the hair, then flip the bundle to get the other side(s) fully dry.
Repeat until the area is no longer moist/damp.
A stylist who felt she needed to build what she couldn't find in other hair extensions, in five years Terra Harvell has grown Harper Ellis into a $10 million business.

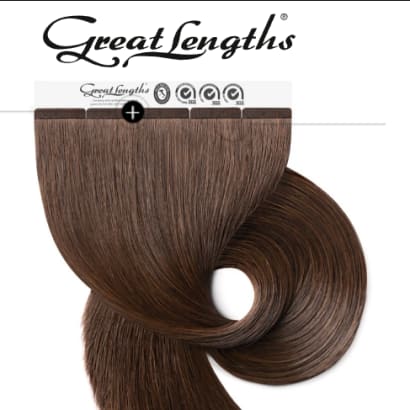
Celebrity hairstylist Renato Campora graced Selena Gomez with a timeless and elegant Hollywood bob for the 2025 Golden Globes, using Great Lengths Tape-In Extensions.
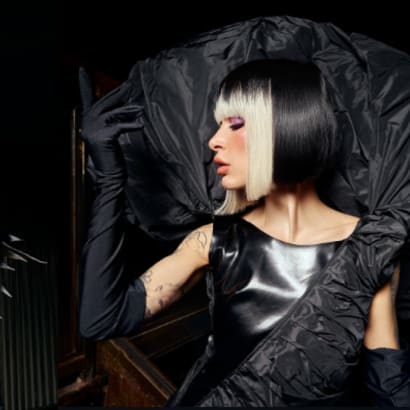
Celebrity hairstylist Marc Mena shares exclusively with MODERN how he used the new Essenza and Aria Great Lengths Tape-Ins to style Karla Sofía Gascón for the 2025 Golden Globes.

Christina Aguilera made a surprise performance at the Sabrina Carpenter concert, showing up with new length. Here's how to recreate the look.
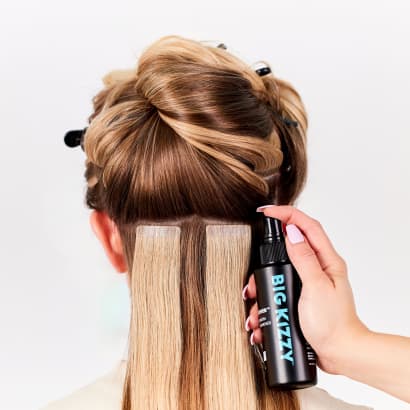
Meet Big Kizzy, known for their 3-step tape in hair extension remover system. Founded by an extension hair pro, they now offer everything for extensions!
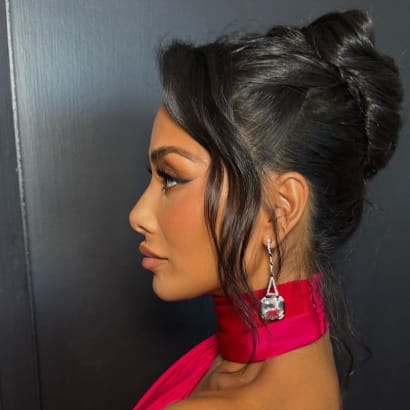
Celebrity Nicole Scherzinger's soft updo was created by celebrity hairstylist Dimitris Giannetos, using new The Coveted Tape hair extensions by Covet & Mane.
More than a Dream is a new collection of 5 styles from Hairdreams, a collaboration with Lorenzo Marchelle.
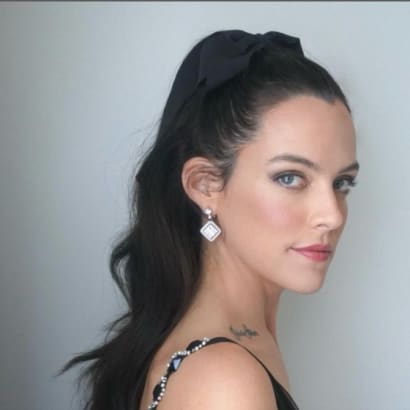
Celebrity stylist Gregory Russell shares how he created Riley Keough's 2024 Emmys hair look with some added length.
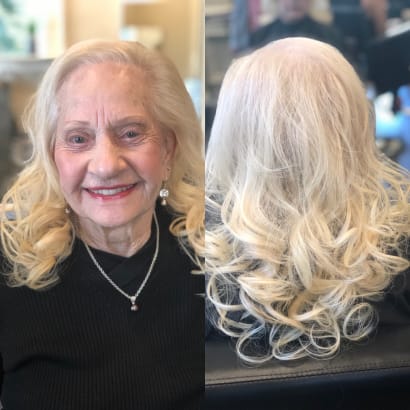
This client grew up being told how unattractive her hair was and felt like there was nothing that would change that. This stylist did--and with love.
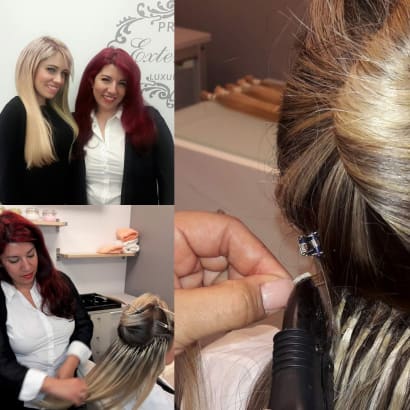
If you are prepared with the right techniques, the right questions, and the right products, you will be ready to create a beautiful result for your hair extension client. And when you've done that, you have a client for life. Here are my proven methods for building a solid hair extension career and business.
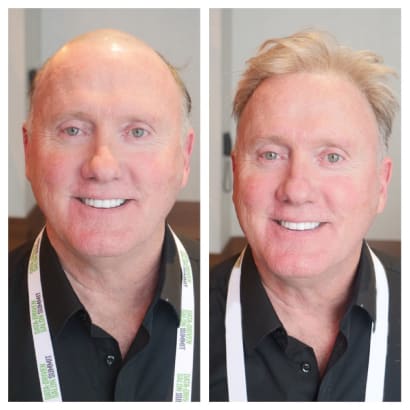
Expand your service offerings with solutions for clients experiencing hair loss.
In this exclusive video interview, Great Lengths educator Kristina Noto explains how to use the brand's extension offerings for clients with hair loss.
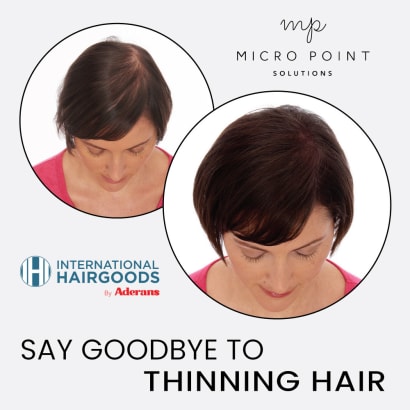
For clients who want to address volume on the top of their heads, but don't want the commitment of wearing and caring for a topper, this unique service provides a solution. Micro Point Links fill in thinning areas by knotting individual hairs onto existing hairs. It's a service that is a win-win, offering clients an answer to sparse, bare areas and providing stylists with a valuable addition to their service menu.
Celebrity stylist Andrew Fitzsimons leads the creative direction for BELLAMI's new Visual Identity campaign.
INH has just launched the professional side of their extension business, created by the pros, for the pros.
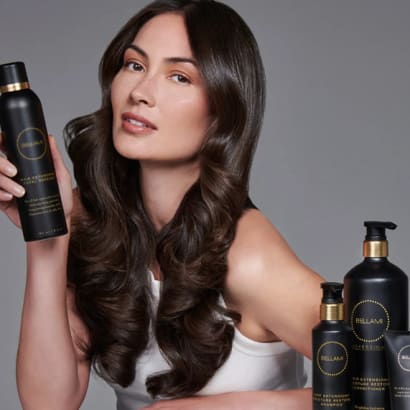
Bellami's new professional-grade hair extension care collection for in-salon and at-home use is designed to double the lifetime of hair extensions.
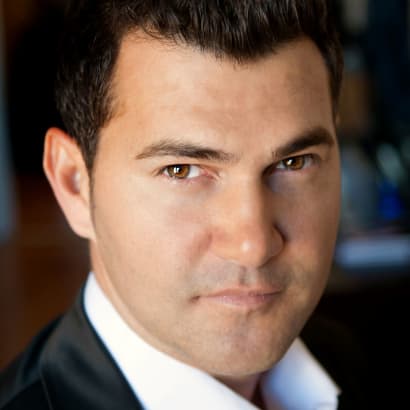
When Sacha Quarles wasn't able to offer extension services to his celebrity clients, he decided to stop paying someone else to do them and to learn how to do them, himself. And the result has been career-changing.