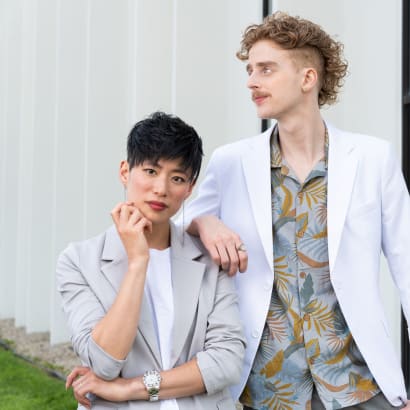
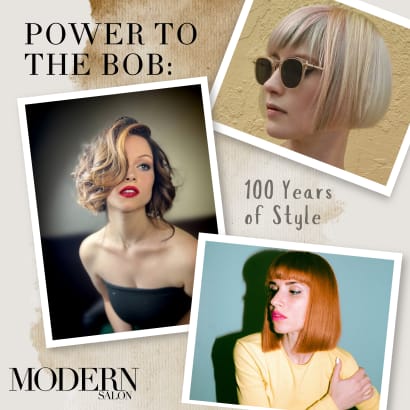
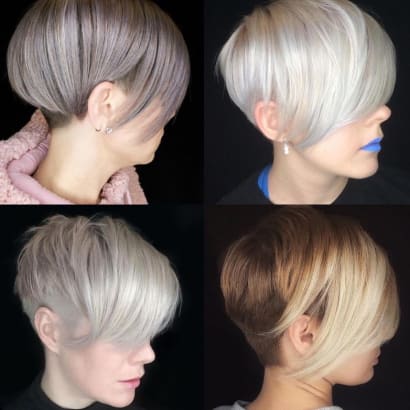
Trends from the '90s are continuing to surge back, and hairstyles are no exception.
The bixie haircut is all the rage online nowadays, and it might look familiar—Meg Ryan, Princess Diana and Halle Berry circa 1995, anyone?
Below we’ll break down the basics of a bixie haircut, and talk to stylists about how they achieve the look.
What is a Bixie Haircut?
A bixie is created when a bob meets a pixie—the look is a bit shaggy and texturized and falls somewhere in the middle length-wise.
“I love this cut because it can almost feel like a pixie throughout the front and top, but still holds onto some length with a bob-style perimeter,” says Skip Fellers, stylist and private studio owner in Asheville, NC, and a member of our MODERN SALON 100 class of 2021.
All in all, the bixie is a good transitional cut because it grows out well. Or if you have a client who doesn’t want to commit to a full-on pixie, the bixie can be a good way to put their toes in the water.
How to Cut a Bixie Haircut
Let’s get into the good stuff. Your client sits down and requests a bixie-style cut—how can you create a great one?
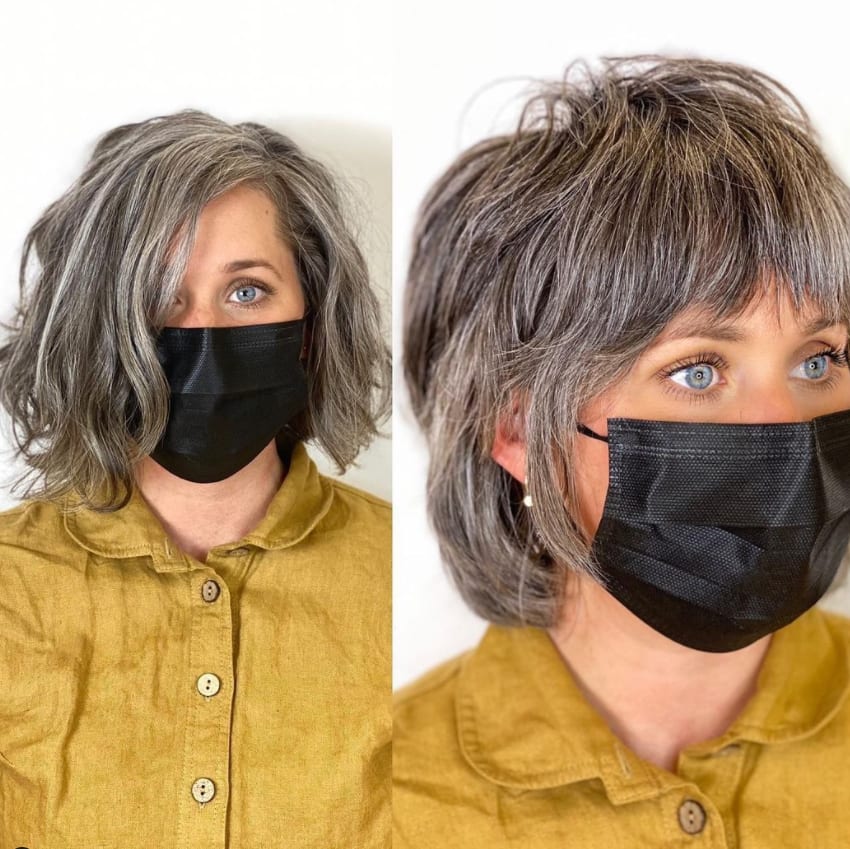
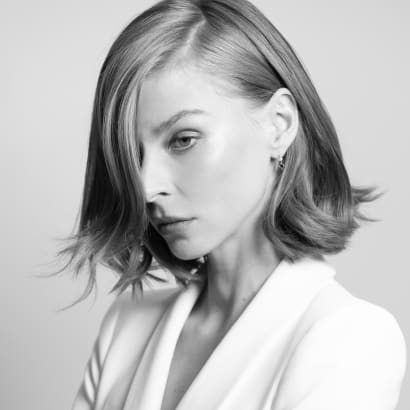
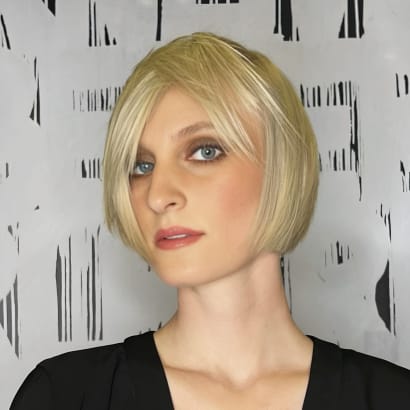
Bay Area Stylist Ellie Lundberg says she used a straight razor for this entire bixie haircut.
Here’s her step-by-step:
From the occipital bone down, I kept the length pretty tight, but left the edges soft and undone.
Moving up the head and into the sides I left some disconnection, sort of like a wedge, but with deep weight removal to let her natural texture free.
I chose to do the bangs last this time and allowed the natural fall of the hair to determine how far back they start, so she could just shake her hair around out of the shower and they would fall right into place.
I kept the length skimming her eyebrows and took out lots of weight to keep it from looking too round, like a bowl cut. I like the little side bits hitting right around her cheekbone to really frame her bone structure.
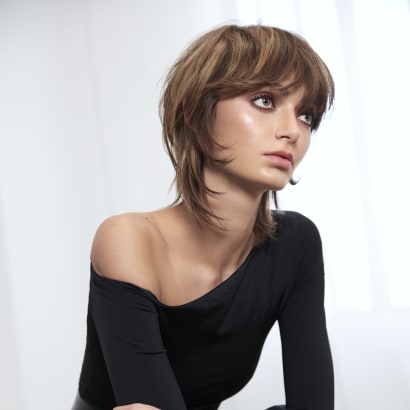
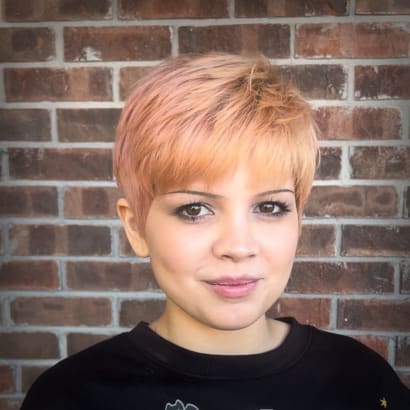
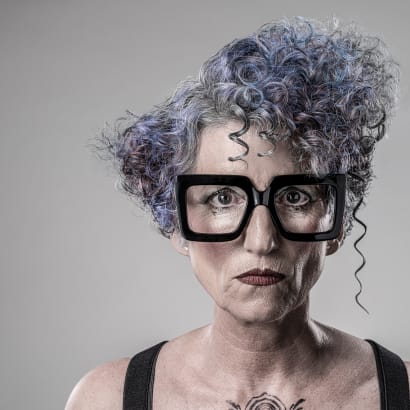
Fellers created this bixie haircut below with her Nagamaki 6.0 shears to point-cut a lot of weight while creating movement.
Here’s her step-by-step:
I brought all of my client’s hair from the top of the crown forward to create a fringe and completely eliminated her having a part—this is what provides tons of volume and texture.
From there, I slide cut out her face framing bits to hit everywhere from cheekbone to jawline.
Once completely dry, I used my curved Nagamaki dry slider—the 58 Stroke—to continue to slice out bulk and fine tune the look.
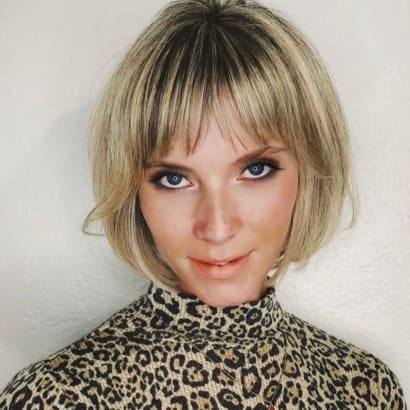
Olivia Davis, stylist at ExcluShear Salon in Arlington, TX, created this fun bixie cut for a client.
Here’s her step-by-step:
I established a strong perimeter using 0-degree elevation with a slight arch.
Then, I used a vertical section to establish a guide using slight graduation (keeping a more blunt shape).
From there, I took diagonal forward partings pie shape from the center, working left to right. Remember to over direct the outer sections to preserve length as you work up the head.
As you reach the sides, I establish my side perimeter keeping a strong angle, then going in creating slight graduation.
As I reach the top of the head, I use a profile parting at the center of the head and connect the back over, directing everything to the front. Using diagonal forward partings pie shape from the center I work left to right on each side of the head.
To finish, we always shape her fringe to give us options of a long or funky bang.
How to Style a Bixie Haircut
Styling the bixie will, of course, depend a lot on the client’s texture and thickness, but a cut like this is great for embracing natural movement.
Fellers said she styled the bixie cut above by applying Davines Curl Moisturizing Mousse and diffusing everything with her Dyson hair dryer, keeping 2 inches away from the client’s scalp and moving in a circular motion. “I avoided touching or manipulating the hair to avoid frizz on her coarse texture.”
Davis styled the bixie haircut she created by using her petite Ikonic flat iron, starting at the nape and creating a loose wave.
“As I work into the longer sections, I use my 1-inch ceramic iron and tighten the waves a bit. In order to keep the softness, I make sure to comb through each wave before it cools.”
She then finishes the look with Sebastian Shaper Brushable Hairspray for added hold.