


Rodrick Samuels on The Silent Work, Modern Beauty Education and Why Empathy Wins
MODERN SALON sat down with Samuels to discuss the book, beauty education, mentorship and the habits that help beauty professionals thrive.
by Anne Moratto
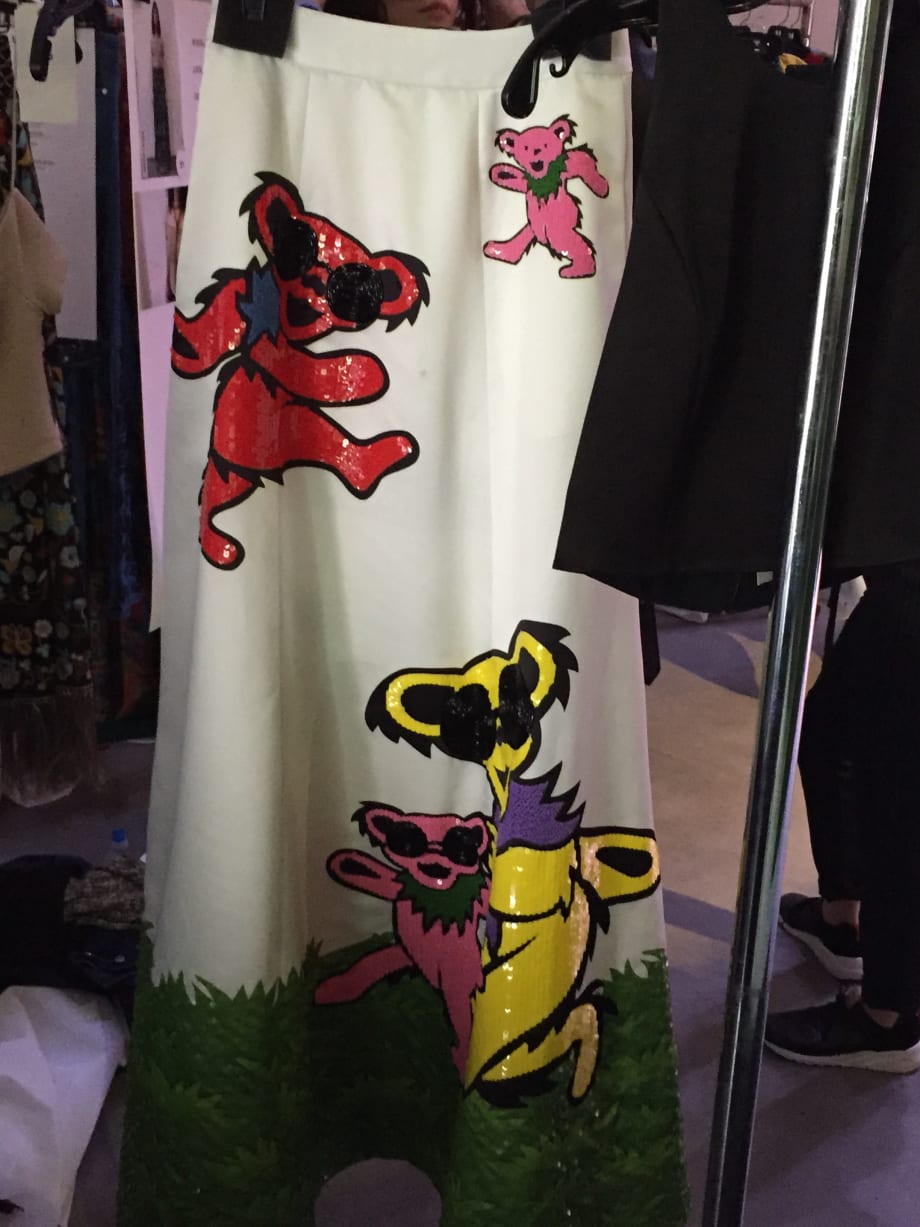
Alice + Olivia by Stacey Bendet presented its Grateful Dead dancing bear capsule collection last night in California. As the perfect kick-off celebration to weekend one of Coachella, which begins tomorrow, celebrity hairstylist and Joico ...
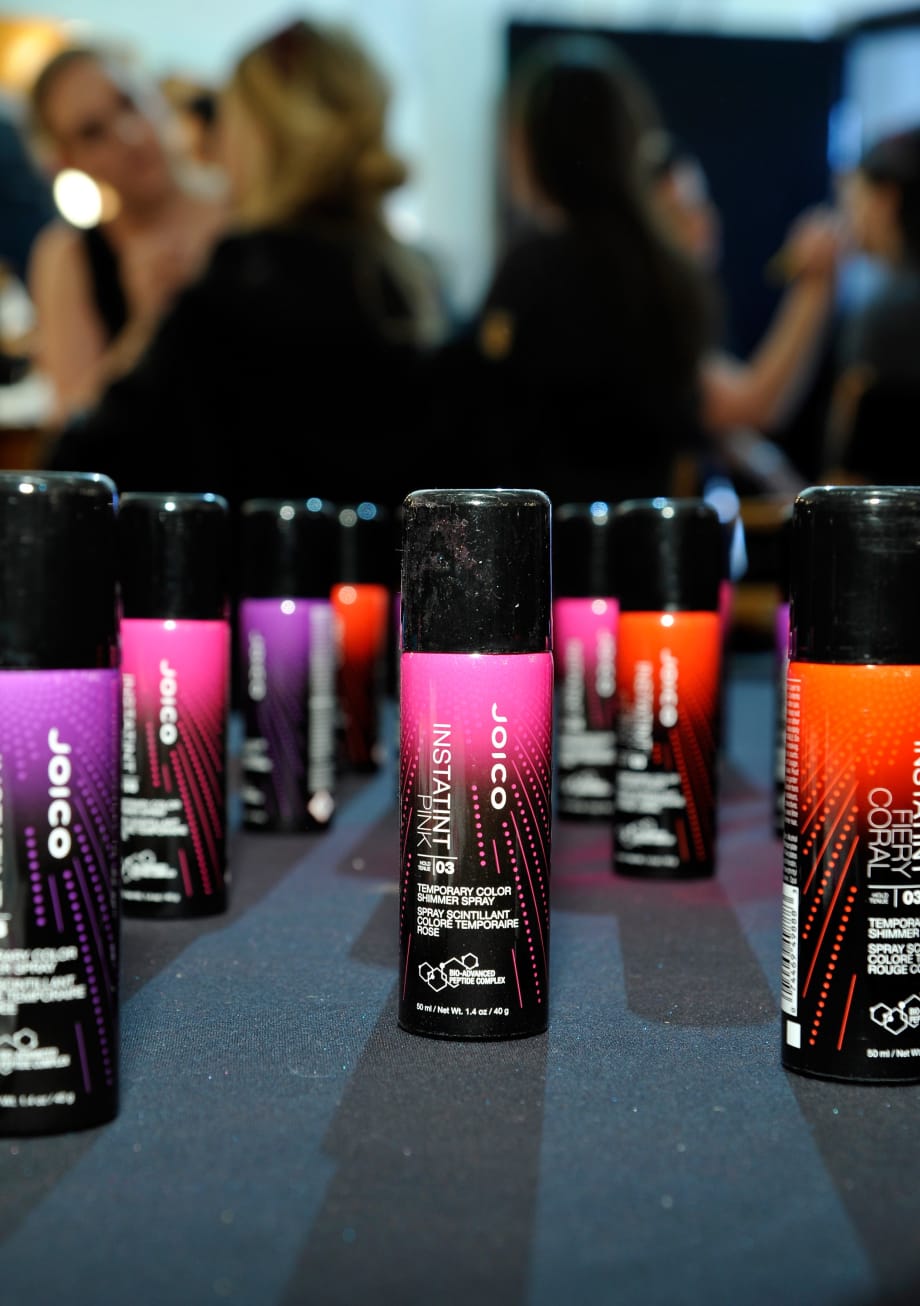
InstaTint Temporary Color Shimmer Sprays from Joico.
Joico
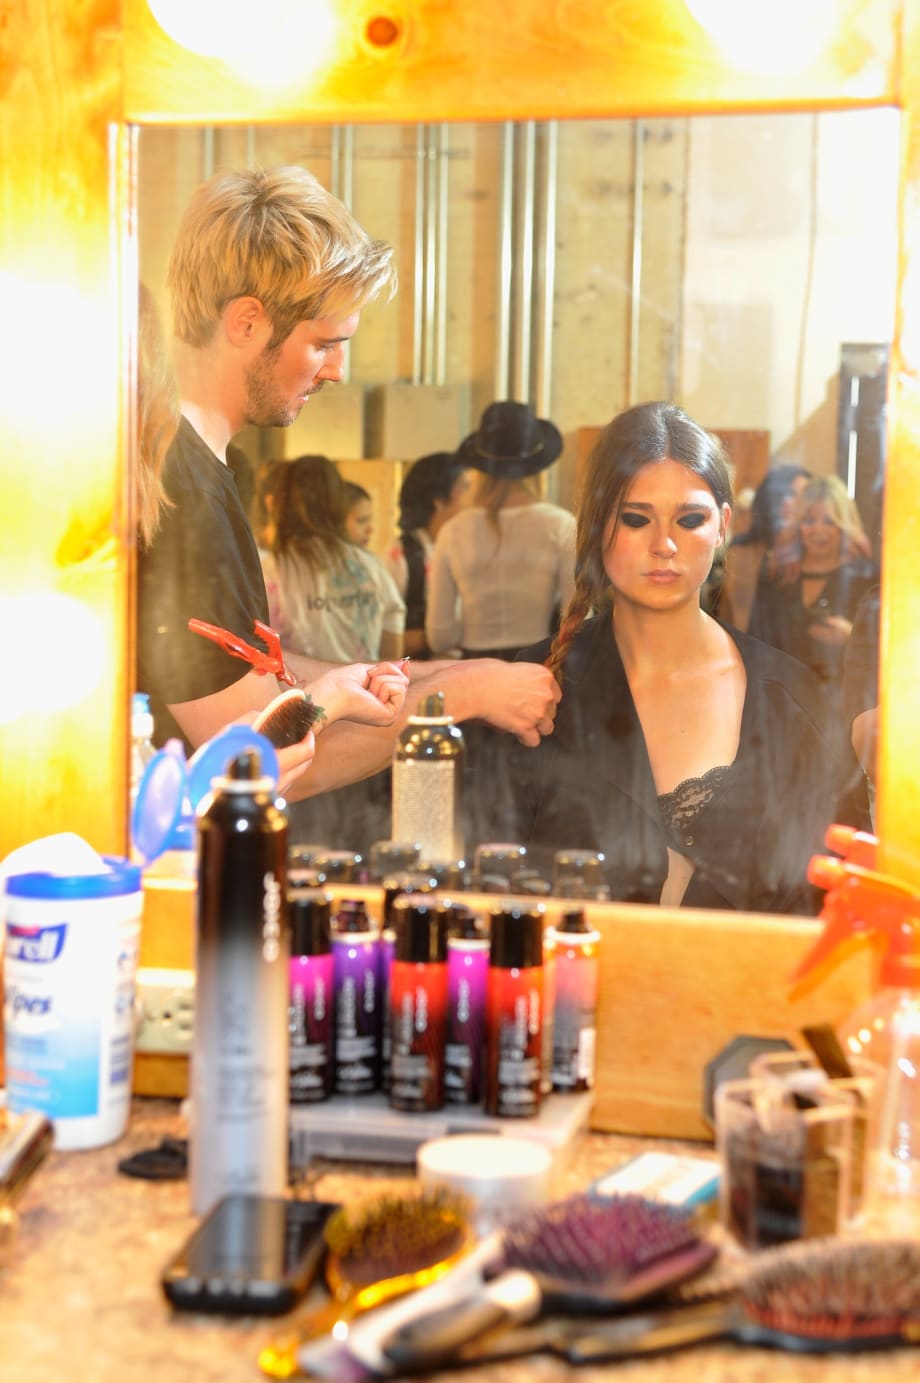
Alice + Olivia by Stacey Bendet presented its Grateful Dead dancing bear capsule collection last night in California. As the perfect kick-off celebration to weekend one of Coachella, which begins tomorrow, celebrity hairstylist and Joico spokesperson Paul Norton created three fun, whimsical looks complete with color (thanks to InstaTint Temporary Color Shimmer Sprays), texture and braids to compliment the designer's collection. Get your clients ready for festival season with these how-tos from the presentation.
Rock the Knot
STEP 1: Begin by spraying Joico Iron Clad Thermal Protection Spray over dry hair, and part the hair to the side or slightly off-center.
STEP 2: Create a loose and tousled undone texture/wave in sections, beginning at the bottom and working in two inch sections.Use a beveled edge flatiron to create bends in the hair by alternating the direction in which you wave the hair. Once the texture is established, spray the entire head with Joico Hair Shake Finishing Texturizer and comb through the hair with your fingers.
STEP 3: Take a two-inch section of hair just above the ear and hold it out from the head to spray your favorite color of Joico InstaTint Temporary Color Shimmer Spray. Spray several swipes of color on the top and bottom of the section, then blowdry it for several seconds to intensify the color; use a wide tooth comb and comb through the sprayed hair to soften the color.
STEP 4: Braid the section loosely and instead of confining with an elastic, back comb the ends with the tighter side of your comb for a more undone look. Repeat these steps on the same section of hair on the opposite side of the head.
STEP 5: Take each braid and cross them over the head and anchor each end on the base of the opposite side with a few bobby pins (feel free to add additional texture to the braids with your fingers).
STEP 6: Next, gather the loose tendrils in front and slightly lay them back over the braid to connect them in the back, creating a half-up middle knot.
STEP 7: Finish the entire look with Joico Flip Turn Volumizing Finishing Spray and you’re ready to rock.
Pony Jam
STEP 1: Part hair in the center and spray Joico Iron Clad Thermal Protection Spray over the mid-shaft and ends of the hair.
STEP 2: Use a large barreled curling iron to create gentle large waves in the hair. Spray the waves with Joico Hair Shake Finishing Texturizer and comb through with your fingers.
STEP 3: Create two low ponytails on each side of the head and secure with elastics.
STEP 4: Separate a 1-2 inch section from the ponytail and spray with Joico InstaTint Temporary Color Shimmer Spray. Once the color is dry, comb through and incorporate two other small sections of hair to make a simple braid that will lay in front/on top of the ponytail.
STEP 5: Backcomb the ends to hold the braid place.
STEP 6: Next, take another small section and spray it with InstaTint. Then, wrap this section around the elastic to conceal it.
STEP 7: Lastly, finish the look with more Hair Shake to give even more texture and body to the bottom of the ponytail. Repeat on the opposite side for perfect ponies.
Grateful Braid
STEP 1: Part hair with a deep side or center part (depending on which is most flattering).
STEP 2: Use a large barrel curling iron to bend the hair away from the face in the middle of the hair shaft to add texture (several inches away from the scalp and several inches away from the ends).
STEP 3: Spray the entire head with Joico Hair Shake Finishing Texturizer and comb through the hair with your fingers to create a piecey texture.
STEP 4: Next, choose the side you want the braid to rest on and roll the hair around from the opposite side, keeping it lower and closer to the nape of the neck for a softer look. Pin it with several bobby pins on the side just behind the ear.
STEP 5: Once the hair is secure, begin to separate the hair into three sections and spray one section thoroughly with Joico InstaTint Temporary Color Shimmer Spray. Then, blowdry the section until the hair is fully dry. Once dry, use the large side of your comb to brush through the color and soften it up.
STEP 6: Then, begin a loose braid, leaving out a bit of hair at the end to give a more undone look. Depending on the density of the hair, you can secure the braid with a hair tie or back comb the ends to hold. Spray more Hair Shake on the braid and begin to pull the sides in a wiggling motion to add texture to the braid.
STEP 7: Finish with Joico Flip Turn Volumizing Finishing Spray.
[[photogallery:36134]]
MODERN SALON sat down with Samuels to discuss the book, beauty education, mentorship and the habits that help beauty professionals thrive.

"The mistake people make is treating AI like a vending machine instead of a personal assistant." Digital marketing expert Scott Moon shares how beauty professionals can use AI while staying authentic

Real-world advice on creativity, consultations, color, burnout, business, boundaries, inclusivity, client care, and career growth from educators and industry experts.
Today's clients are hearing more about longevity, biohacking, inflammation, and healthy aging than ever before. This article explores the science and language behind the skin longevity movement, and what it could mean for client consultations, treatment recommendations, and professional credibility.

Licensed to Thrive, Anna Manukyan's all-in-one beauty career and financial masterclass, is being gifted to professionals who enroll in L'Oreal LEVEL Rewards for a limited time.
From breaking free of external validation to creating joy-based goals, discover a more sustainable and fulfilling path to success.

A full day of education for hairstylists and salon pros focused on pricing, personal branding, client experience, social media, and long-term career growth.
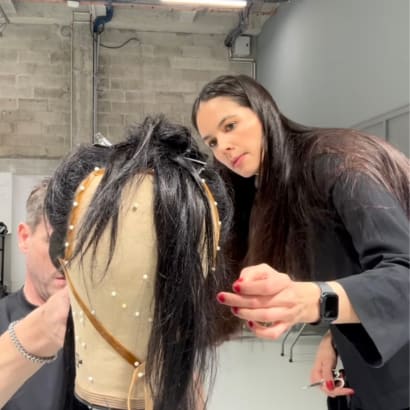
From working backstage at multiple Paris Fashion Week shows to collaborating on four creative collections and expanding her international stage work, Michelle Bowden has had an incredible year of growth. Here, we break down her approach that drove her momentum, offering a framework for stylists looking to elevate their own careers.
This marks Ulta Beauty’s first scholarship partnership with Beauty Changes Lives, building on years of enthusiastic support for the organization and its mission.
Locally owned Great Clips salons offer a wide variety of career opportunities, competitive compensation, supportive salon teams and opportunities to grow your skills, both technically and professionally.
Sponsored by Great Clips

Salon suite consultant Karen Kaminski explains why cheap salon suite rent can destabilize the salon suite business model and why value-based pricing may be a smarter strategy.
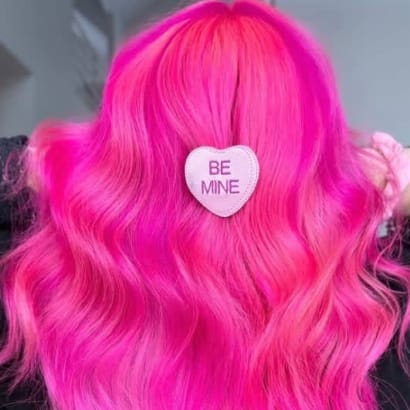
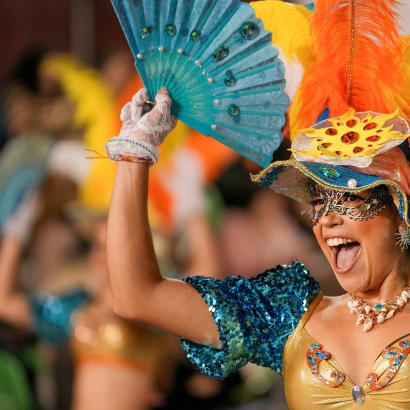
These stylists practice hairdresser magic, transforming clients into unicorns, mermaids, rainbows and living works of art.
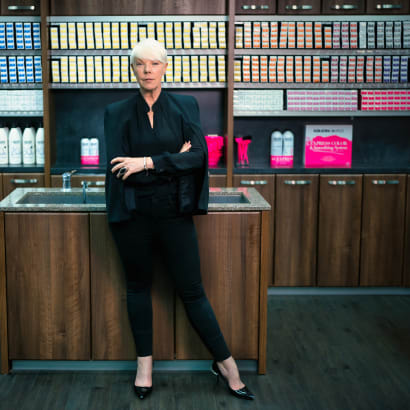
Keratin Complex is taking education on the road in 2026 with the launch of KC on Tour, a live event series featuring industry icon and salon business coach Tabatha Coffey.
Modern professionalism is evolving beyond hard skills. Technical training is essential but about 85 percent of job success comes from soft skills. In a world where AI and automation are increasing, human connection becomes more valuable, not less.
In his new book "The Creative Mastermind," a writer and creative executive behind brands such as "Top Chef," "Fear Factor," and "Real Housewives," shares his insider knowledge for navigating today's chaotic content landscape.

Personalization is no longer just the cherry on top; it’s the whole sundae. If clients don’t feel like you designed and personalized the experience just for them, they’ll find a salon that does.
Ulta Beauty is always innovating to meet professionals where they are. Amazing transformations happened at The Salon at Ulta Beauty in 2025, and Ulta Beauty artistry and education will be everywhere you want to go in the year ahead. Come see all The Salon at Ulta Beauty has planned for you in 2026!
Sponsored by Ulta Beauty