


Rodrick Samuels on The Silent Work, Modern Beauty Education and Why Empathy Wins
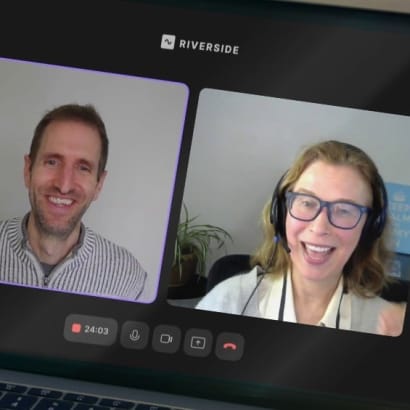
MODERN SALON sat down with Samuels to discuss the book, beauty education, mentorship and the habits that help beauty professionals thrive.
by Anne Moratto
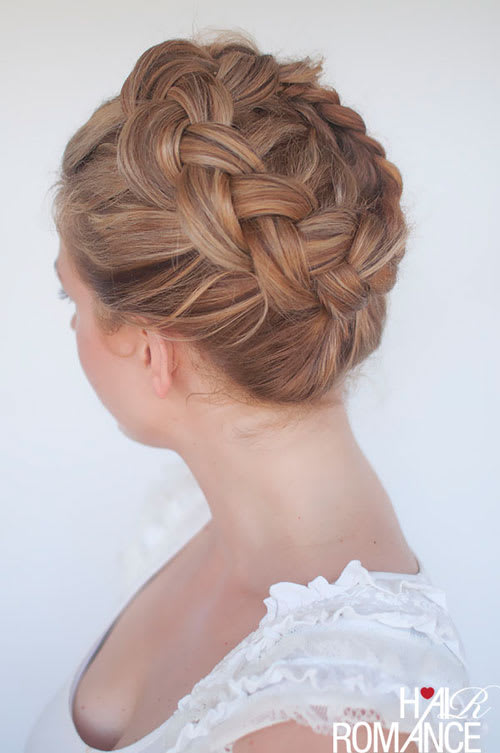
We love curly girl and blogger Christina for Hair Romance, and she knows braids! Take a look at her tutorial for this chic, braided crown updo.

Every now and again, we come across a truly spectacular hair blog. HairRomance.com is one such blog.
Christina, the mastermind behind Hair Romance, says she hated her curls until she met a stylist who gave her a cut that she fell in love with. Hence, the name.
HairRomance.com
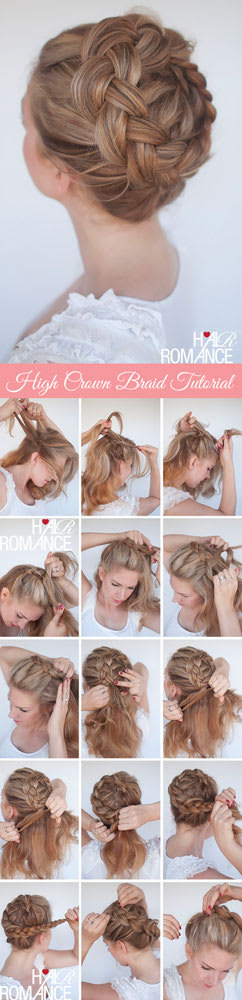
The curly girl is infamous for superb second-day styles, braids and wearable updos. One of our favorites is from March 2014, and we wanted to share her work with you! Make sure you visit HairRomance.com for more chic styles. Her original step-by-step can be found here.
HairRomance.com
GET THE LOOK: THE HIGH BRAIDED CROWN HAIRSTYLE
Prep: Make sure you have some volume and hold; second-day hair works best. Use some dry shampoo to create some grip and volume at the roots.
STEP 1: Brush all the hair to remove any knots before you begin to braid.
STEP 2: Visualize where you want the braid to sit. It looks best when it sits like a halo around the crown of the head. You want to see the top of the braid across the top of the head and high at the back.
STEP 3: Start the braid behind the right ear. Start low, behind the ear with a 2-inch section of hair.
STEP 4: Split your hair into three and begin a Dutch braid (same as a French braid, but in reverse). Instead of crossing the hair over, bring the sections under. On the next section, add in hair from the front of your hairline.
STEP 5: Continue the Dutch braid until it begins to curve around, bringing in pieces of hair from both sides. Around the back, you want the braid to sit above the edge of the occipital.
STEP 6: Once you've finished adding in all the hair, finish with a regular braid and secure the end with a small, clear elastic.
STEP 7: Pull at the sides of the braid to fatten it up and make it look thicker.
STEP 8: Pin the end of the braid inside to complete the crown shape. Depending on how long the hair is, tuck the end of the braid under the first braid to hide it and pin it in place. You can spiral long braids inside the first.
STEP 9: Pin any loose sections and reshape the braid. After tugging the braid thicker, you might find the hair at the front is too loose. Add some pins under the braid to hold hair down, if necessary. If desired, finish with hairspray!
MODERN SALON sat down with Samuels to discuss the book, beauty education, mentorship and the habits that help beauty professionals thrive.
"The mistake people make is treating AI like a vending machine instead of a personal assistant." Digital marketing expert Scott Moon shares how beauty professionals can use AI while staying authentic

Real-world advice on creativity, consultations, color, burnout, business, boundaries, inclusivity, client care, and career growth from educators and industry experts.
Today's clients are hearing more about longevity, biohacking, inflammation, and healthy aging than ever before. This article explores the science and language behind the skin longevity movement, and what it could mean for client consultations, treatment recommendations, and professional credibility.

Licensed to Thrive, Anna Manukyan's all-in-one beauty career and financial masterclass, is being gifted to professionals who enroll in L'Oreal LEVEL Rewards for a limited time.
From breaking free of external validation to creating joy-based goals, discover a more sustainable and fulfilling path to success.

A full day of education for hairstylists and salon pros focused on pricing, personal branding, client experience, social media, and long-term career growth.
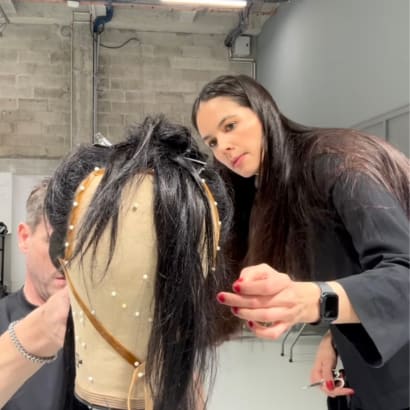
From working backstage at multiple Paris Fashion Week shows to collaborating on four creative collections and expanding her international stage work, Michelle Bowden has had an incredible year of growth. Here, we break down her approach that drove her momentum, offering a framework for stylists looking to elevate their own careers.
This marks Ulta Beauty’s first scholarship partnership with Beauty Changes Lives, building on years of enthusiastic support for the organization and its mission.

Locally owned Great Clips salons offer a wide variety of career opportunities, competitive compensation, supportive salon teams and opportunities to grow your skills, both technically and professionally.
Sponsored by Great Clips
Salon suite consultant Karen Kaminski explains why cheap salon suite rent can destabilize the salon suite business model and why value-based pricing may be a smarter strategy.
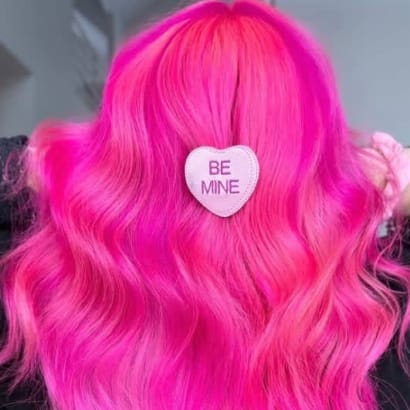
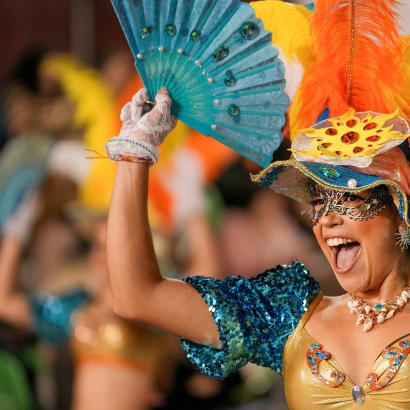
These stylists practice hairdresser magic, transforming clients into unicorns, mermaids, rainbows and living works of art.
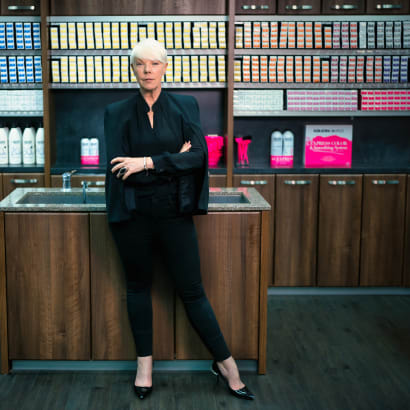
Keratin Complex is taking education on the road in 2026 with the launch of KC on Tour, a live event series featuring industry icon and salon business coach Tabatha Coffey.
Modern professionalism is evolving beyond hard skills. Technical training is essential but about 85 percent of job success comes from soft skills. In a world where AI and automation are increasing, human connection becomes more valuable, not less.

In his new book "The Creative Mastermind," a writer and creative executive behind brands such as "Top Chef," "Fear Factor," and "Real Housewives," shares his insider knowledge for navigating today's chaotic content landscape.

Personalization is no longer just the cherry on top; it’s the whole sundae. If clients don’t feel like you designed and personalized the experience just for them, they’ll find a salon that does.
Ulta Beauty is always innovating to meet professionals where they are. Amazing transformations happened at The Salon at Ulta Beauty in 2025, and Ulta Beauty artistry and education will be everywhere you want to go in the year ahead. Come see all The Salon at Ulta Beauty has planned for you in 2026!
Sponsored by Ulta Beauty