




Why Salon Work Makes Your Body Ache & What You Can Do to Feel Better
We learn some simple moves and strategies to keep the blood pumping through the muscles and limit posture problems from The Balanced Beauty Pro
by Anne Moratto
 MENU
MENU SEARCH
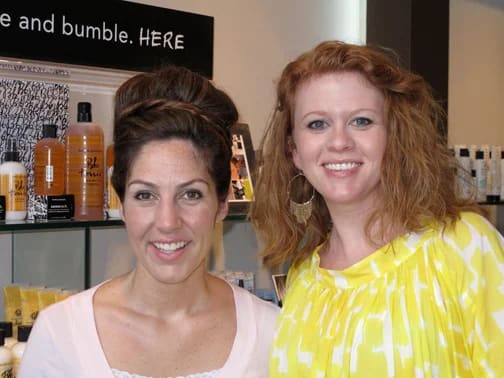
Any of you who know Modern editor and bride-to-be, Laurel Smoke, know she's no shrinking violet. So when the creative director from Salon 1800 used the words "big" and "bold" in her e-mail, we knew Laurel would have to check it out. Extra points go to Becki for describing the bun she imagined as "a la Carrie Bradshaw." Sold!
Any of you who know Modern editor and bride-to-be, Laurel Smoke, know she's no shrinking violet. So when the creative director from Salon 1800 used the words "big" and "bold" in her e-mail, we knew Laurel would have to check it out. Extra points go to Becki Shunick for describing the bun she imagined as "a la Carrie Bradshaw." Sold!
Steps
IMG_2629
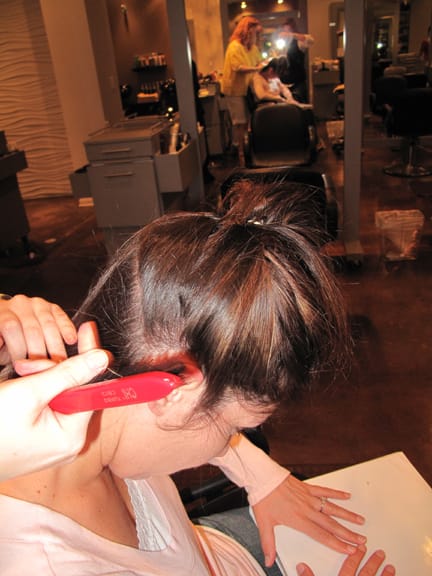
1. The first step was a sleek blowout to get Laurel's hair as shiny and silky as possible.
IMG_2635
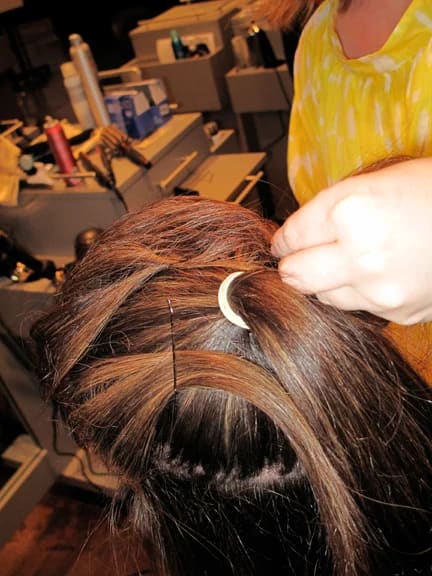
2. Next, Becki sectioned off an area of hair as the crown to be used as a base for the style.
IMG_2643
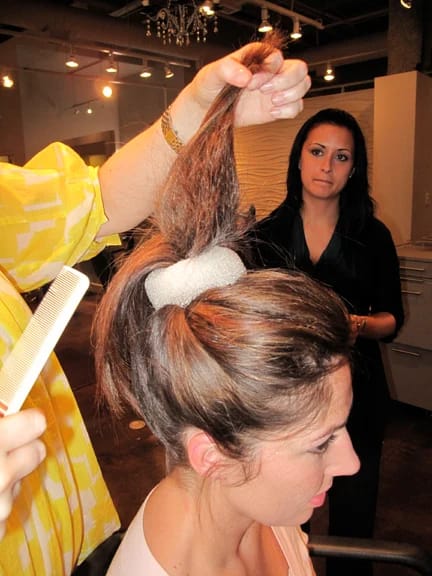
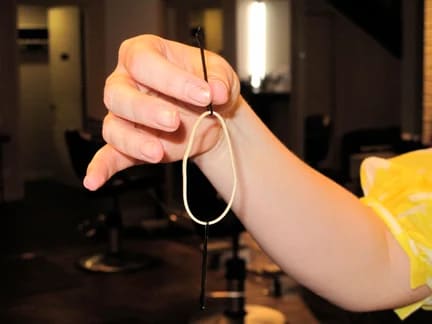
3. This is a worthy trick to use for securing the hair in a ponytail. Rather than wrapping the elastic around the hair traditionally, Becki attaches two bobby pins to a band and pins in one. Then she wraps the band around the hair, securing with the other bobby pin once it's tight enough.
IMG_2650
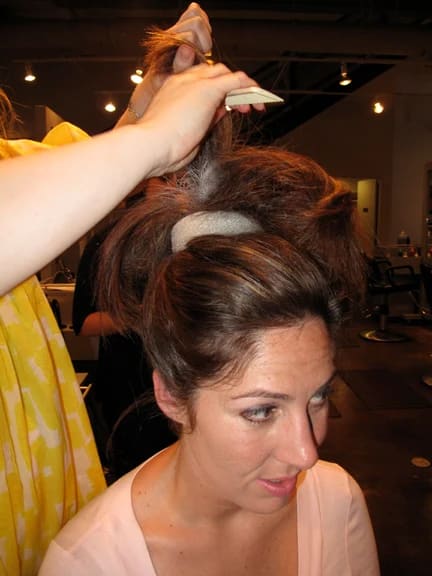
4. Voila! She has her base for the bun.
IMG_2655
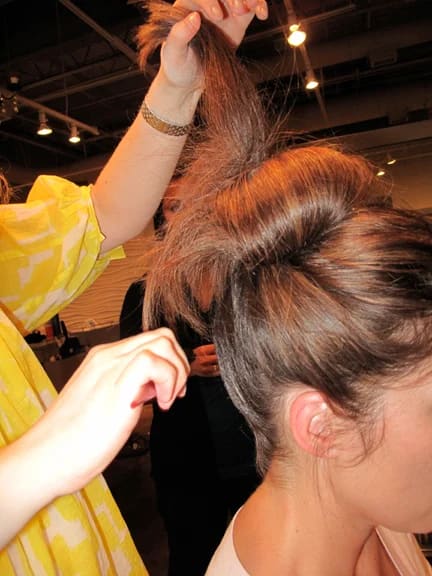
5. After securing that section, she went to work on the front section of the hair. She took Laurel's traditional sideswept bangs and backcombed them for volume.
IMG_2621
6. She then pinned them back in to the partitioned section of hair.
IMG_2624
7. Working around the head from the front, she began sectioning off strands of the loose hair. She smoothed out those sections and also pinned them into the partitioned section.
IMG_2661
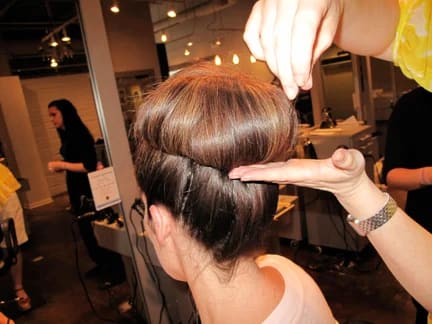
8. Once all sections had been pinned, she placed a stretchy donut around the ponytail that she had created and covering the bobby pins.
IMG_2672
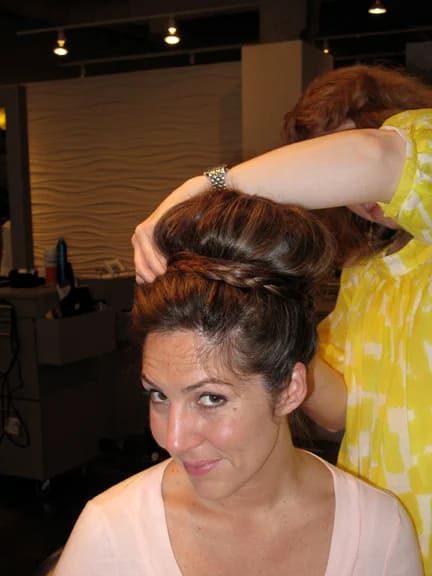
9. With the donut in place, she then began backcombing sections of the ponytail to create the necessary volume.
IMG_2687
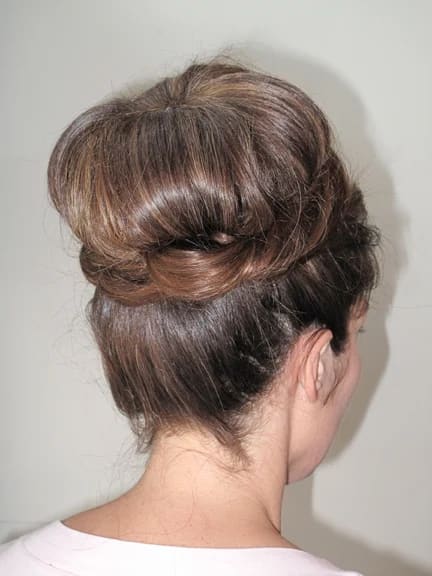
10. Working around from the front, she folded over the strands, smoothing the top, then pinning them into place to create the look of the bun.
IMG_2692
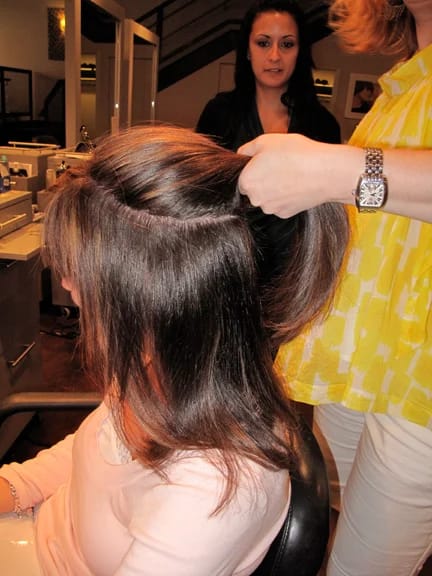
11. Next, she went through the bun, smoothing the strands and filling in gaps by bringing the strands together and pinning again when necessary.
IMG_2614
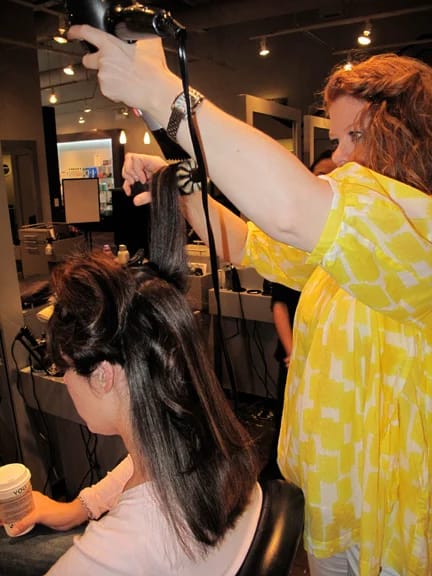
12. Once she finished the bun, she pulled out wefts of hair that matched Laurel's perfectly. Using two wefts, one braided and one twisted, she pinned them around the base of the bun to add character and detail to the style.
Finished Shots
IMG_2618

IMG_2623
We learn some simple moves and strategies to keep the blood pumping through the muscles and limit posture problems from The Balanced Beauty Pro

Anny VanDriel, owner of Be Rosie Salon and creator of Pricing Isn’t Personal, volunteered to share a pricing presentation to beauty school students a year ago, and ended up learning more than she expected.

From the launch of the Ulta BeautyArtist Collective to the evolution of Trendspiration, celebrating stylists is what The Salon at Ulta Beauty does best.
Sponsored by Ulta Beauty

With more than four decades in the industry, hairdresser and MODE Education founder Stan Newton has built a career around the art and discipline of cutting hair, learning the rules so he can break them.
Beauty professionals should evaluate each service based on its popularity, profitability, and alignment with current trends. Conducting client surveys and analyzing booking data can provide insights into which services are in demand and which might be phased out.

LifeSpa leader Ali Yanez explains why strong mentorship, predictable income, meaningful recognition and the right work environment help beauty professionals build careers that last.

Whether a beauty professional chooses a commission salon, booth rental, salon suite or salon ownership, the common thread is having more choices than ever before.

Sport Clips Haircuts will host its inaugural "Level Up Live," a first-of-its-kind virtual event that combines live haircutting education, career inspiration, product knowledge, and employment opportunities for licensed stylists and cosmetology students nationwide.
Orthopedic PT reveals three daily exercises plus ergonomic advice that can help salon professionals avoid the aches and injuries caused by standing, bending and repetitive overhead work.

Four publications for beauty industry professionals to enhance their leadership skills, financial awareness, professional growth, and joy!
Salon suite pioneer Karen Kaminski argues that the next evolution of independent beauty businesses won't be defined by beautiful spaces alone, it will be driven by smarter systems that help professionals spend less time on administrative work and more time serving clients.

At a time when many LGBTQ+ people felt compelled to hide parts of themselves, Carlos Valenzuela found a career in beauty and a community that offered opportunity based on what you could do and how well you could do it.

Whether it's social media, fashion, film, art, or culture, Chaz Dean advises stylists to stay aware of what's inspiring people. Take the elements that make sense for you in these five lessons learned through a life in beauty.
For Jessica Domoney, building a successful career isn't about saying yes to every opportunity, it's about protecting your time, investing in yourself and creating an experience clients won't forget.
MODERN SALON sat down with Samuels to discuss the book, beauty education, mentorship and the habits that help beauty professionals thrive.

"The mistake people make is treating AI like a vending machine instead of a personal assistant." Digital marketing expert Scott Moon shares how beauty professionals can use AI while staying authentic

Real-world advice on creativity, consultations, color, burnout, business, boundaries, inclusivity, client care, and career growth from educators and industry experts.