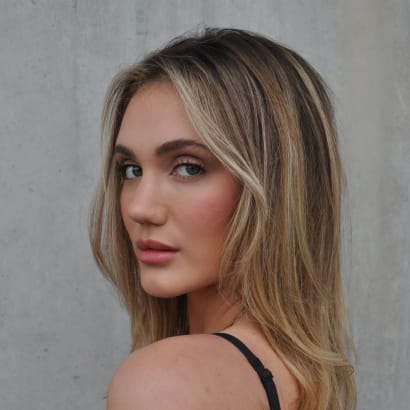
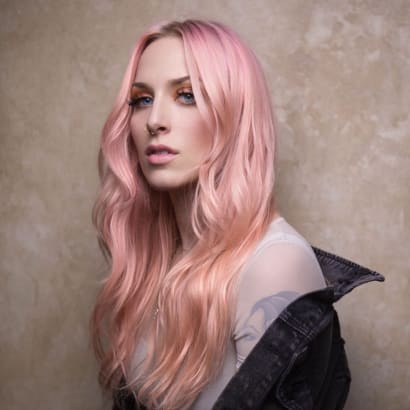
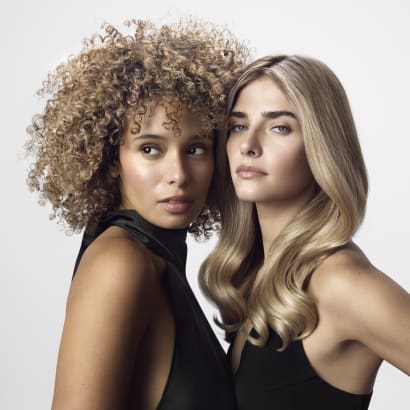
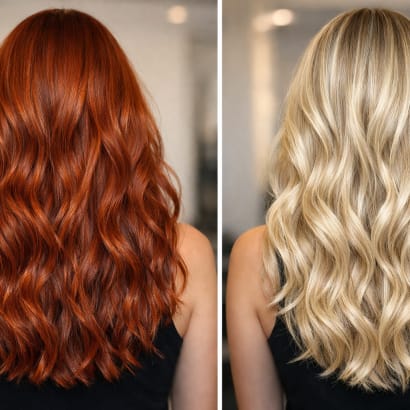
Create a look of quiet luxury with this modern take on ombré, featuring beautiful dimension and depth with strategic pops of blonde around the face and ends. The initial effect is bright and beautiful, with purposefully placed depth creating longevity as the hair grows out.
by Staff
April 3, 2026
4 min to read
The Moroccanoil Professional Global Trend Collection ensures stylists are ready to meet the moment.
Create a look of quiet luxury with this modern take on ombré, featuring beautiful dimension and depth with strategic pops of blonde around the face and ends. The initial effect is bright and beautiful, with purposefully placed depth creating longevity as the hair grows out.
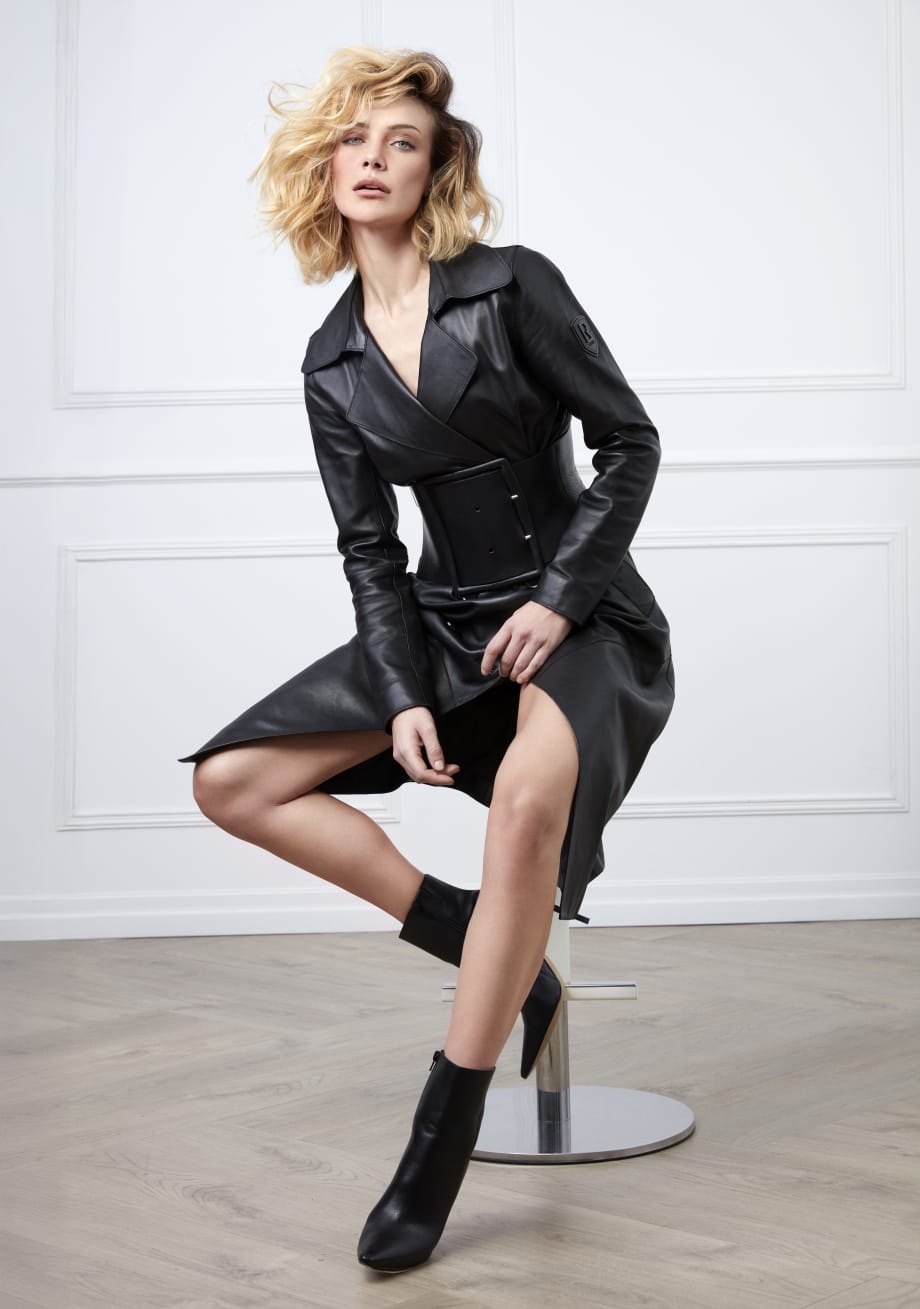
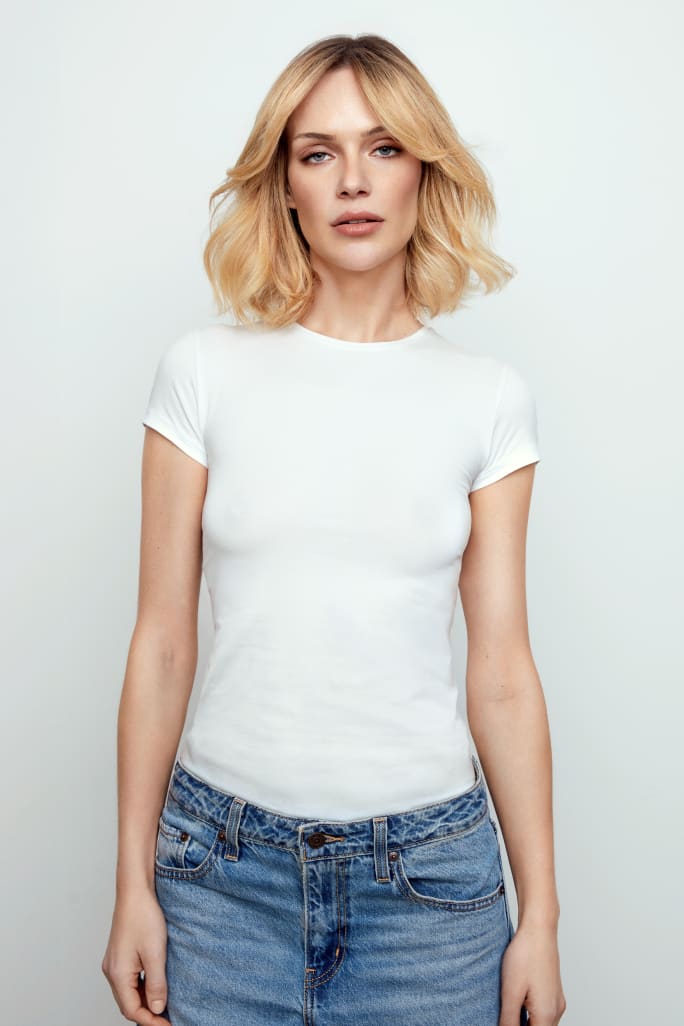
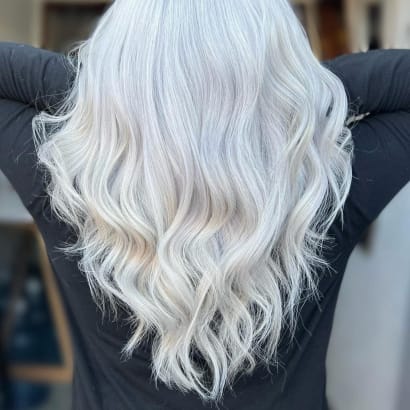
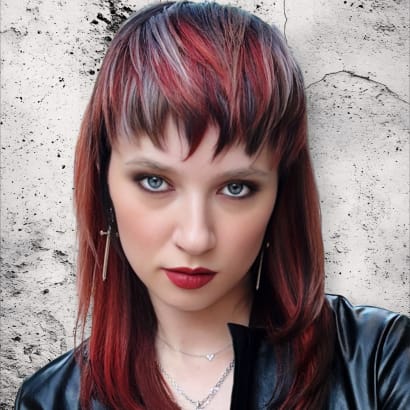
The "After"
Moroccanoil Professional
"This look is perfect for clients who need to maximize their time. We will demonstrate this less is more look by showing subtly how to create movement and longevity." - Moroccanoil Professionals Artistic Director Tania Lacoste Major @tanialacostemajor
Ad Loading...
HAIRCARE AND STYLING PRODUCTS
Moroccanoil Color Care Shampoo and Conditioner
Moroccanoil Treatment
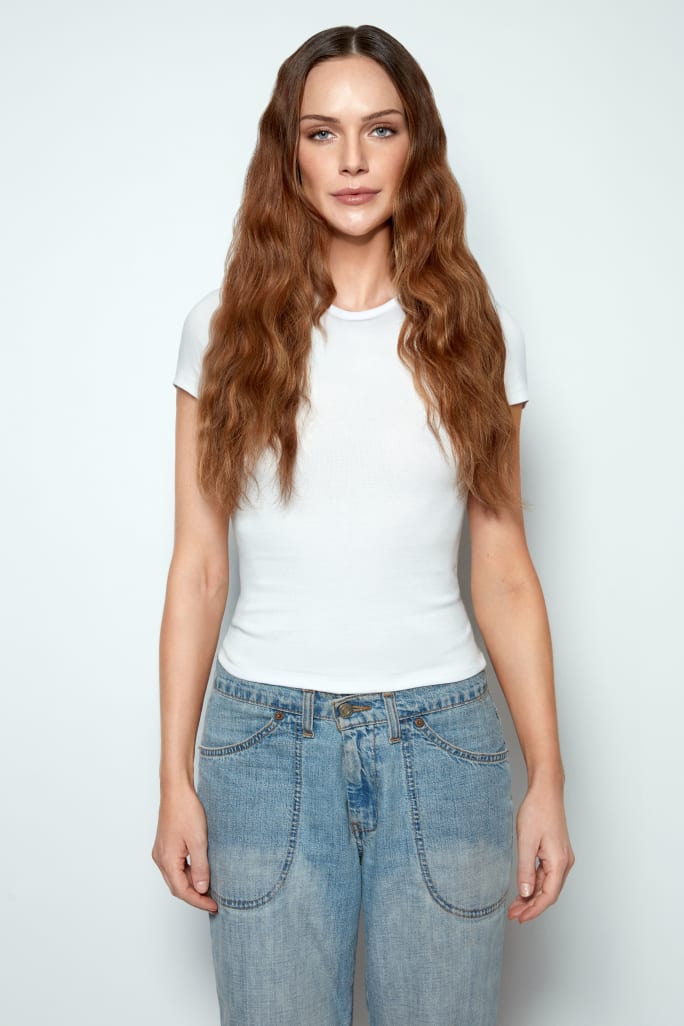
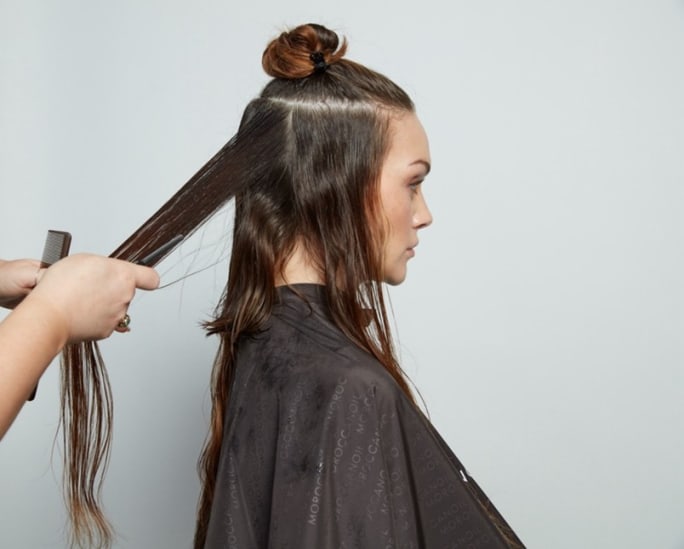
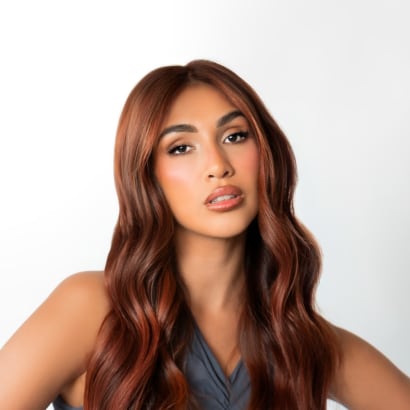
The "Before"
Moroccanoil Professional
Quiet Luxury Color
Formula A: Blonde Voyage Powder Lightener + Oxidative Cream Developer 20 vol. (mixing ratio 1:1.5)
Ad Loading...
Formula B: Root Tap: Color Calypso Demi-Permanent Cream Color 6N/6.0 + Oxidative Cream Developer 5 vol. (mixing ratio 1:2)
Formula C: Color Calypso Demi-Permanent Cream Color 8G/8.3 + Oxidative Cream Developer 5 vol. (mixing ratio 1:2)
Formula D: Color Calypso Demi-Permanent Gloss Clear + Gloss Activator (mixing ratio 1:1)
HIGHLIGHTS:
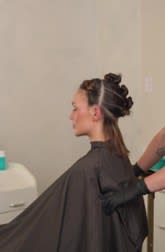
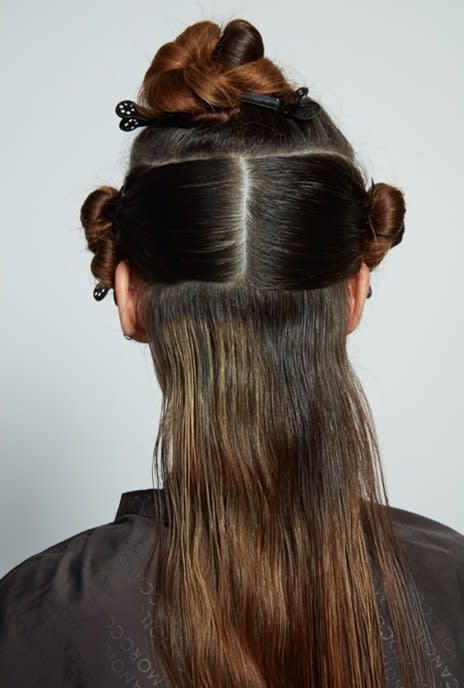
Step 1: SECTIONS: Create 6 sections. Begin by separating the front with an ear-to-ear radial parting, then divide the front section in half. Create 3 large sections around the head. For the top section, take a parting from the high point of the parietal ridge to the low crown. For the middle section, take a parting from the low crown to the ears and below occipital, then sub-divide horizontal in half. Leave out the nape just under occipital bone.
Ad Loading...
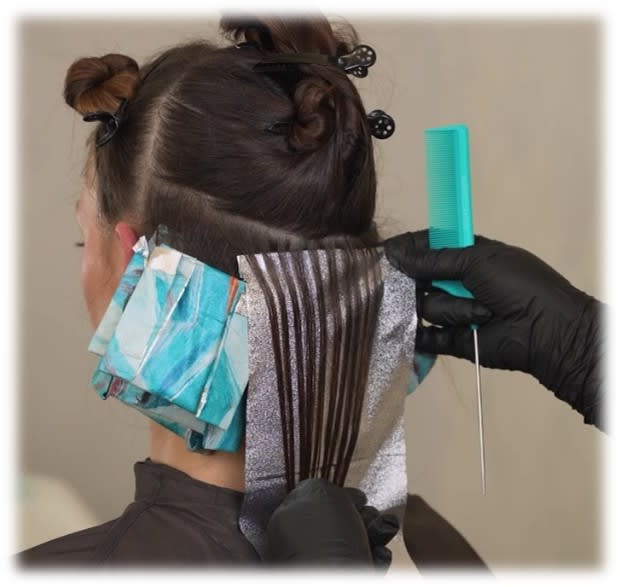
Step 1: BACK: In the bottom section, take 3 diffused slices along the hairline
Step 3: Work up the head horizontally. Take 2 back-to-back horizontal teasylights across the section, then 1 diffused slices above. Tip out the hair between foils. Repeat this pattern of 2 teasylights and 1 diffused slice with until you reach the top section.
Step 4: TOP: In the top section, take horizontal subsections and alternate teasylights and tip-outs until you reach the top of the crown.
Before starting the sides, section out the fringe by creating a triangle from the browbone to the top of the head.
Step 5: SIDES: Begin with a diagonal back section that is parallel to the hairline, tease to diffused a slice at the hairline. Alternate with a teasylight and tip-outs in between.
Ad Loading...
When you reach the parietal ridge from the high point of your diagonal back subsection, leave depth by making a tip-out with diffusion starting lower. Then pivot to horizontal and continue the pattern to the top of the head.
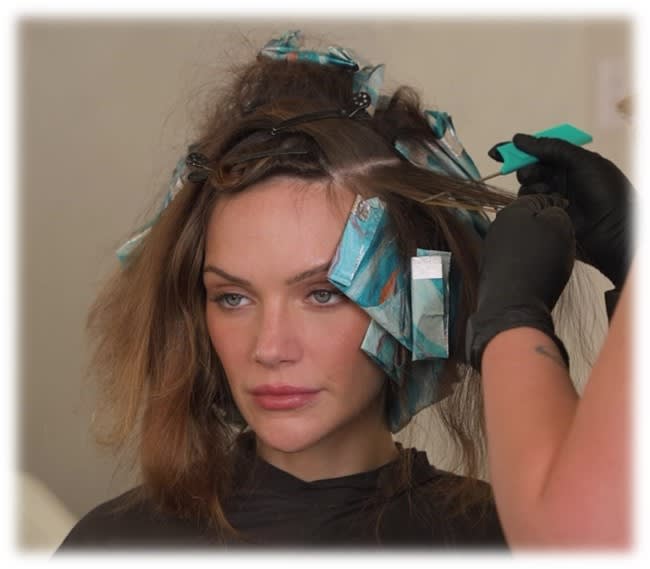
Step 6: FRINGE: For the fringe, create 2 back-to-back horizontal teasylights parallel to the hairline, then tip out, followed by 1 very fine diffused slice, beginning the diffusion close to the scalp to give maximum impact.
Process until the desired lift is achieved; do not exceed 50 minutes. Rinse. Follow with Moroccanoil Color Care Shampoo and Conditioner.
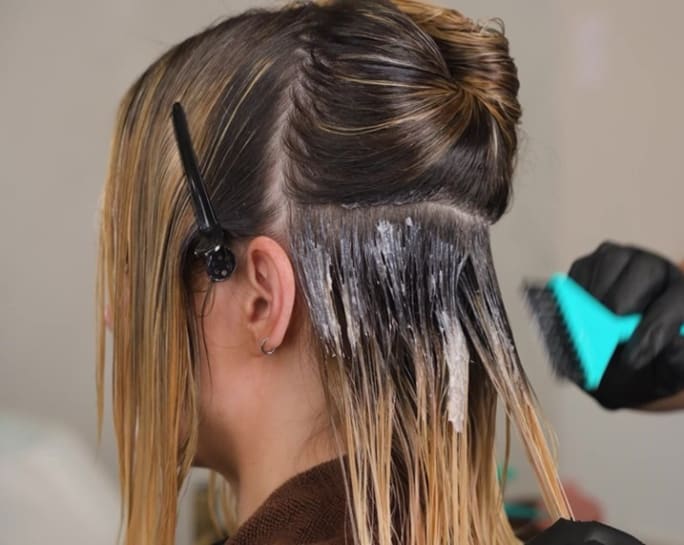
Step 7: ROOT MELT: Start at the bottom of the nape and work up the head, creating a zigzag pattern to isolate the hairline to maintain bright pops of color.
Using Formula B, apply root tap, blend babylights, and add dimension. Feather in Formula C and brush through to melt the colors. Apply Formula D on the ends.
Ad Loading...
Process for 20 minutes. Rinse. Follow with Moroccanoil Color Care Shampoo and Conditioner.
Quiet Luxury: The Cut
This haircut is perfect for clients who need to maximize their time. The “less is more” approach creates subtle movement and longevity, starting with a fringy face frame that will grow out into long layers.
Step by Step:
Step 1 – Sectioning: Create 4 sections: three horseshoe sections with the middle section divided in half. For the top horseshoe section, take a parting around the parietal ridge. For the bottom horseshoe section, take a parting across the occipital bone above the nape. Divide the middle section in half.
Step 2: Cut the perimeter with a razor using no elevation. Hold the razor so the blade enters diagonally and cuts the ends in C-shape motions, alternating direction to create movement.
Ad Loading...
Step 3: Working up the head, subsection vertical panels, cutting at 45 degrees in a C-shape motion; alternating over directions.
Step 4: Drop down top section, it must cover section below by 2 mm.
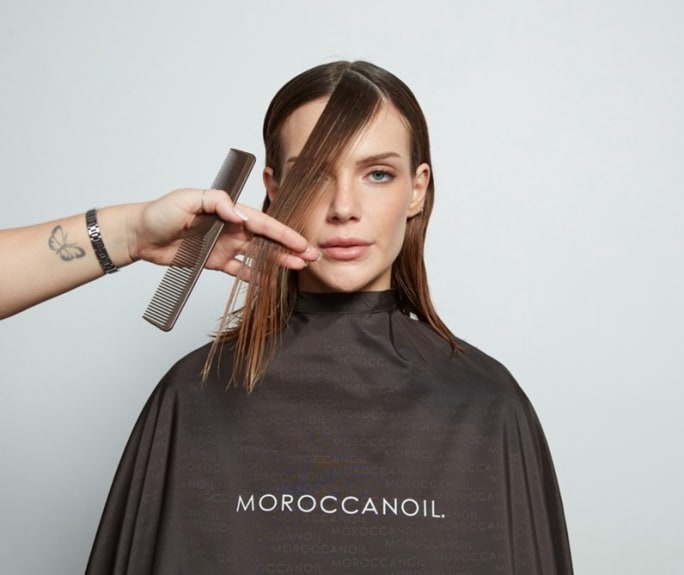
Step 5: Create a triangle fringe section, from the end of the browbone to the top of the head, then divide it in half. Overdirect one half across opposite eye. Use razor to cut at the chin, cheekbone, or browbone to create a flattering frame.
Schwarzkopf Professional ambassador Carly Zanoni shares the express color and treatment services helping stylists deliver great results in under 30 minutes while creating new opportunities for client retention and revenue growth.
In an industry with so many options and opportunities, we asked artists what made them niche down and select a specialty. Amelia Fugitt (@ameliahairmakeup) says choosing to focus on transformations has transformed her career.
Craft with confidence, challenge your creativity, work from inspiration. Prepare your chair for every canvas with Moroccanoil's expanded color lines and advanced technology.
Oligo Professionnel, the Montreal-based hair color powerhouse, expands beyond the salon with a new routine-driven system designed specifically for blondes and those with highlighted hair.
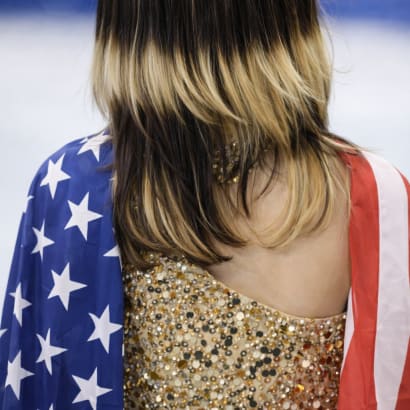
Ahead of the Winter Olympics, Alysa partnered with St. Louis–based color specialist Kelsey Miller to elevate her DIY bleach work into clean, high-contrast halo placements.
Blonde hair is as All-American as baseball, apple pie, and Stars and Stripes forever. And as America approaches her 250th birthday next year, we celebrate the birth of the Global Blonde.
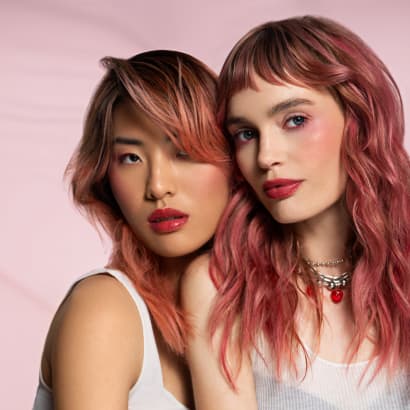
Two reds that get raves, these looks were designed using Alfaparf Milano. Get all the steps, processing, and expert tips to add these recipes to your rotation.
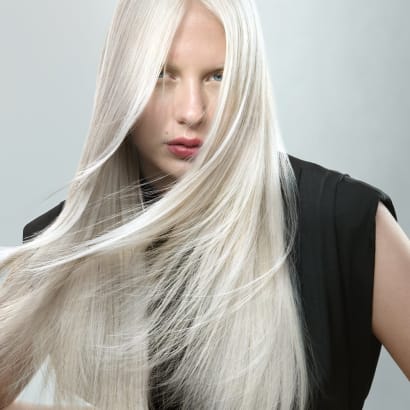
Many colorists and blonde specialists have been enthusiastic about Pantone's 2026 Color of the Year, creating some of the purest platinum looks in celebration of the pick. Check out some of our favorite Cloud Dancer creations and collections.
To kick off the year fresh, actress Emma Roberts has undergone a major 7-hour color transformation going from Copper Red back to her iconic Iridescent Golden Blonde. The transformation was created by Wella Professional Global Ambassador Nikki Lee.
“We are some of the luckiest creatives on the planet. As hairdressers, we get to shape more than hair—we shape identity. We create for our clients, inspire fellow artists, and are continuously inspired by each other. That exchange of artistry is at the heart of this story and at the heart of this haircut."