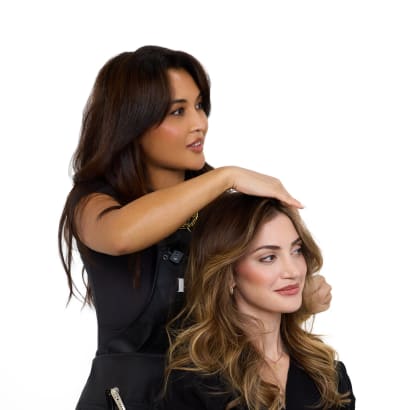
Alex Kool (@a_kool), a master stylist and development team leader for RedBloom Salons (@redbloomsalon) in Calgary, Alberta, praises hair painting as one of her favorite techniques.
“It creates a beautiful, natural finish that can be soft and subtle or bold and blended,” says Kool.
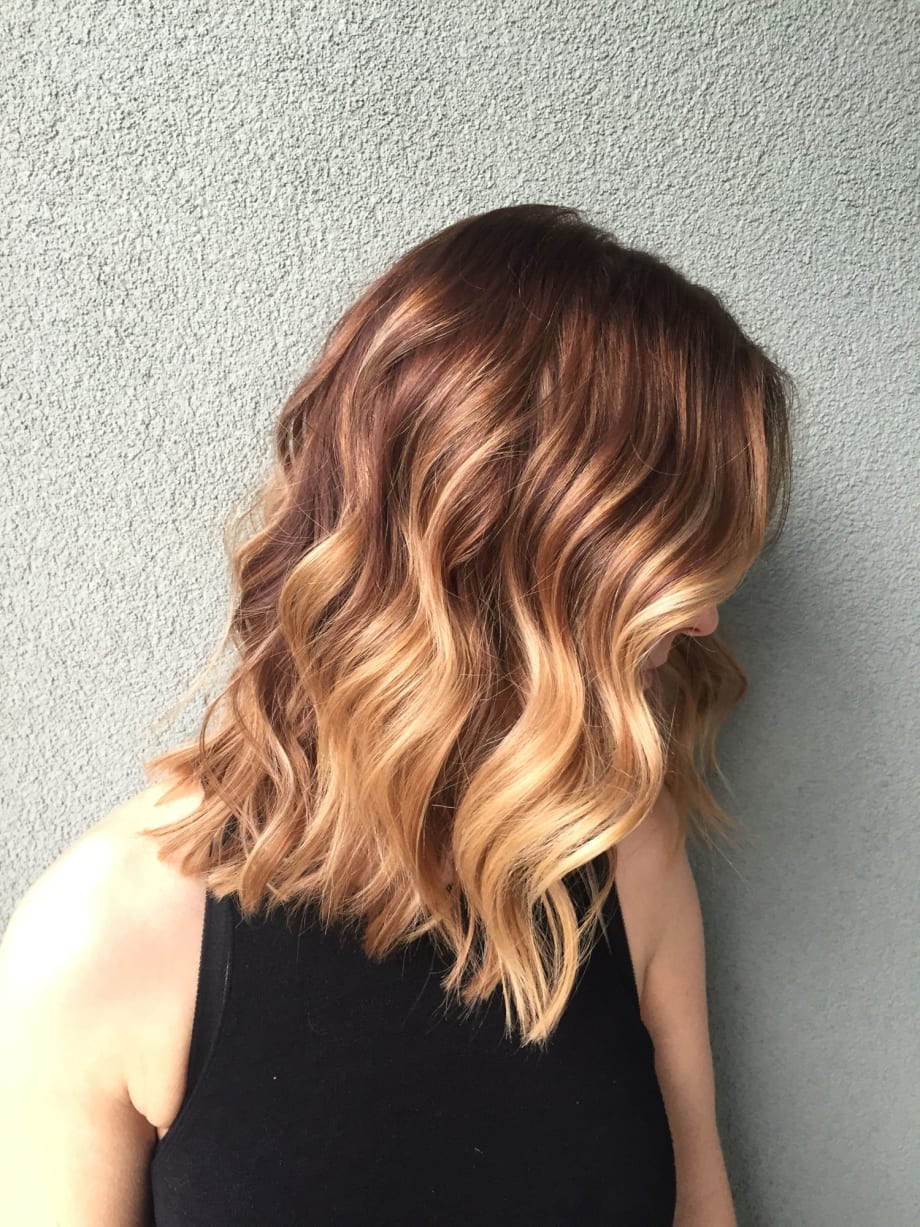
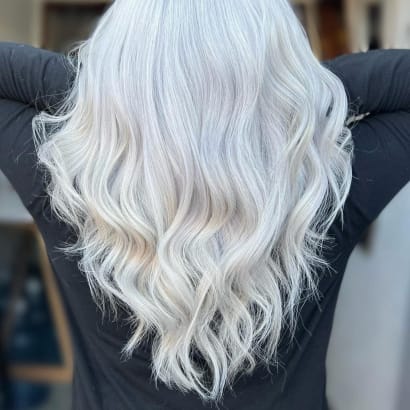
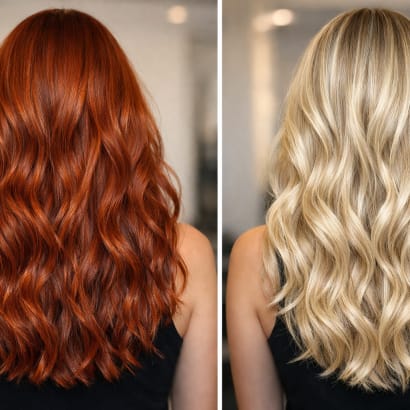
This client is a natural level 8-9 and has had level 4-5 color overlapped on her mids and new growth for the last few years. Kool is gradually working to bring her client lighter, while maintain the integrity of her hair and creating beautiful color every step of the way. At every appointment (8-10 weeks apart), Kool lightens strands of hair higher up and allows her client’s natural hair to grow further down.
Here Kool gives us details on how she created this look for her client:
Formula: Enlightener + 30vol + Olaplex (Mix smaller amounts to keep product active.)
Toner: Aveda deposit only color treatment 30gr 9n+ 10gr 0n+ 4gr light blue + liquid color treatment activator
Processing time: 30-40 min
Application: 5 sections – mohawk section on the part, left and right sections to behind the ear, back two sections meet up at the top mohawk.
1. Start application with the back right section. Keep sections on a diagonal and free hand paint. Rest the hair on foil to keep the product from drying out and sealing in light heat.
2. Repeat on back left.
3. Move to front right. With sections on a diagonal, paint the enlightener high around the hair line and slowly create more root as you move back.
4. Repeat on left side.
5. In the mohawk section, continue with the diagonal sections, following the movement of the front hair line.
6. Again around the front, paint the enlightener to the new growth and slowly create a longer root as you move back.