


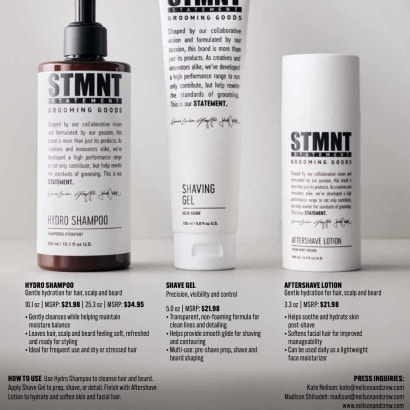
STMNT Grooming Expands into Shave Care
STMNT Grooming Goods is expanding into the shave care category with three new additions to its lineup.
Andy Lecompte shows HOW TO create a perfect halo braid, using the new Wella Oil Reflections, in less than 4 minutes.

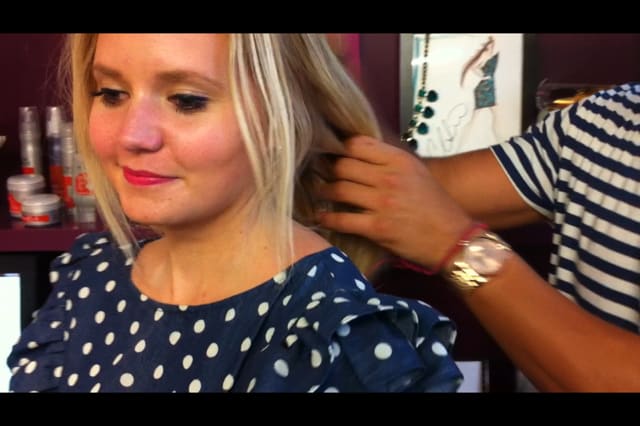
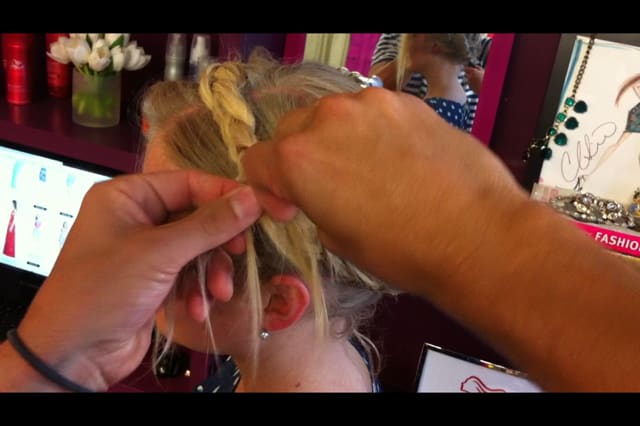
Andy Lecompte has learned that he doesn't always have much time to create a beautiful finish for his celebrity clients. He has developed his skills and has come up with a bag of styling tricks to work out something fabulous in a less than ideal setting, and in a short period of time.
Lecompte was recently in New York helping to introduce the new Wella Oil Perfections to the press. When Modern asked him to do something special using the oil, he grabbed PR associate Kylee to demo not only the product but a favorite halo braid. "This is quick and easy," he says, "and perfect for going out...or even staying in!" According to Lecompte, using oil in a braided look is essential. "It helps to build the hair," he says, "to add shine, grip and texture. It's a classic styling product...something every woman and every stylist should use."
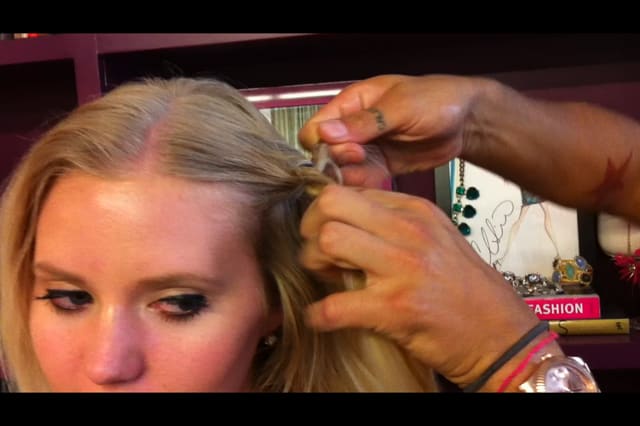
Lecompte is able to create this look in less than 4 minutes (its worth it to view this video) and here are the steps pulled from the video.
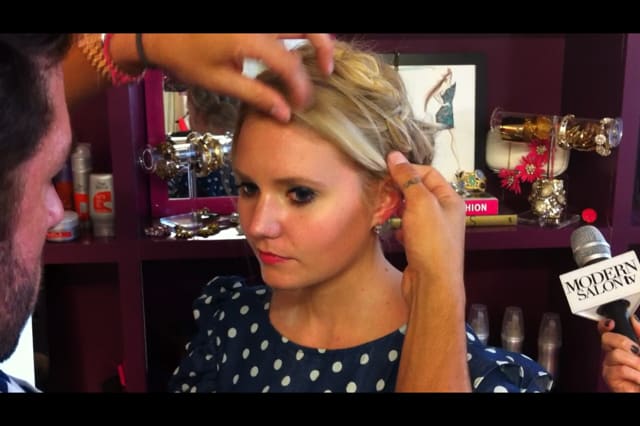
1. Add Wella Oil Reflections to the lengths of the hair. First place a couple drops in the palm of the hair, emulsify and rake through the strands.
2. Begin the braid at the temple, angling down and back, directing to just below the occipital.
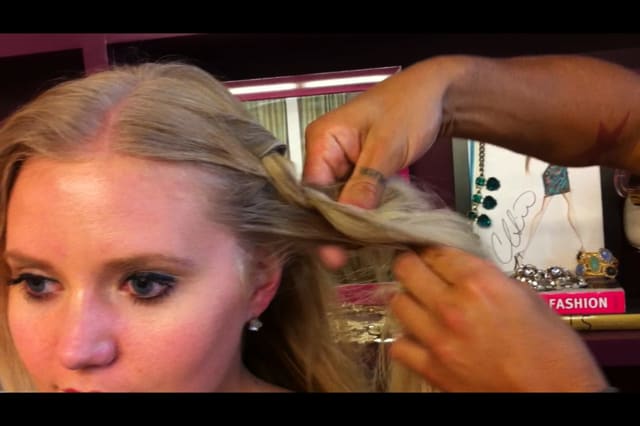
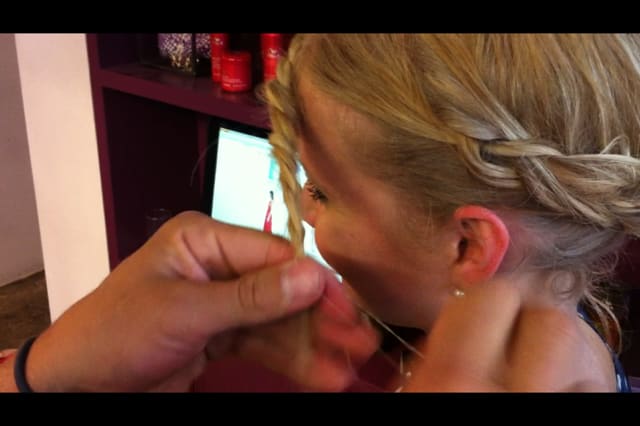
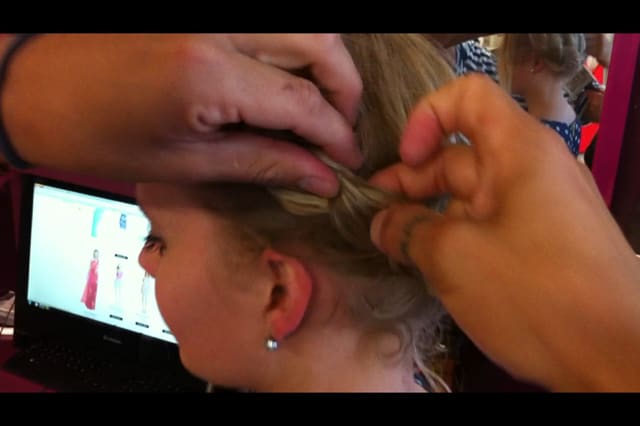
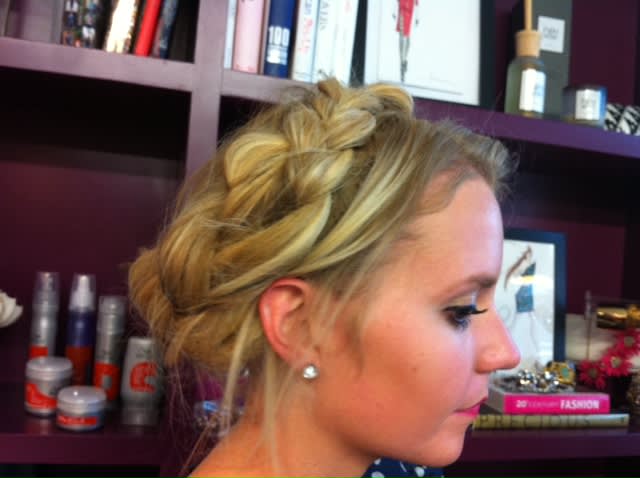
3. Braid back in a French Braid style below the rounds, working around the head from one temple to the other.
4. Blend up over the top of the head, leaving out the fringe and braiding until you run out of hair.
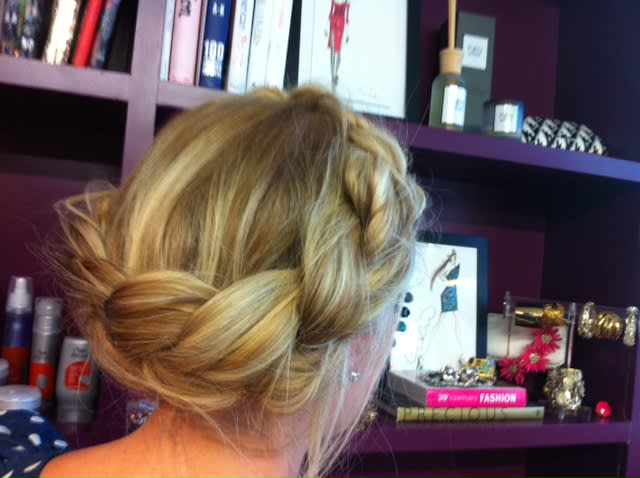
5. Take a clear elastic and secure the ends. (tip: tint elastic to match the color of your clients hair).
6. Take the end of braid, tuck and pin to hide.
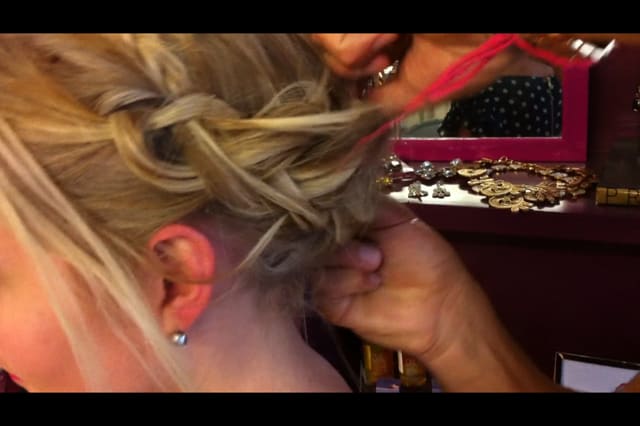
7. Go around and "open" the braid by pulling the sides.
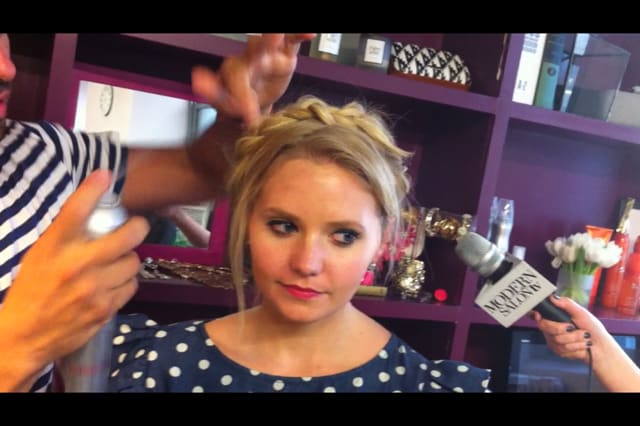
8. Take the fringe and tuck behind the ear, making sure to leave an "undone" feeling.
9. Spray with a holding spray.
STMNT Grooming Goods is expanding into the shave care category with three new additions to its lineup.
The launch of Moroccanoil's Sculpting Pomade highlights a renewed focus on styling within the brand’s iconic haircare lineup, advancing the category with elevated formulas, refreshed packaging, and a clearly defined trio of styling essentials.

Curl Cult founder Janine Jarman, a hairstylist, salon owner, educator, and product creator, is opening a community investment round that gives hairdressers and clients the opportunity to own a stake in the company they helped grow.
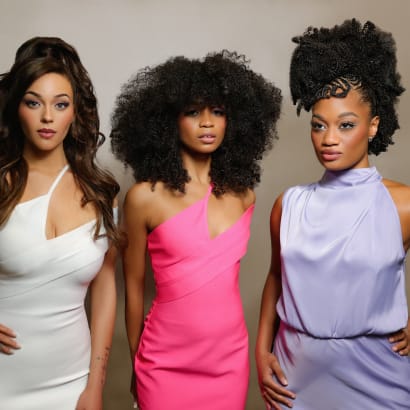
With Structured Texture: Runway Shapes, Real-World Textures, Monae Everett wanted to bridge the gap between high-fashion hair and the real textures stylists work with every day.
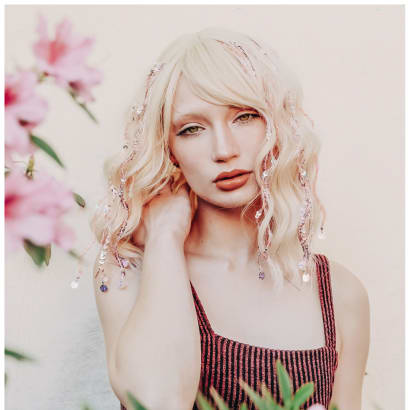
Bee Sam’s VanStrands blend shimmer, color, and customization into a trend-forward enhancement designed for modern salon clients.
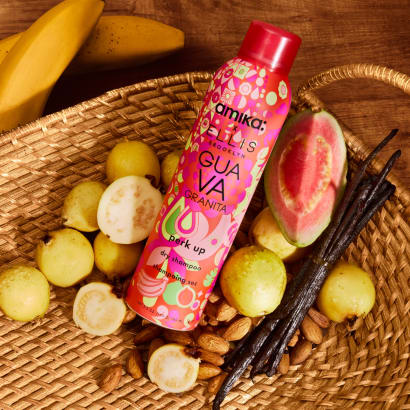
Perk Up Guava Granita Dry Shampoo is a juicy new launch from amika that puts a tropical twist on their bestselling dry shampoo with notes of guava, banana and vanilla inspired by sunshine, smoothies, and vacation energy in a bottle.

Shine Time: Aluram’s High Shine Line Delivers Moisture and Shine with Clean Ingredients
Sponsored by Aluram
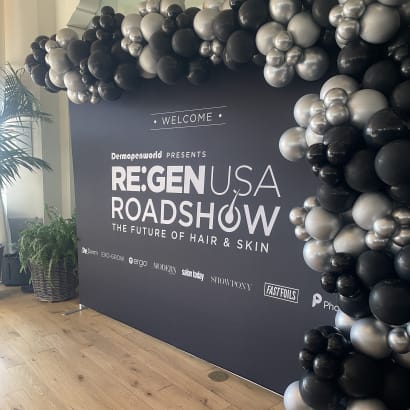
After a nationwide roadshow, DermapenWorld leaders share their biggest insights on the growing demand for hair loss solutions, and why education, empathy, and community are driving the conversation.
Oribe introduces an essential new addition to its iconic styling collection: Supershine Smoothing Wax Stick, designed for seamless styling.
The Paul Labrecque Salon salon is finding success --for stylists and clients, alike--offering scalp care and specialized treatments. MODERN spoke to Moine about how this focus meets an important need and drives client loyalty.
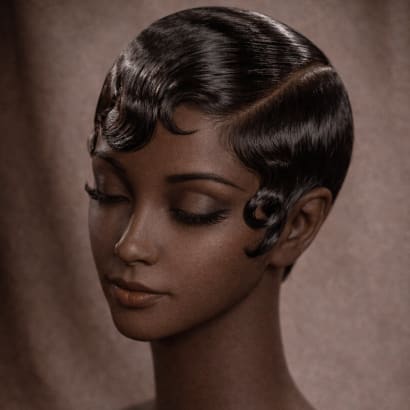
Before the pixie cut became a Hollywood symbol of modern femininity, it was already living, breathing, and evolving in Black culture. Texture expert and Moroccanoil Global Color Ambassador Greg Gilmore gives us an overview of the iconic Black women who popularized the pixie over the past century.

Romantic goth hairstyles are trending for 2026, and these Sebastian Professional artists have long anticipated the look.
Less frizz. No restrictions. Up to 3 months of smooth. Wella Professionals' SmoothFiller is the smoothing service your clients (and your revenue) have been waiting for.
Sponsored by Wella

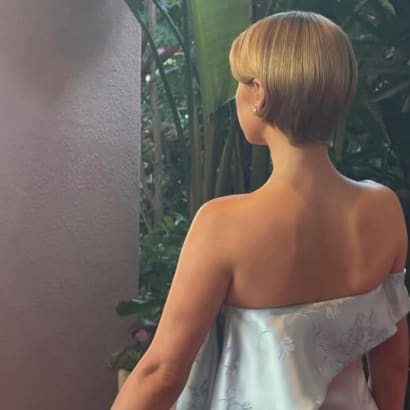
For her performance at the 2026 Grammys, Sabrina Carpenter wore a voluminous, retro flip bob created by celebrity hairstylist Evanie Frausto using Redken.
Oribe's Eternal Curls Collection provides deep nourishment and enhanced definition for every wave, curl and coil.
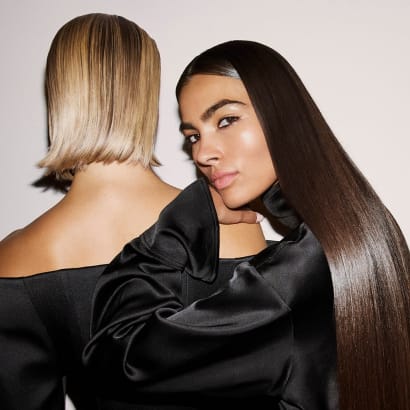
Celebrity stylist Bryce Scarlett channels Grace Kelly polish with Goldwell while colorist Jacob Schwartz takes Jessie from dark to luminous “Honey Silk Blonde” using Schwarzkopf Professional.
“We are some of the luckiest creatives on the planet. As hairdressers, we get to shape more than hair—we shape identity. We create for our clients, inspire fellow artists, and are continuously inspired by each other. That exchange of artistry is at the heart of this story and at the heart of this haircut."