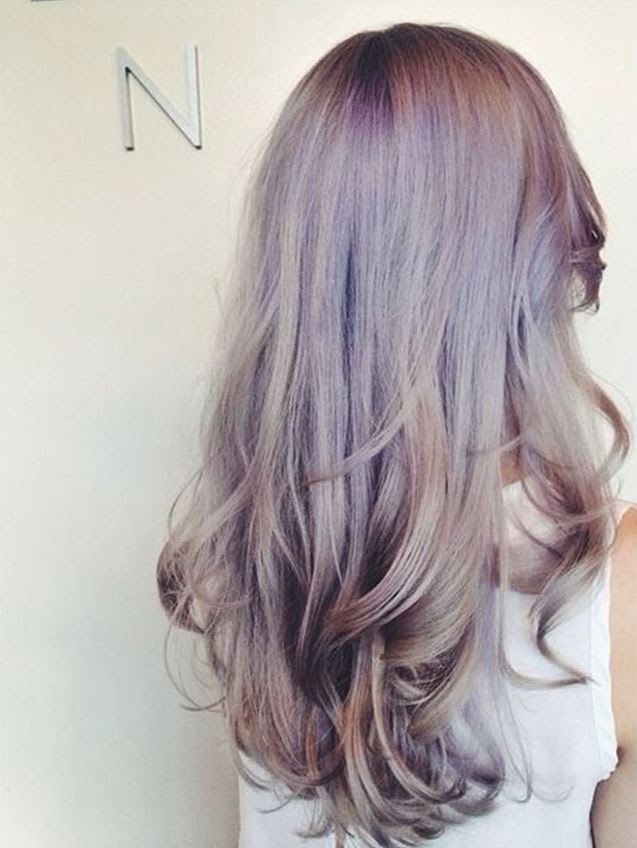
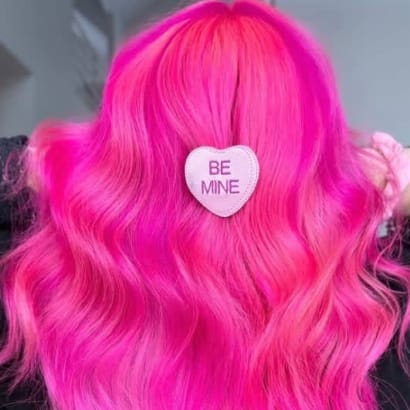
While MODERN was scouring Instagram for the latest and the greatest, we came across this long, layered, smokey-lavender hairstyle created by Brandon Partin (@brandonpartin) at Mark Christopher Salon @mc_salon). According to Partin, the look was inspired by Wisteria flower blooms native to the Eastern United States, China, Korea and Japan. The elegant flowers long and full shape inspired the soft layering of the haircut, while their soft purple hues inspired the progressive gradation of the color - from deeper purples to softer, pastel hues.
Process: The client came in looking for a dramatic change in her color - which was over-processed with layers of at home lightener, reds, and pinks - without sacrificing the integrity of her length.
STEP 1: To address the uneven canvas, a meticulous approach to decolorizing was necessary. Due to multiple uneven bands of faded coppery-pink, the lightener was first applied on the darkest areas, beginning with the mid-shaft (working with Wella Blondor and 30 volume). The re-growth and ends were applied using Wella Blondor and 20 volume.
STEP 2: Once the hair was processed to an even level the lightener was rinsed, lightly shampooed and decolorized again at the sink (using Wella Stay Cool Blondor, 40 volume, and Oribe shampoo). Once the color was lightened to palest yellow, the lightener was rinsed, and lightly shampooed, again.
STEP 3: Once towel-dried and detangled the target color was addressed. The root area was colored (using Wella ColorTouch: 15g 8/81 + 10g 10/6 + 15g /68 + 80g 6 volume developer). The root shade processed for 10 minutes before being gently worked into the mid-shaft for an additional 5 minutes. Immediately after - a second formula (Wella ColorTouch: 15g 10/81 + 15g 10/6 + 10g /68 + 80g 6 volume) was applied on the mid-shaft and ends.
STEP 4: After processing for 10 minutes all of the color was worked together and emulsified from roots to ends for another 5 minutes. The color was then rinsed and conditioned - creating a seamlessly melted end result.
CREDITS:
Mark Christopher Salon @mc_salon
Stylist: Brandon Partin @brandonpartin