Blonding, foilayage and balayage specialist, and Seattle-based hair stylist, Chelsi Freeborn (@withlove.hunter), once worked in a salon where there were SIX Chelseas. "I chose to go by the name Hunter because it seemed strong and to fit my personality as a young stylist. When I left the salon after 6 years to open my studio, I kept the name and also named my business with it because it’s the name that started my career."
Today, Hunter's creative, take-charge attitude has her sharing her haircolor smarts on social and here she gets real about brass and balayage and how the two may not mix.
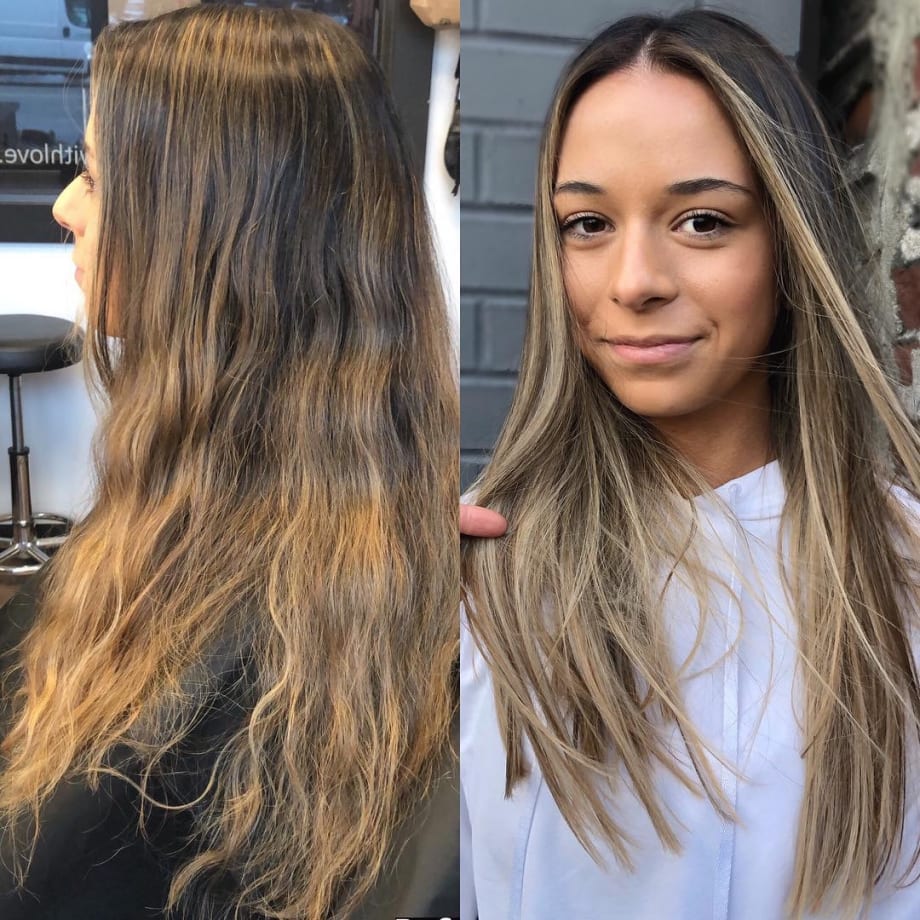
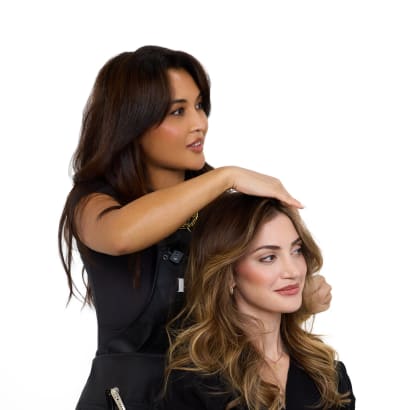
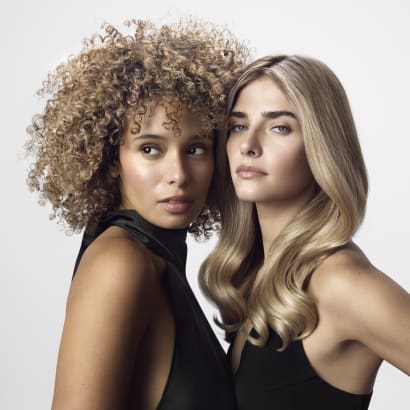
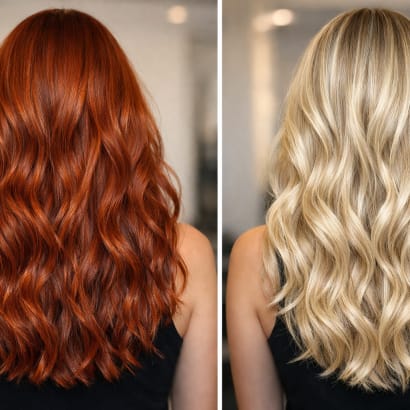
“Unwanted brass? Then balayage is not for you! It will ALWAYS be warmer and more subtle than foils. Still want that blended balayage look without the brass? This is what we did to achieve this look…”
BREAKDOWN
STEP ONE: Foils strategically placed to give the look of balayage.
Formula: Wella Blondor Lightener with 10 volume, then remixed to 15 volume and then 20 volume.
STEP TWO: Clarifying shampoo to get out old product, pollution, hard water, mineral deposits, etc.
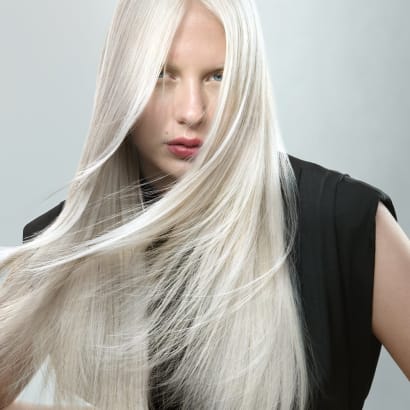
STEP THREE: Toner on the roots to give a cooler-toned, transition color than balayage would give you and toner on the rest of the hair to balance out unwanted warmth.
Formula: Roots, Wella Color Touch 6/0 with 13 volume and all-over was 8/81 9/0 and a ribbon of 9/3 13 volume.
STEP FOUR: Olaplex to finish it off.
STEP FIVE: Healthy cut.
“This took 6 hours and the cost was $640; twice as long as balayage would take. But the grow out and longevity she will get from this service will be unmatched. Less overlapping product, less damage. Slow and steady wins the race.”