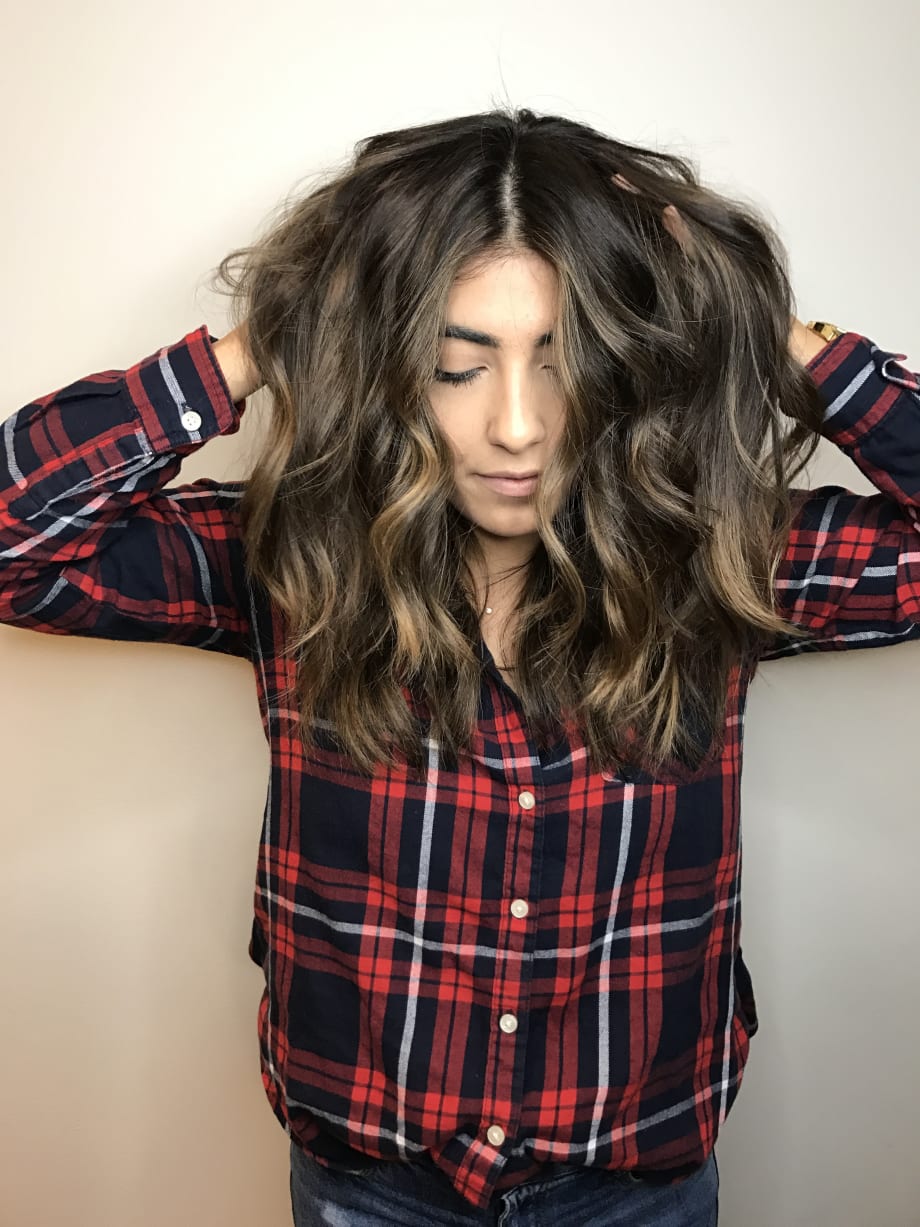
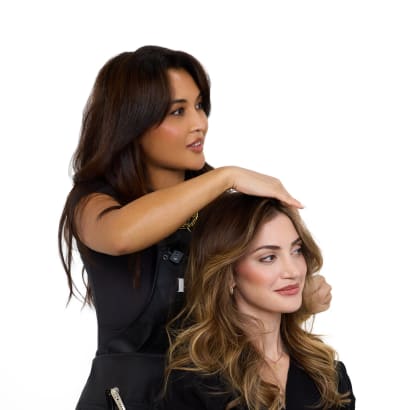
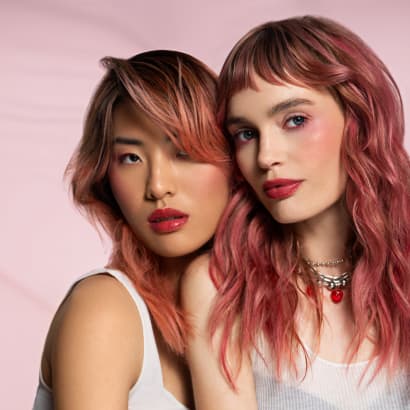
Jenna Bullaro of Dennis Bartolomei Salon in Chicago gave this brunette more dimension and pops of brightness with this easy-to-maintain, natural-looking color.
Jenna Bullaro of Dennis BartolomeiSalon in Chicago gave this brunette more dimension and pops of brightness with this easy-to-maintain, natural-looking color.
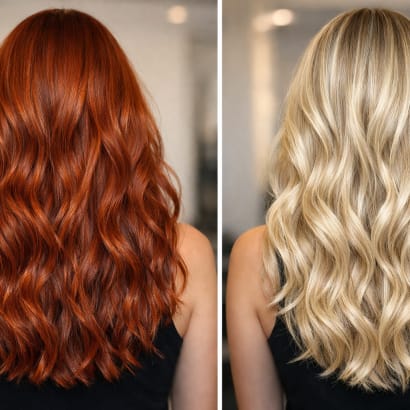
Jenna's client began at a natural level 5.
Ad Loading...
Step 1: Jenna started by applying babylights. To do this, she applied heavy foils around the face and hairline, including the nape for when the client wears a ponytail. When foiling at the crown, Jenna prefers to backcomb, so the highlights do not begin at the root. Step 2: Jenna took a heavy weave to the hair between the foils. For this hair, she backcombed only twice, starting at the midlength of the strand. She used a higher volume to make these pieces really pop. "Remember less is more," Jenna said. "You don't have to tip everything out, unless they are looking for an ombre look. Leaving a touch of demension on the bottom can be gorgeous; personalize each client's hair!" Step 3: When Jenna foiled, she started in the front with 10 volume. As she worked her way around the head, she bumped it up from 10, to 15, and then to 20 in the back. Using this method, all of the processing is finished at the same time. The hair was lifted to a level 8, and because the hair along the hairline is thinner and processing longer, it will be lifted to a level 9.
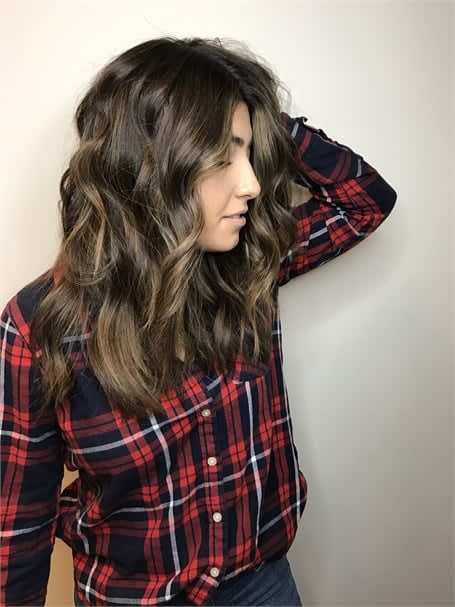
Step 4: Rinse everything and part hair off to be toned, leaving an inch out around the hairline. Step 5: When toning Jenna likes to recreate a prettier version of her clients' natural hair. For this specific client, she used Wella Color Touch: 2 parts 5/0, 1 part 6/73, and 6 volume. Jenna applied the toner to about 1.5 inches of the root of the main section of hair, and she combed it back, then she shadowed a half inch on the hairline section and combed, still leaving it separate from the hair. Step 6: Her client's ends lifted much warmer than her root, so Jenna used Wella Color Touch: half 6/0 and half 7/89, with 5 grams of 6/3 and 13 vol. She saturated very, very well and blended the root down to create a nice blend, still leaving the hairline out. Step 7: Jenna emulsified the entire head, including the hairline, as if she was shampooing the head with the color, but only for a minute. This helped blend and melt everything together and added the tone to the hairline without making it darker. Step 8: Jenna applied a blow dry spray and oil to the hair before blowing dry with a round brush for smoothness and volume. Using a 1" XL curling Iron, she curled everything away from her face, leaving the bottom out. Without letting the curls cool, she messed it up right away with her hands. She added a touch more oil for shine, and sprayed the hair with a texture hairspray for added volume and hold.
Schwarzkopf Professional ambassador Carly Zanoni shares the express color and treatment services helping stylists deliver great results in under 30 minutes while creating new opportunities for client retention and revenue growth.
In an industry with so many options and opportunities, we asked artists what made them niche down and select a specialty. Amelia Fugitt (@ameliahairmakeup) says choosing to focus on transformations has transformed her career.
Craft with confidence, challenge your creativity, work from inspiration. Prepare your chair for every canvas with Moroccanoil's expanded color lines and advanced technology.
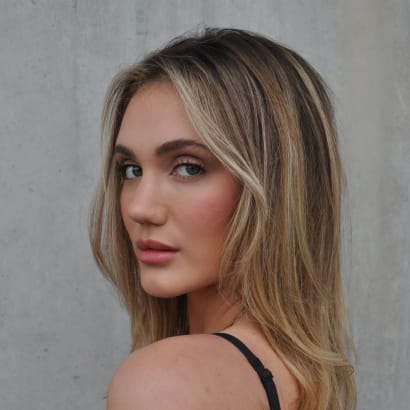
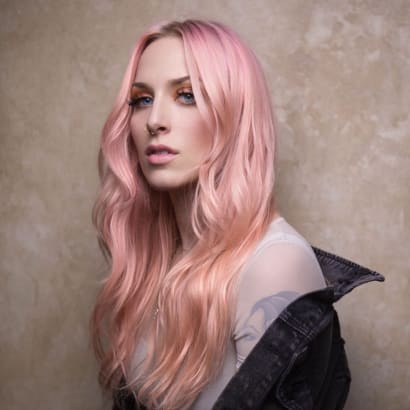
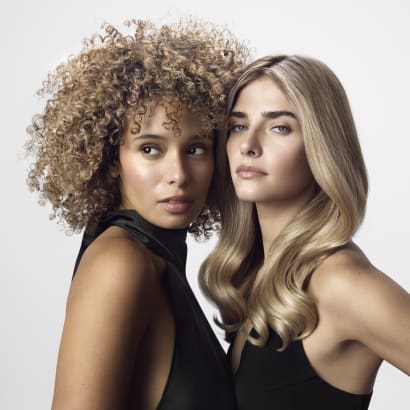
Create a look of quiet luxury with this modern take on ombré, featuring beautiful dimension and depth with strategic pops of blonde around the face and ends. The initial effect is bright and beautiful, with purposefully placed depth creating longevity as the hair grows out.
Oligo Professionnel, the Montreal-based hair color powerhouse, expands beyond the salon with a new routine-driven system designed specifically for blondes and those with highlighted hair.
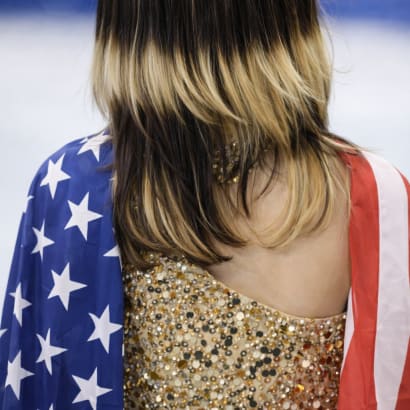
Ahead of the Winter Olympics, Alysa partnered with St. Louis–based color specialist Kelsey Miller to elevate her DIY bleach work into clean, high-contrast halo placements.
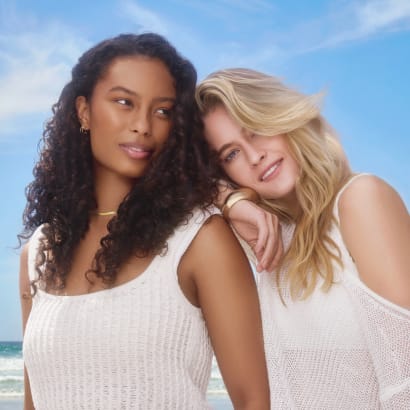
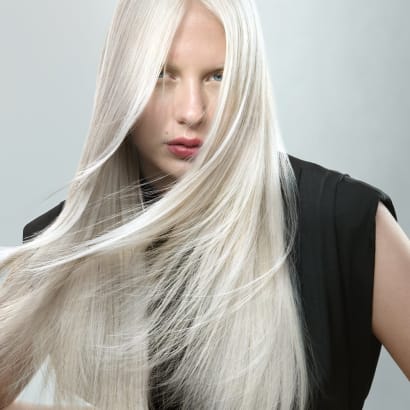
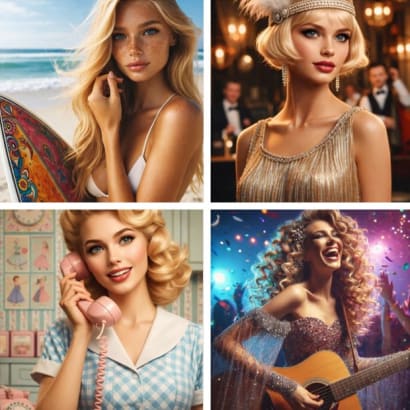
Blonde hair is as All-American as baseball, apple pie, and Stars and Stripes forever. And as America approaches her 250th birthday next year, we celebrate the birth of the Global Blonde.
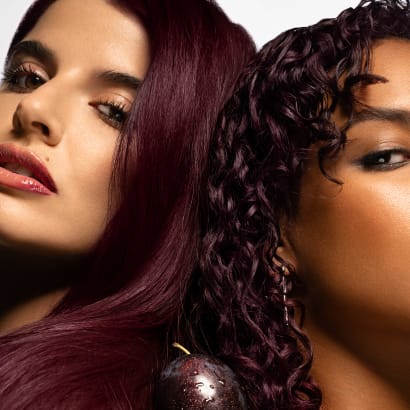
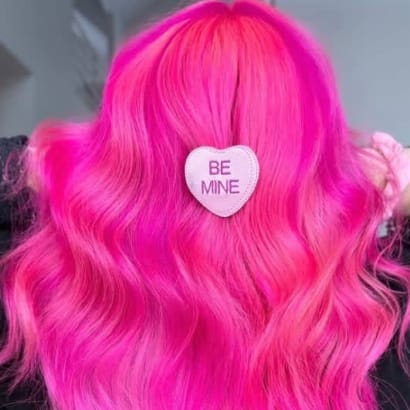
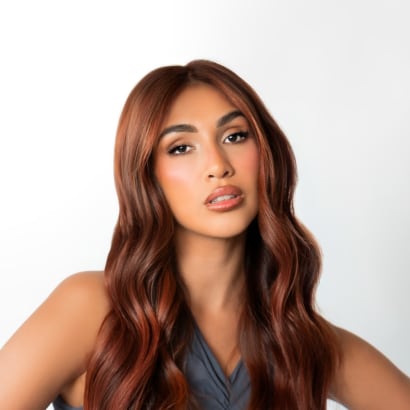
Two reds that get raves, these looks were designed using Alfaparf Milano. Get all the steps, processing, and expert tips to add these recipes to your rotation.
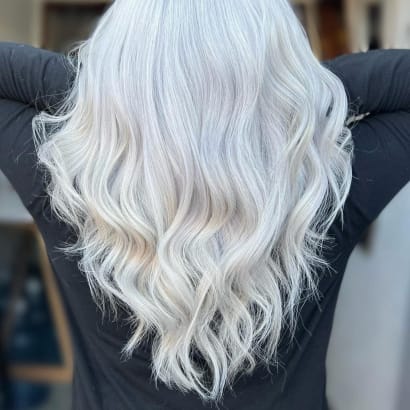
Many colorists and blonde specialists have been enthusiastic about Pantone's 2026 Color of the Year, creating some of the purest platinum looks in celebration of the pick. Check out some of our favorite Cloud Dancer creations and collections.
To kick off the year fresh, actress Emma Roberts has undergone a major 7-hour color transformation going from Copper Red back to her iconic Iridescent Golden Blonde. The transformation was created by Wella Professional Global Ambassador Nikki Lee.