As wedding season continue in full force, being able to achieve the swoon-worthy looks brides are finding on Pinterest and Instagram can be challenging—especially if their hair is thin or lacking dimension in color.
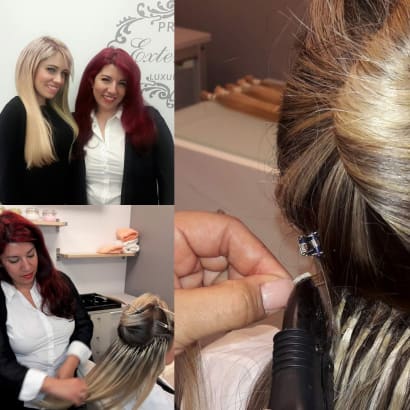
Great Lengths’ newest offering—GL Tapes tape-in extensions—are the perfect solution for clients seeking color variety or instant thickness. Whether its a full head of extensions or a few for a special occasion, GL Tapes offer clients the ability to achieve their dream hair.
Ad Loading...
Los Angeles-based artist Stephanie Hodges is a certified Great Lengths extensionist who finds herself grabbing for the GL Tapes regularly to add depth and dimension to her braided styles.
"I love working with Great Lengths GL Tapes hair extensions," Hodges says. "They add volume and length depending on your guests needs. They are magical and transform anyone into the goddess they’ve always wanted to be."
The tape-ins contain the same high-quality Indian Remy Great Lengths hair found in the premium bonded extension products. Every strand retains its valuable cuticle layer from root to end. The hair quality allows for the GLTapes to be reused multiple times. They can be used as single- or double-tape attachments and, with proper care, can last up to eight weeks.
“Whether I’m looking to get creative with color or head a more traditional manner, Great Length’s GL Tapes offer the exact color result I’m looking for,” Hodges says. “It’s as easy as apply, cut, style and go!”
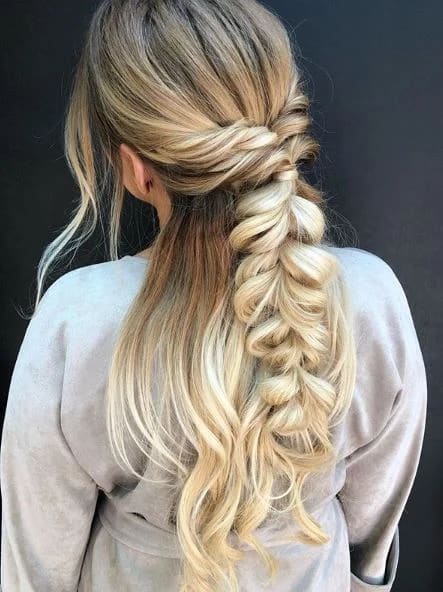
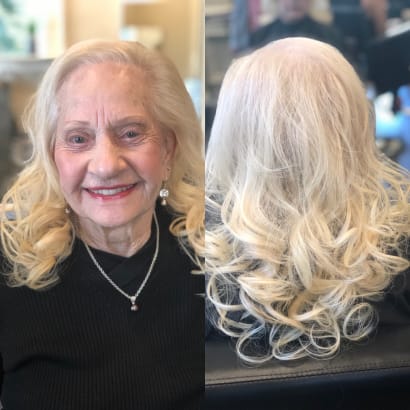
Here, Hodges demonstrates how she applied a fulls et of 22-inch Great Lengths GL tapes on her model, Katie:
Ad Loading...
After the extensions were installed, Hodges created a half up romantic style. You can see the clear difference the GL Tapes make in terms of color dimension and thickness:
Begin by lightly waving your client's hair and extensions.
Lightly backcomb her crown area, and spray to create a little volume and texture.
Pull back everything in front of the ears on each side, keeping a good amount of hair out to frame her face.
Twist each section back toward the center and gather them together to secure with an elastic.
Expand those twists until they are fluffy and textured.
To create the faux braid, divide your section into a top and bottom.
Divide the top section into two, bring the bottom section through the top, and clip out of the way.
From here, secure those two top pieces under that clipped away section with an elastic.
Release the bottom section, and you will now see that it is on top. Repeat these steps.
Divide the new top section into two, pull the bottom section up through the top, and clip away.
Secure those two sections together underneath with an elastic.
Slightly tug at those secured pieces to expand and puff them up. Repeat your steps, expanding them out as you travel down the hair.
Once you reach the bottom, you are done. Make sure the style is expanded to your liking, and lightly spray to set.
Mastering your chosen extension method is the key to delivering seamless, comfortable, and long-lasting results. See the step-by-step techniques that Donna Bella Ambassadors Olivia Thompson and Lo Wheeler Davis use to get the perfect install every single time.
A stylist who felt she needed to build what she couldn't find in other hair extensions, in five years Terra Harvell has grown Harper Ellis into a $10 million business.
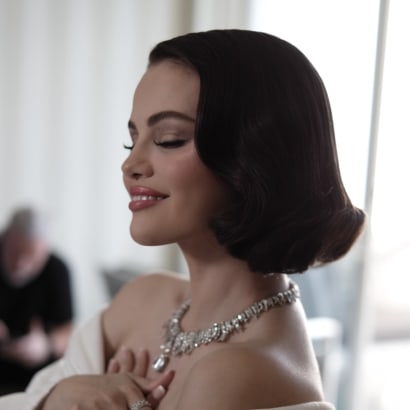
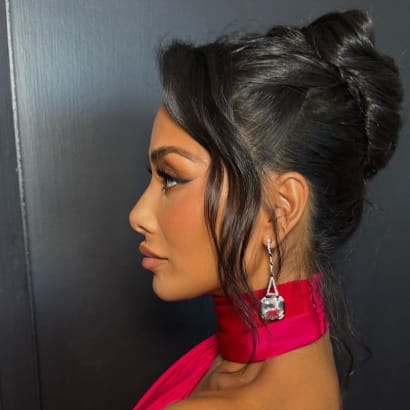
Celebrity hairstylist Renato Campora graced Selena Gomez with a timeless and elegant Hollywood bob for the 2025 Golden Globes, using Great Lengths Tape-In Extensions.
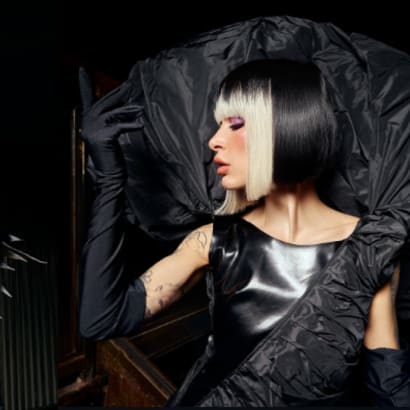
Celebrity hairstylist Marc Mena shares exclusively with MODERN how he used the new Essenza and Aria Great Lengths Tape-Ins to style Karla Sofía Gascón for the 2025 Golden Globes.
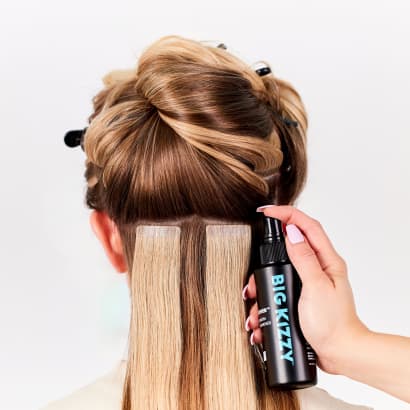
Meet Big Kizzy, known for their 3-step tape in hair extension remover system. Founded by an extension hair pro, they now offer everything for extensions!
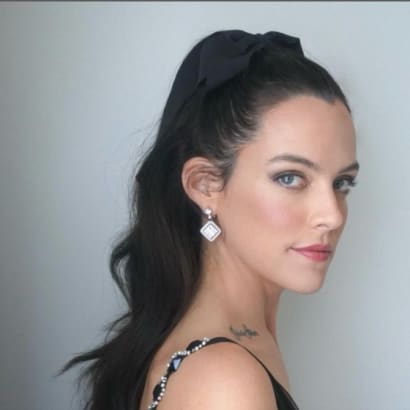
Celebrity Nicole Scherzinger's soft updo was created by celebrity hairstylist Dimitris Giannetos, using new The Coveted Tape hair extensions by Covet & Mane.
If you are prepared with the right techniques, the right questions, and the right products, you will be ready to create a beautiful result for your hair extension client. And when you've done that, you have a client for life. Here are my proven methods for building a solid hair extension career and business.
In this exclusive video interview, Great Lengths educator Kristina Noto explains how to use the brand's extension offerings for clients with hair loss.
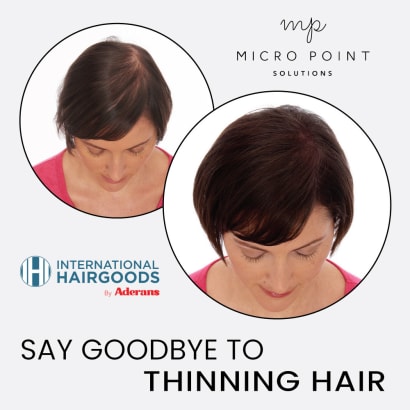
For clients who want to address volume on the top of their heads, but don't want the commitment of wearing and caring for a topper, this unique service provides a solution. Micro Point Links fill in thinning areas by knotting individual hairs onto existing hairs. It's a service that is a win-win, offering clients an answer to sparse, bare areas and providing stylists with a valuable addition to their service menu.